I’m excited to share a new tutorial with you today! I have been eyeing this cute, sleek, and chic console table over at Wisteria.

via Wisteria
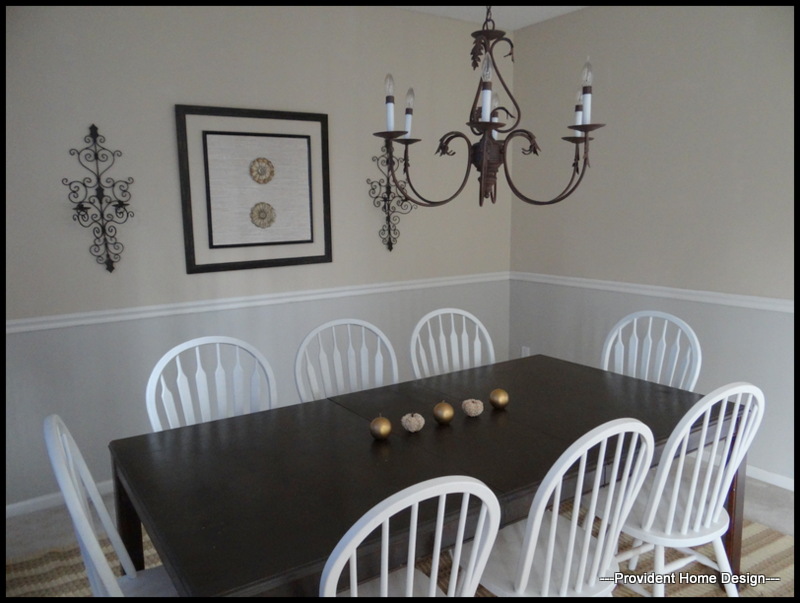
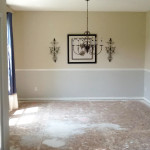
Did I mention it is topped with marble?? Ooh la la! I was thinking that it would sure look good in my dining room under the framed art. There is just enough space behind the table that it seems to need something there but a certain something that would not take up too much space width wise, like Wisteria’s console table!
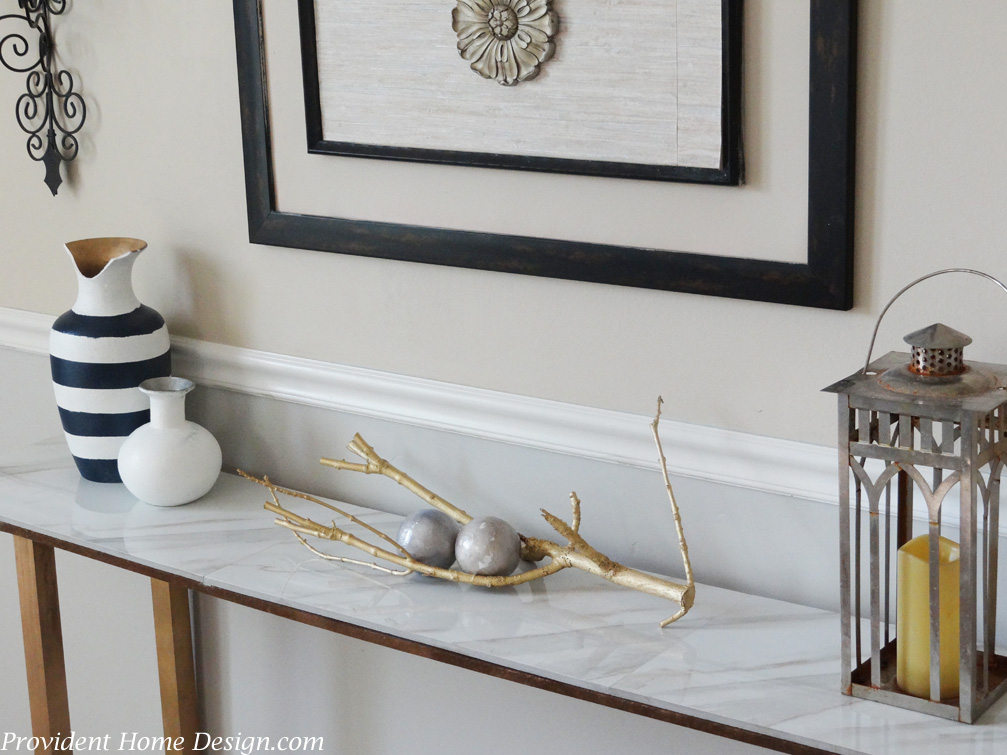
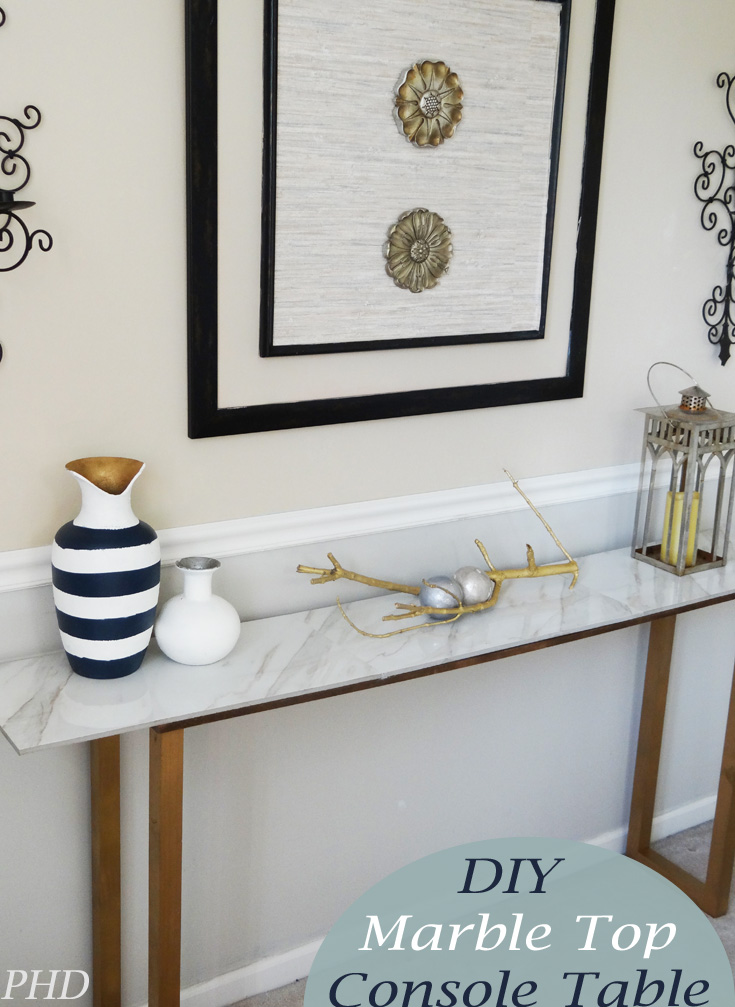
However, Wisteria’s pretty marble console table costs a pretty penny too– $899 plus a $100 process and delivery fee to be exact. $1000 for a console table is WAY out of my budget. I was determined to figure out a way to DIY a console table with a similar look and feel! It took a little bit of time to figure out but I am pleased with the end result below.
This is a simple DIY even a beginner DIY-er can do. Here is the complete Step-by-Step tutorial with photos for all of those visual learners out there (like me).
Supplies:
Note- For some reason (that I haven’t figured out yet) tiles and wood aren’t really the sizes stated on the label. For example the 12 x 24 tiles are really 11 3/4 x 23 1/2 and the 2×2 wood is really 1.5×1.5. If the cuts I list down below seem weird that’s why just follow them anyway.
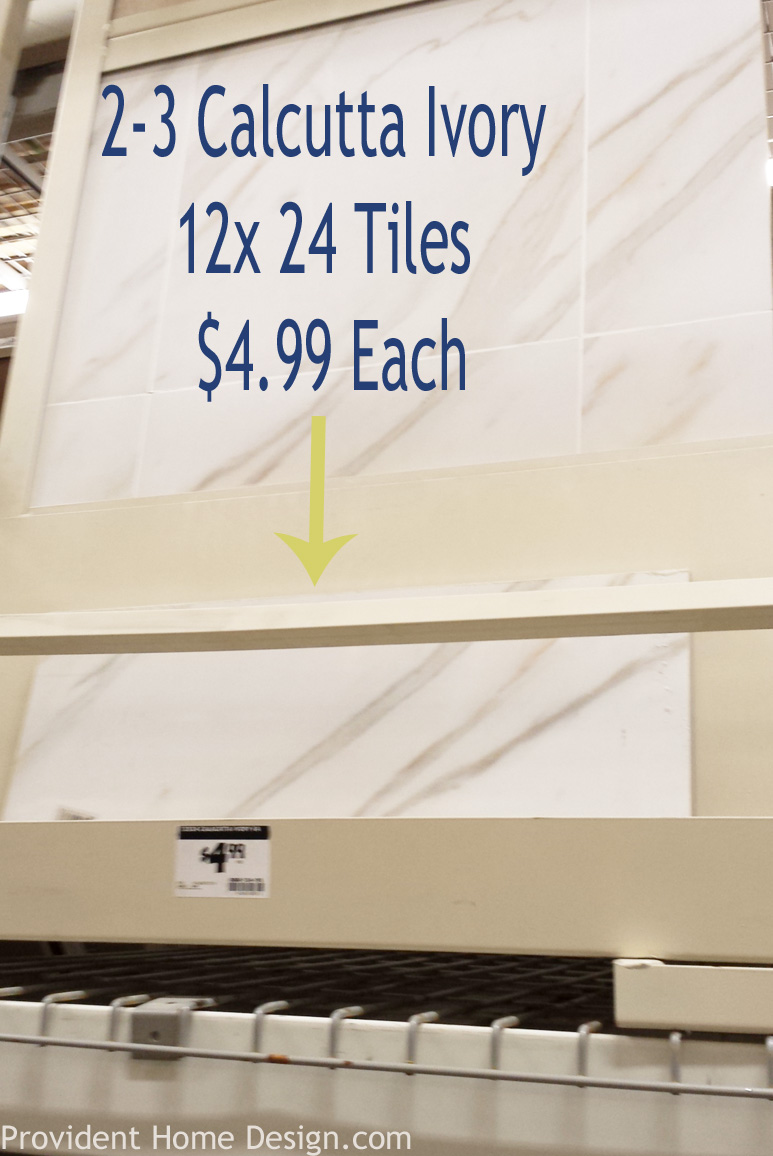
*** 2 tiles if you want your console table to be the standard 48 inch length or 3 tiles if you want your console table to be 72 inches (extra long). I did 3 tiles because I thought it would be the best size for that specific space. Purchased at Home Depot.
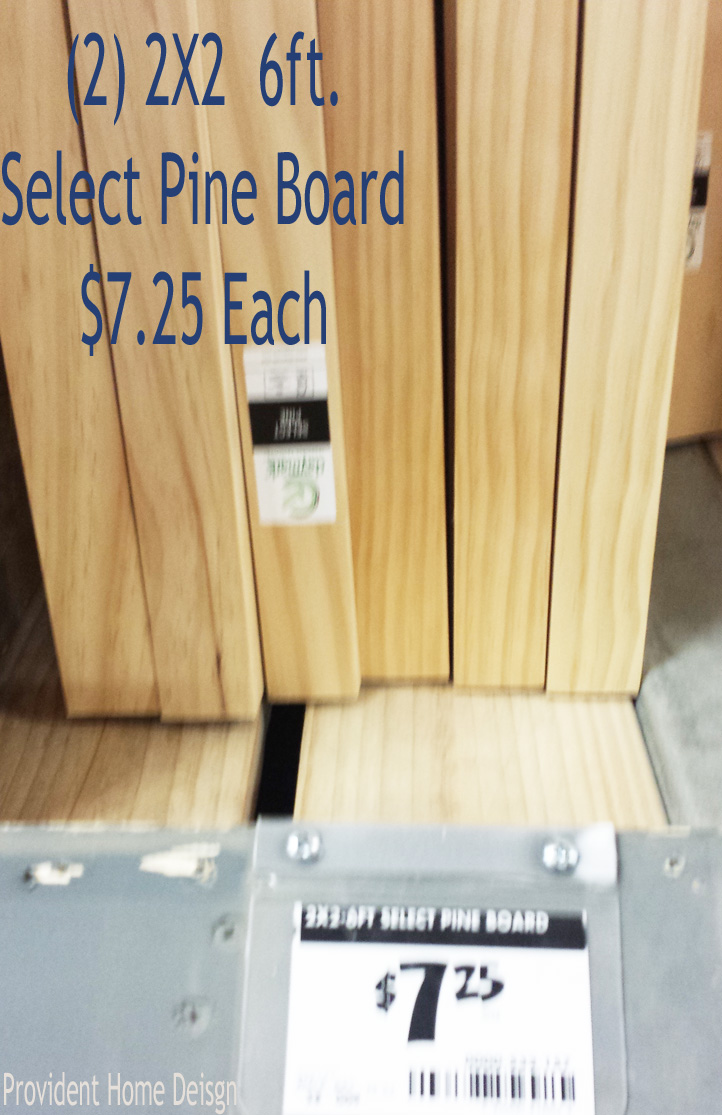
***Bought at Home Depot in the 2nd to last far left back aisle. You can have them cut to the size you want. For the longer version like mine cut (2) at 8 3/4 inches and (2) at 30 inches. For the cuts of the standard size and design console table see diagram at the end of the post.
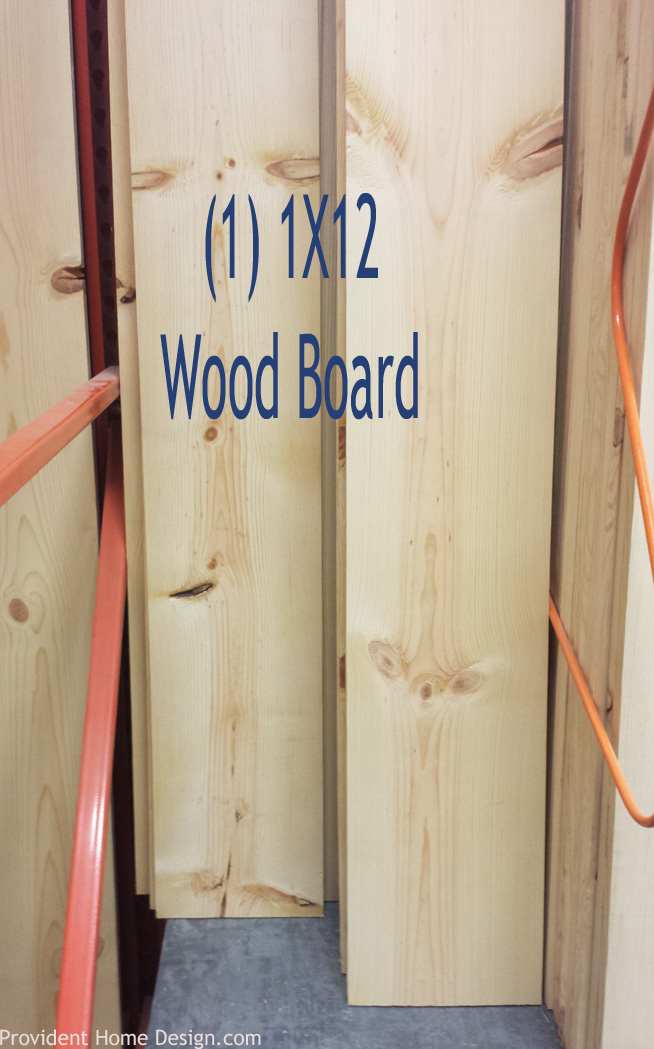
****Okay, so I had some MDF left over from another project that I used. Having used MDF though I would suggest using actual wood. The MDF has more give (it’s not as strong as wood) and so the weight of the marble on top of it makes it sag down ever so slightly in the middle. It is very slight so I decided to go ahead and use the MDF I already had but I think you would be happier making it with wood. The wood for my size of console table probably would have cost around $10. You can have your board cut there too. 55 inches for the length and 11 3/4 for the width.
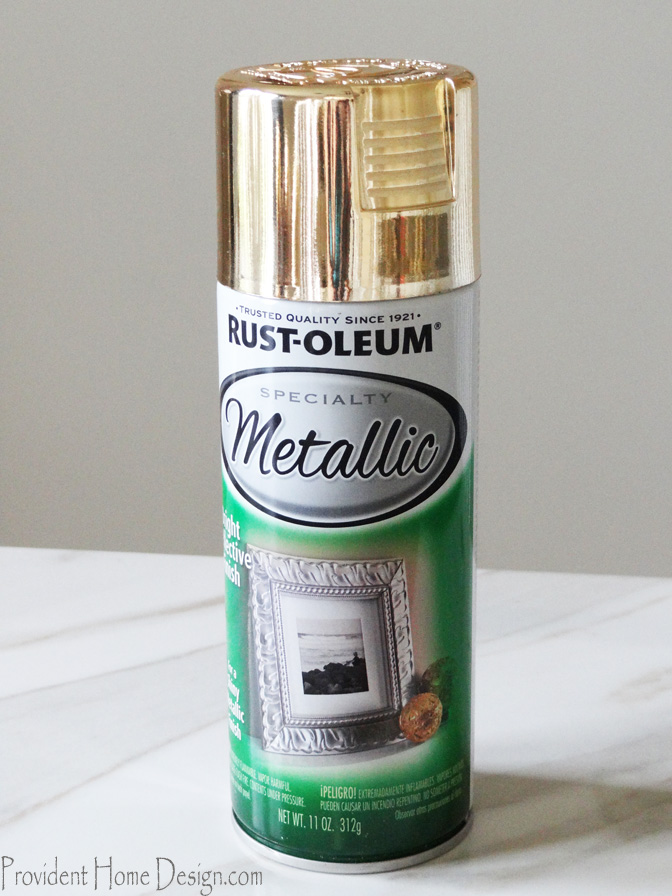
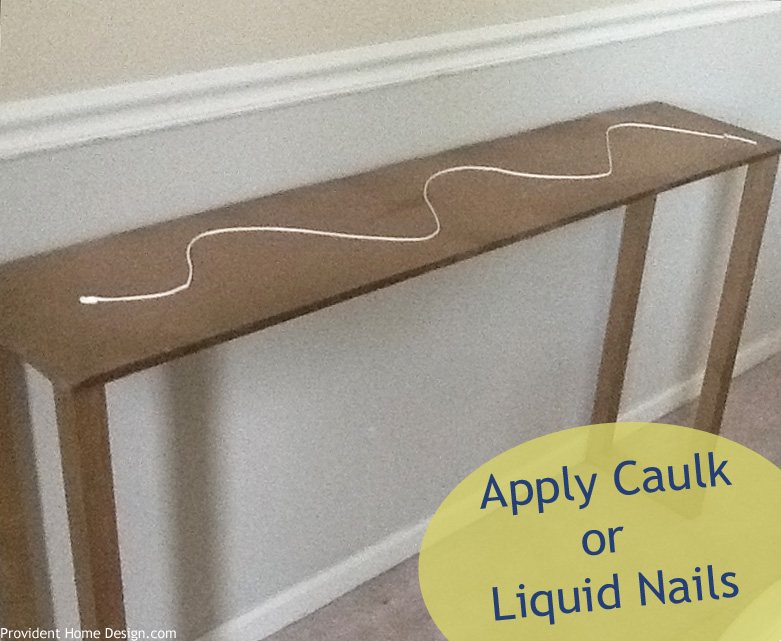
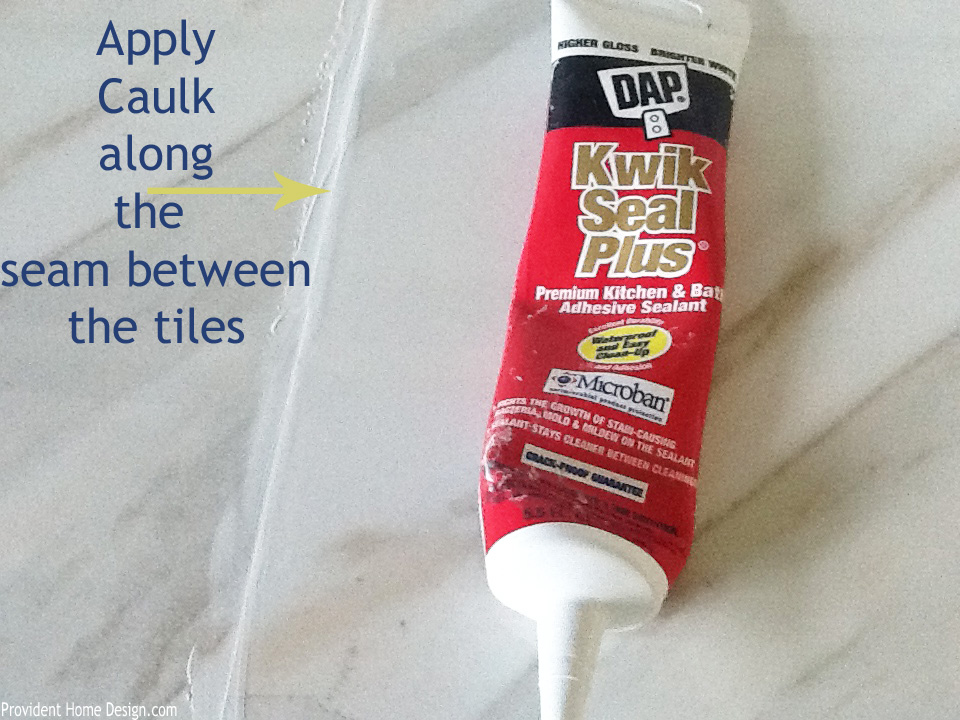
***You will need Gold Metallic Spray Paint which I bought at Home Depot for $3.50. You will also need Liquid Nails, White Caulk, and Wood Glue
Lets Do It:
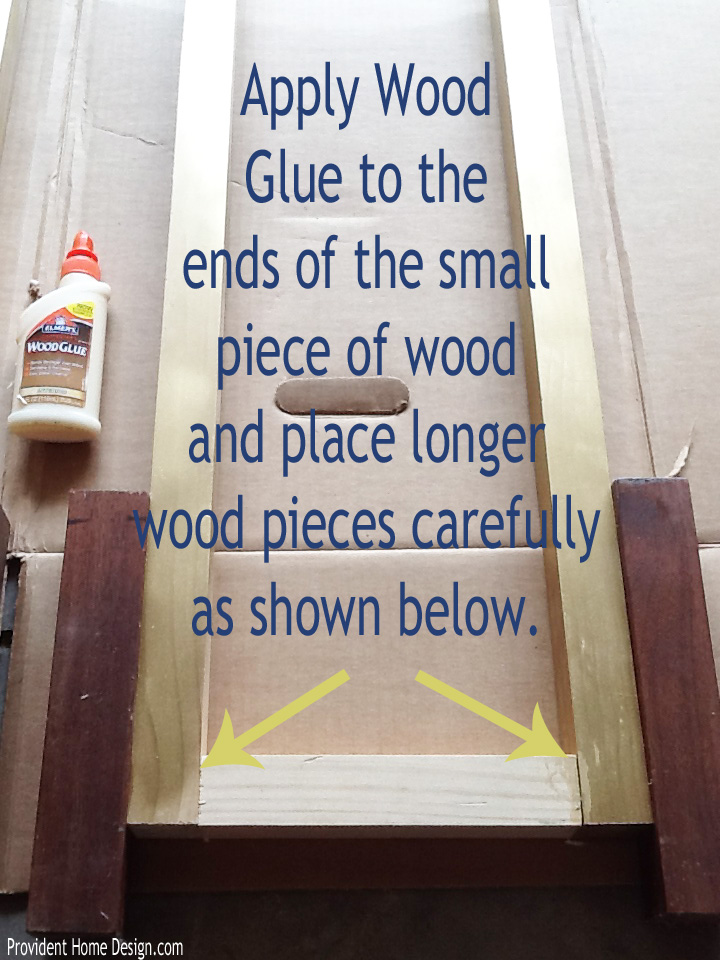
Step #1
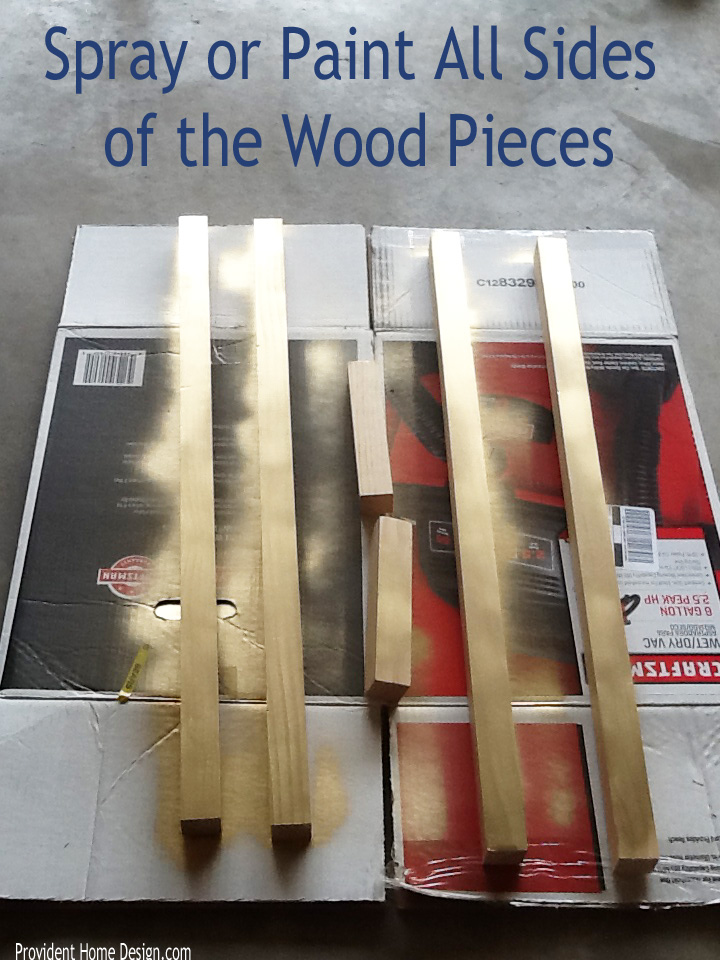
***You can also spray the sides and bottom of the long wood board too at this time.
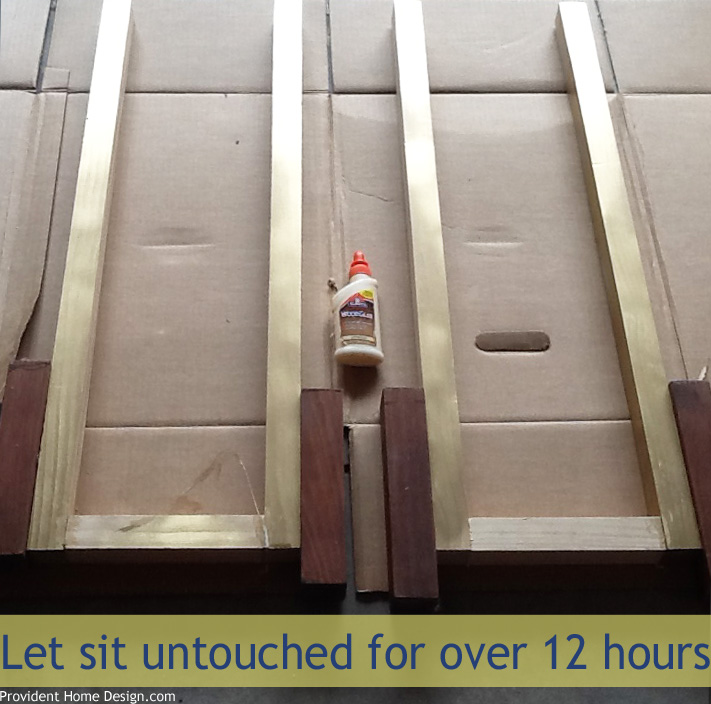
Step #2
***You will want to make sure that the legs are placed precisely to dry. The distance between the tops of the legs should be 8 3/4 inches like it is on bottom. I placed extra wood against the sides where they were glued to apply pressure since I don’t have a clamp.
Step #3
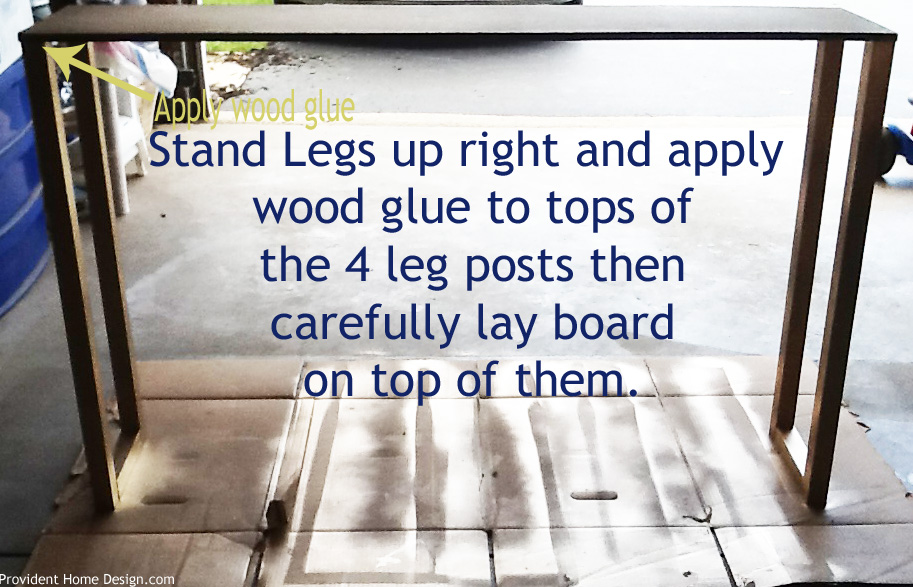
Step #4
***It would help to have a second set of hands to keep everything steady on this step but it can be done alone carefully if you don’t have help on hand.
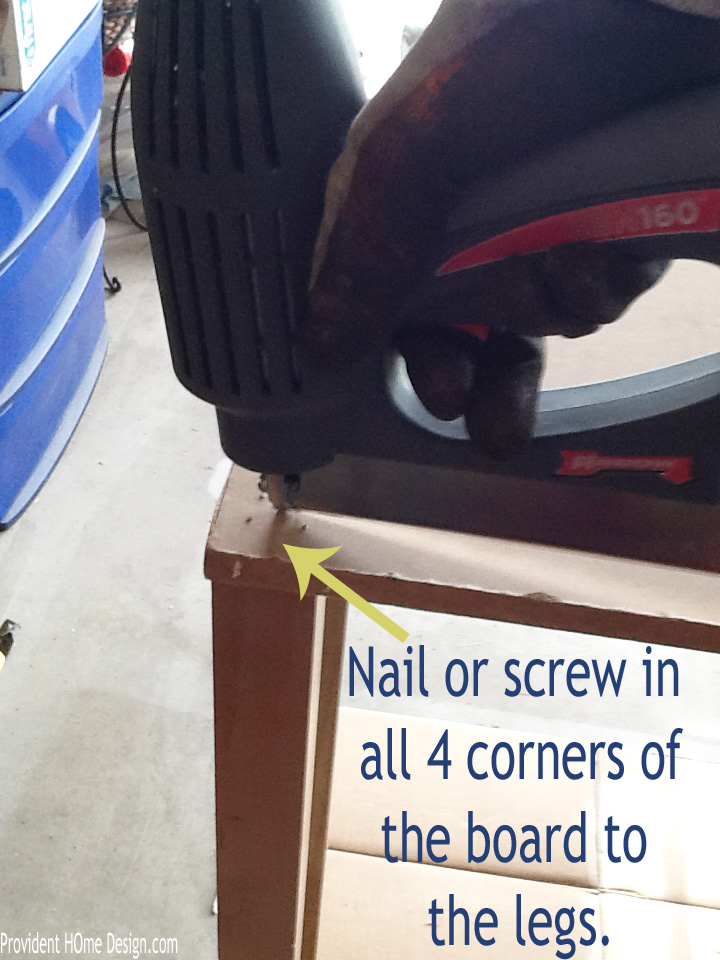
Step #5
***I nailed it with several (at least 6) nails. I don’t think I would use this method if you don’t have a nail gun. I would drill a couple of pilot holes and then drill a couple of flathead 1 1/2 or 2 inch screws into each corner.
Step #6
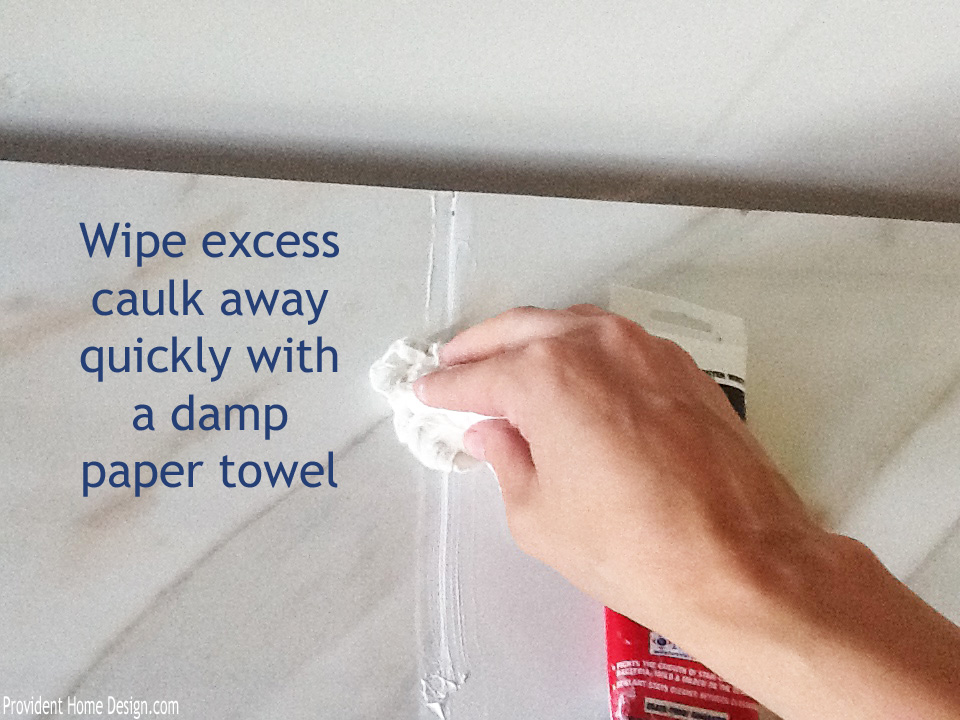
***I used caulk because I didn’t have any liquid nails on hand but I would advise using liquid nails!
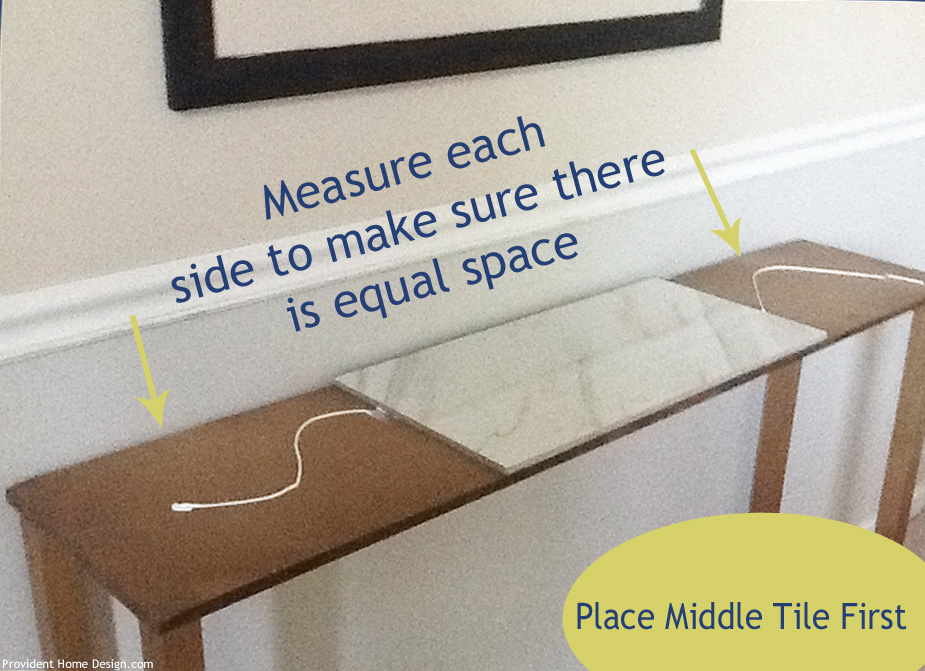
Step #7
***You will want to layout the tiles ahead of time to see what order they look best in. You will want the tiles to look like it is one uniform piece so pay attention to the movement in the marble and determine which order looks best. Also choose which tiles fit most snug together. You want them to butt up next to each other tightly.
Step #8
***Well, almost finished! After placing the other marble tiles down carefully then…
Step #9
Step #10
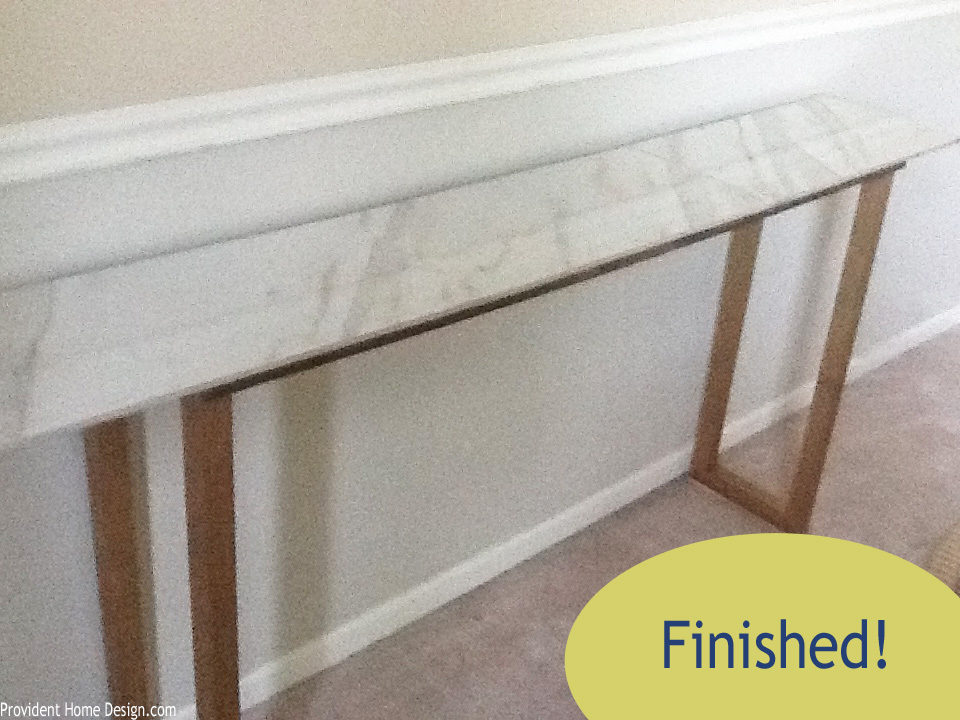
***Now you’re finished!!
I do realize that this design is different than the Wisteria inspiration console table. For a longer console table I preferred this design to the inspiration console. However, if you are interested in making a standard sized console table I think the Wisteria design is a better fit.
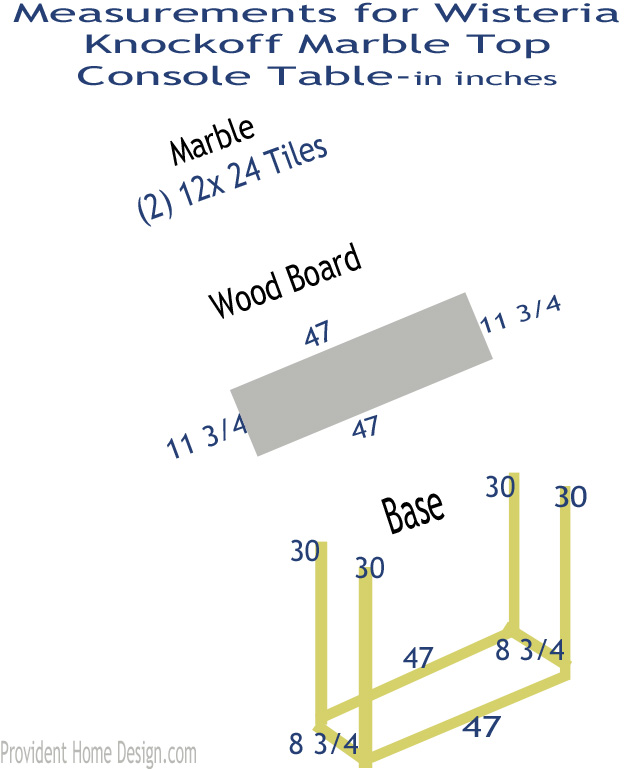
I have created the diagram below with measurements so that if you want to make the Wisteria inspiration console which is a standard size you can!!! Just follow the steps above and the measurement cuts below!
You can add those 2 extra 47inch wood pieces to the base of the table at the end of building the table. Just put wood glue on the ends and place then in between the supporting legs as shown in the diagram above!
I hope you have enjoyed this tutorial. You can check out my DIY/Tutorials page to view all my tutorials to date! Have a great day!

