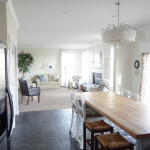
Hello! I’ve been busy this week Summer-izing and accessorizing my dining room. I’ve added many items to the room and all on a budget of course!
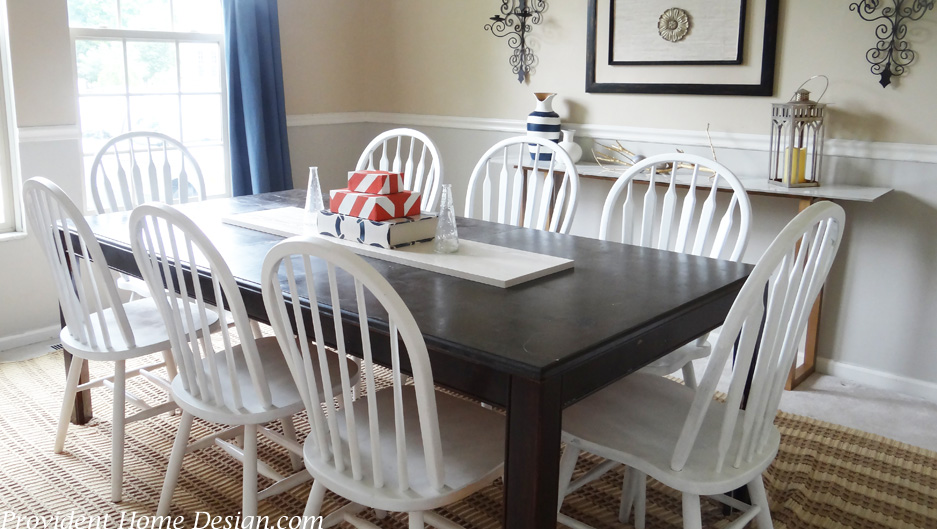
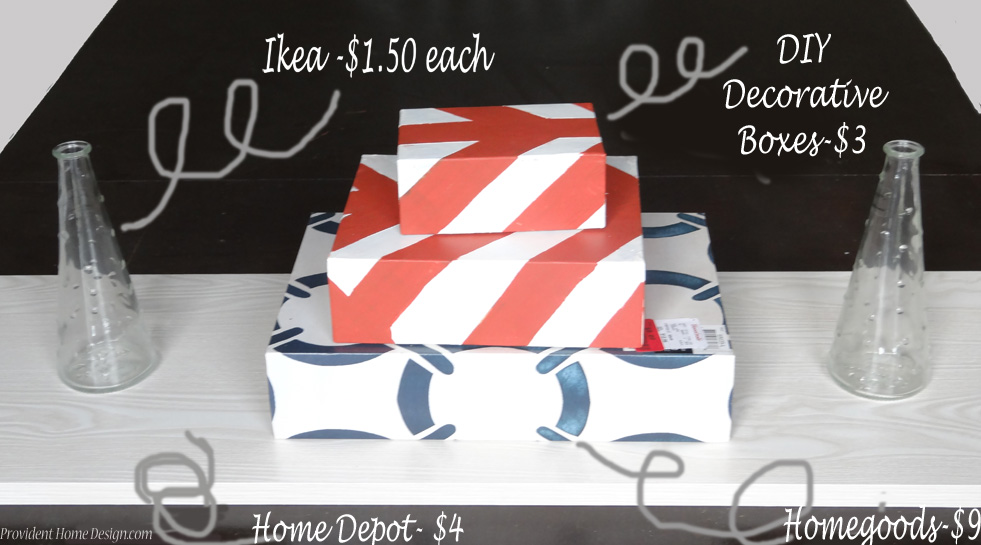
The Summer centerpiece is new and consists of 2 glass bottles I bought awhile back from Ikea, a large decorative box I picked up from a Homegoods clearance aisle, 2 coral and white diy-ed decorative boxes, all on top of a pre-finished white washed laminate board.
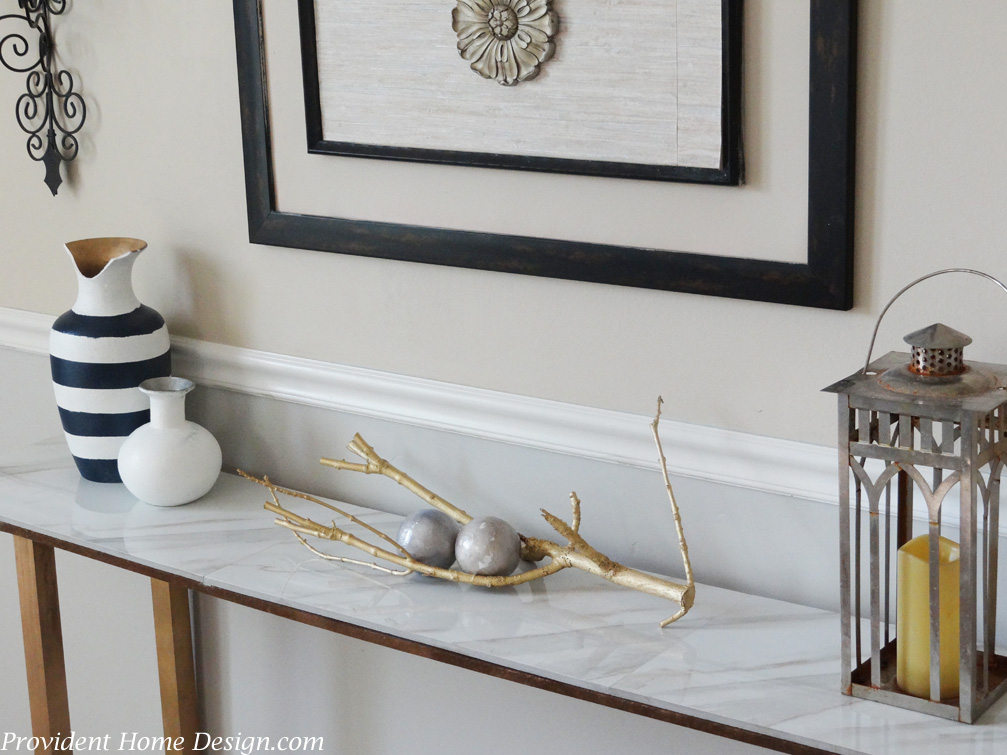
And on the console table (insert whistle call) I brought in a lantern I already had, this diy-ed gold sea branch, and some lovely vases.
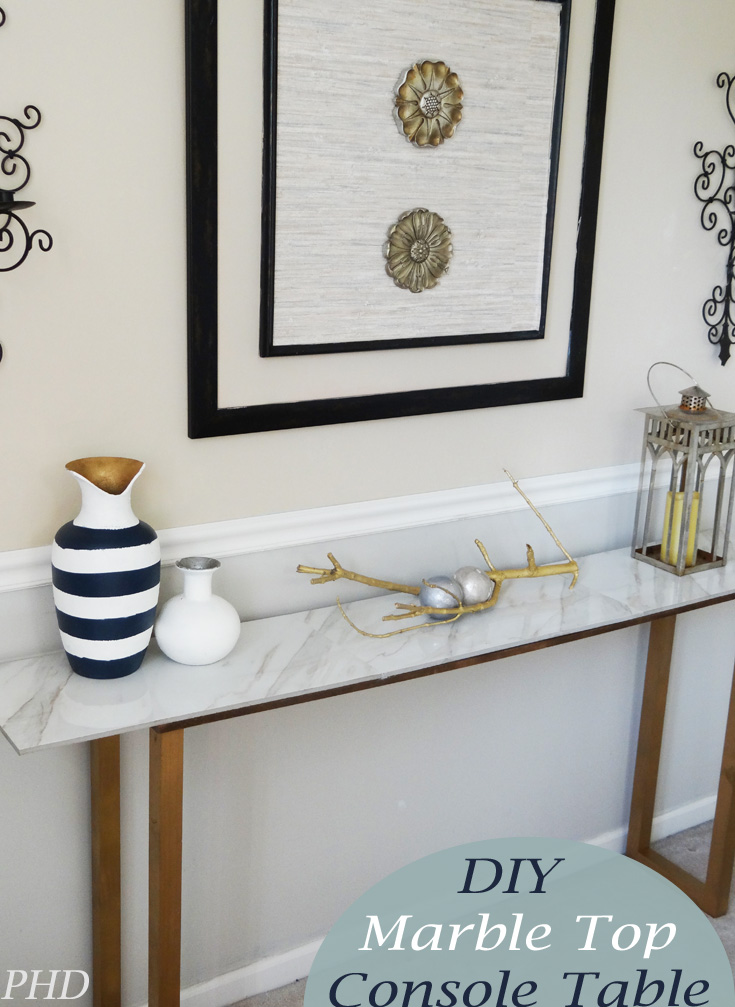
To those who are new here I have been alluding to a great DIY project in the works and this, my friends, is it!! A marbled top console table! Tutorial coming very soon!
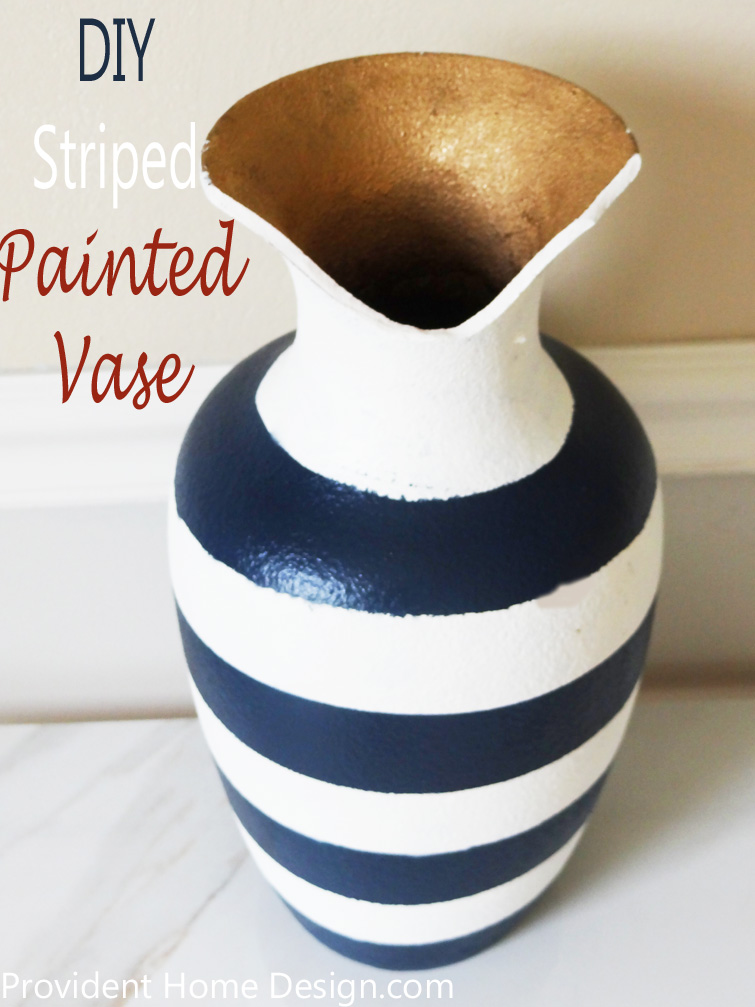
In the meantime I wanted to share this Wisteria Inspired DIY Vase.
For a good while now I’ve been crushing on this Wisteria blue and white striped lamp.

via Wisteria
If I had to give it a nick name it would be The Bold and The Beautiful.:-) As I was thinking about what I could dress my new console table with (can I just tell you how excited I am about how it turned out?!):-) I thought wow that Wisteria lamp would look really good atop! Unfortunately, I didn’t have $210 to spend on the lamp but I did have $3.50 and that is what I paid to DIY this Wisteria inspired vase.
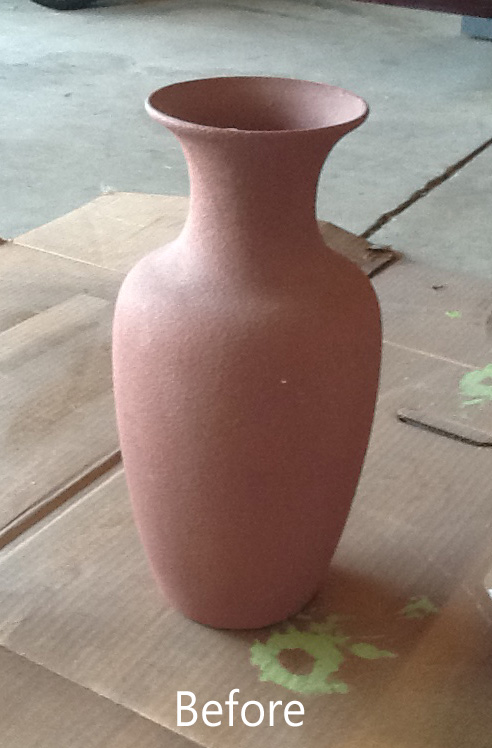
Here is how it all went down— First I spotted this vase at my local Goodwill for $2.50. It was a great size and shape but a not so current pinkish mauve color.
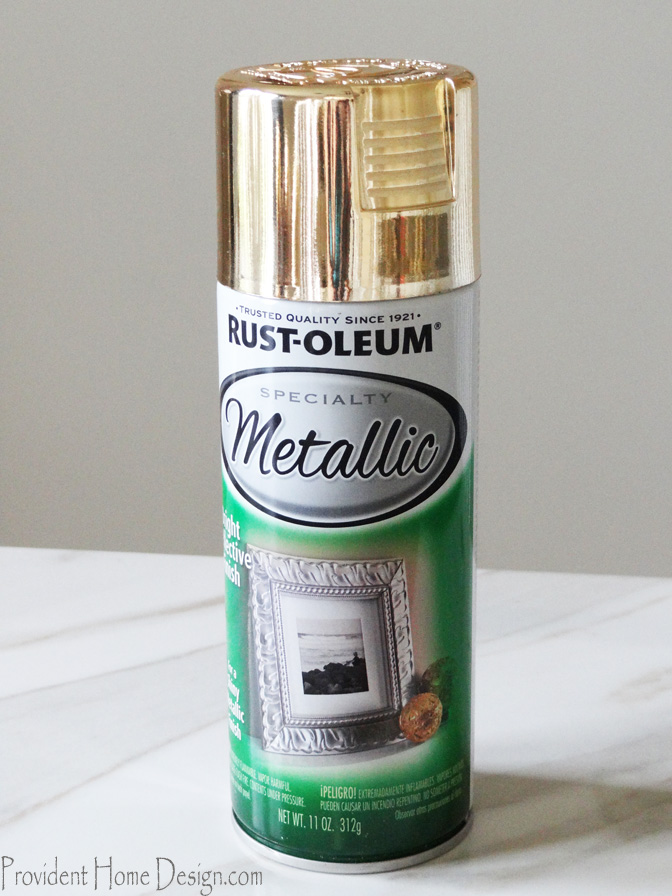
Next, I sprayed the upper inside of the vase with some gold metallic spray paint.
Then I (we) painted the whole outside of the vase white. This is when the vase’s injury occurred. I was naïve and let my ever so “helpful” 3 year old paint it with me. We are just painting the whole thing white, not too difficult, I thought to myself. Well, until I realized that I needed to grab my camera so I could take pictures for this post. I ran inside (we were in the garage) real quick to get my camera and when I returned that cute little girl exclaimed “I broke it, Mommy”!
Well, it was inevitable and I actually am kind of liking the artistic, unique flair the defect gives it. I may change my mind later and glue the pieces back on but for now it’s loved just as it is.

The next step is to wrap painters’ tape in all the areas you want to stay white. I chose for the vase’s “neck” to remain white and then did stripes about every two inches all the way down.
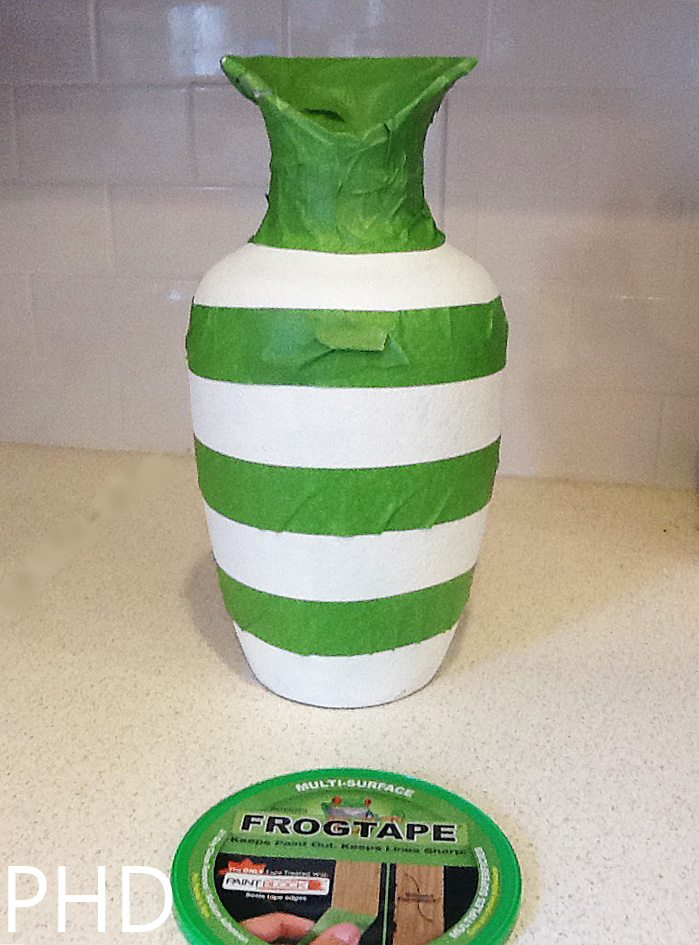
I used the frog tape that I had employed in DIY-ing the decorative boxes. I could definitely tell it created more defined lines with the boxes but it didn’t do as great a job with the vase. I think this was because the vase is rounded and so it was more difficult to get the tape positioned properly. It did a good enough job though (this is not a sponsored or compensated post, just giving my opinion on how the project went).
Next step is to take some navy blue spray paint (I had some on hand from this project) and spray the smithereens out of the pot. You want to make sure you have sprayed every single white part showing.
After it dries you can take off the tape and enjoy your new, pretty expensive looking vase
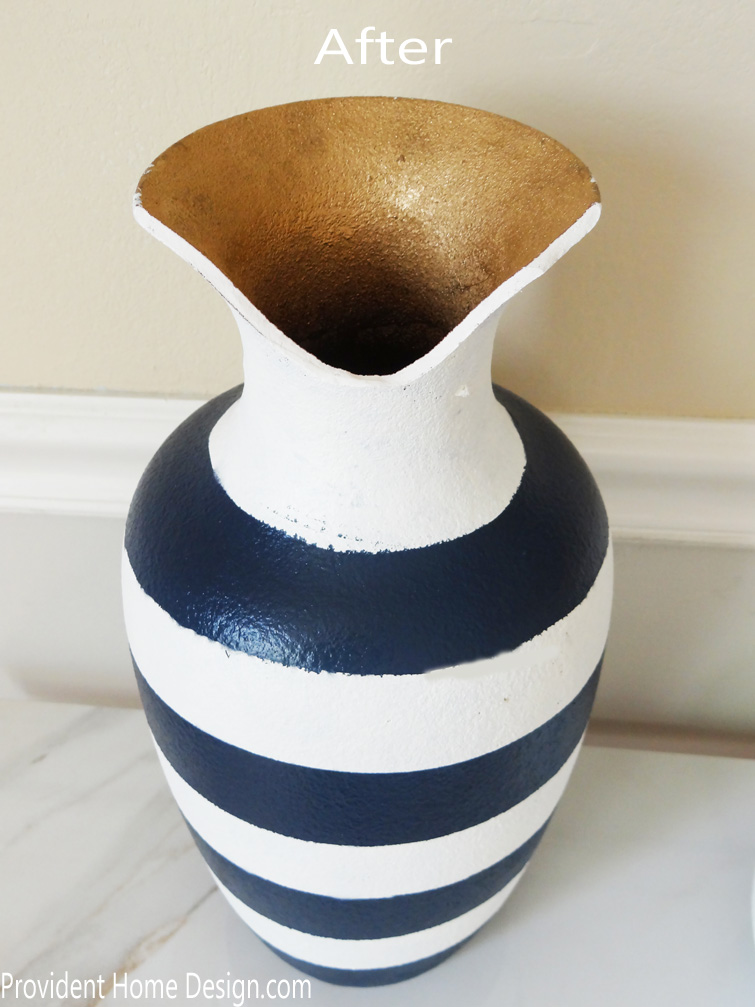
It is a bit 4th of July looking, isn’t it?? Maybe that’s why I like it so much. 🙂 Come back soon to learn how easy it is to make your own marble top console table!!