I’ve been so excited to share this DIY because I think you will love it as much as I do!!!
It all began when I first stepped into my neighbor Donna’s home. Donna has great taste and her husband Darrin has equally great DIY-ing skills. Together they make a fabulous duo!
She knows I love DIY and decorating and invited me into her home to show me how she and her husband had pulled up the carpet on their stairs and painted their treads (a project I did, Here).
When I spotted this mirror in their dining room I may have interrupted her mid-sentence with, WHERE in the world did you get that gorgeous mirror???

Isn’t it fantastic??? I was expecting her to say it was from some uppity store with a hefty price tag of no less than $200. So when she told me they diy-ed it for around $40 I was shocked!
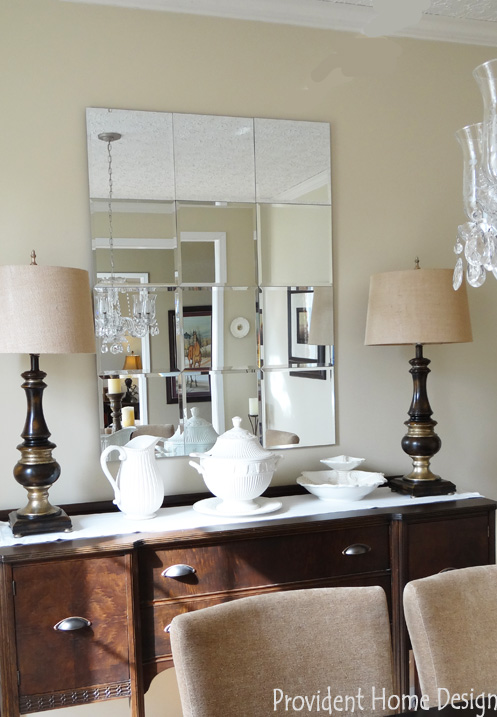
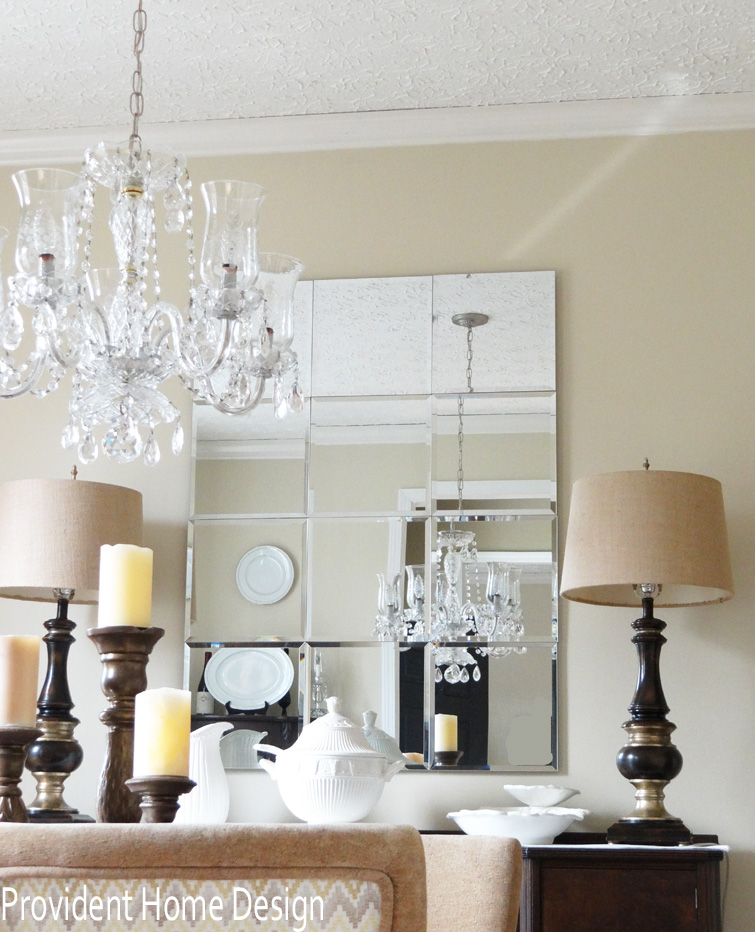
So, how did they create this gorgeous mirror? Well, turns out Donna had been crushing on the Brinkley Pottery Barn Mirror (pictured below) which retails for between $299-$499.

via Pottery Barn
When she and Darrin were shopping at good old Target one day they crossed paths with this frameless beveled mirror pack. Sure enough the light bulb came on and they started scheming up a knockoff version of the admired Pottery Barn Brinkley Mirror.

The pack comes with (6) 12.25 ” H x 12.25 ” W ‘mirror tiles’ for $19.99. Since they wanted a large mirror they bought (2) packs making 12 mirror tiles in all and costing a total of $40.
Update: Target is no longer carrying these but Lowes does for the same price Here, and I believe Home Depot does too!
When they got home Darrin found a leftover piece of 1/2 inch thick mdf that he cut smaller than the perimeter of the mirror so that it didn’t show. Then he glued the mirror tiles to the mdf with Liquid Nails.
You have to make sure the Liquid Nails has sufficient time to set (look for time frame on the package) or tiles will start sliding (they found this one out through experience). He then used this awesome hanging hardware system below to hang the mirror onto the wall.
via Home Depot
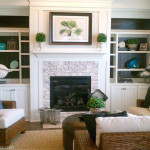
I thought it was brilliant! So brilliant that I had to figure out how I could add this lovely wall décor in my home. I didn’t have a ton of wall space available but I did need something for an awkward wall in my living room.
My first level floor has two hallways that run parallel to each other and it took me a little bit of time to figure how to decorate the room with this odd set up (anyone else have this set up).
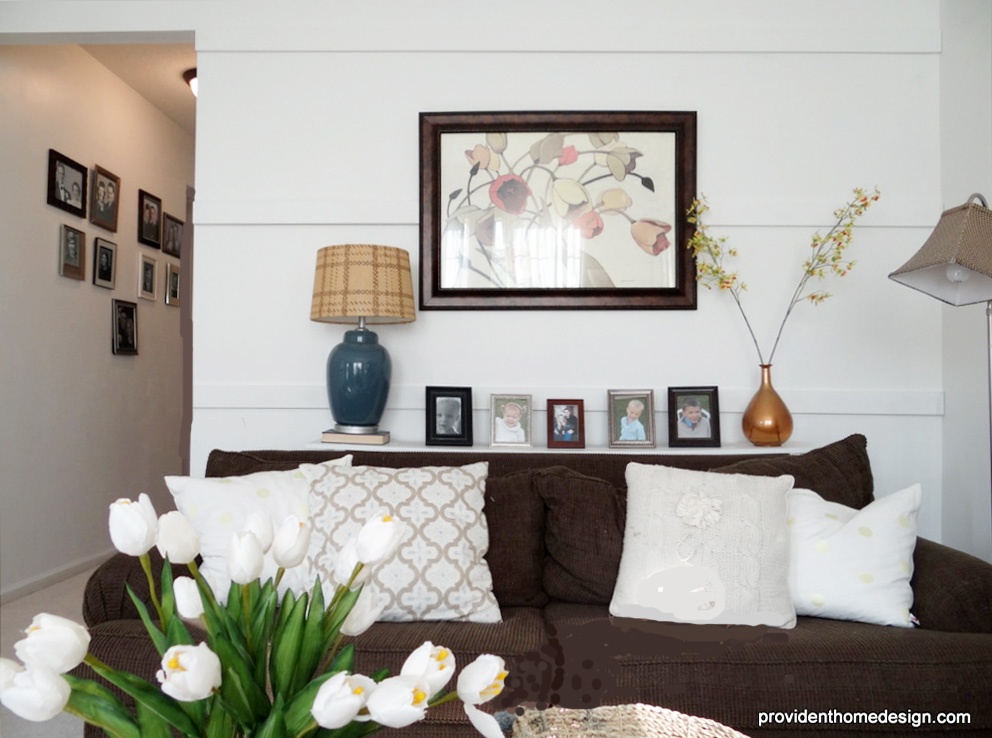
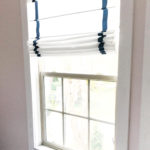
So to the left of where you see the white tulips in the above picture I added a little bench seat and the Pottery Barn Brinkley Mirror Knockoff.

I felt for this particular space that just (1) pack of the Target frameless beveled mirror tiles would do. I also chose to frame it for two reasons. One, because my living room is a pretty informal living room and I felt like the frameless version read too fancy for the room.
Also, I sensed that because there are dark framed wall art on two of the other walls in the room that having a dark frame on this wall would tie the room together and make this hallway wall feel less awkward. Update: I have since made over the living room. You can check out the reveal, Here.
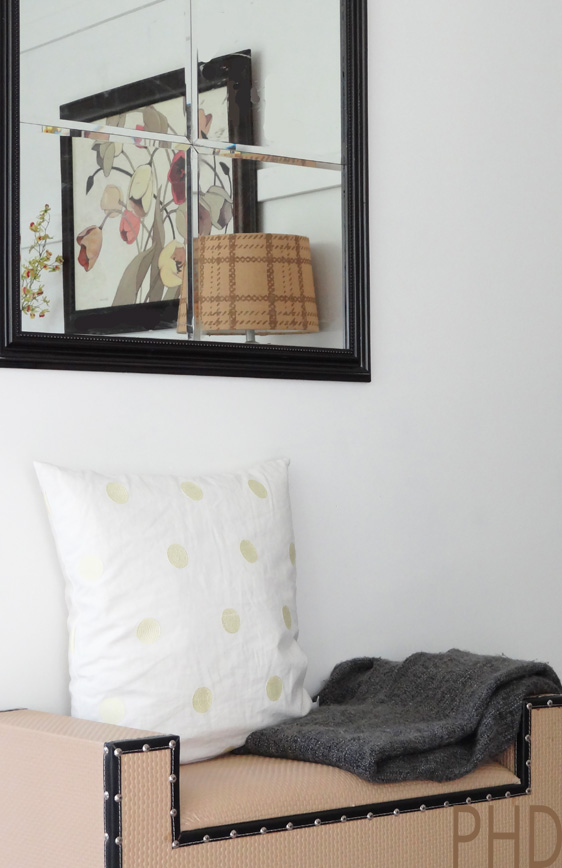
With luck I had this frame on hand in the perfect size (27” x 40”) for the 6 mirror tiles. It had been from a framed picture that hung in our condo and after we moved I had put it in storage for a “just in case” scenario like this one (my home décor hoarding paid off):-)
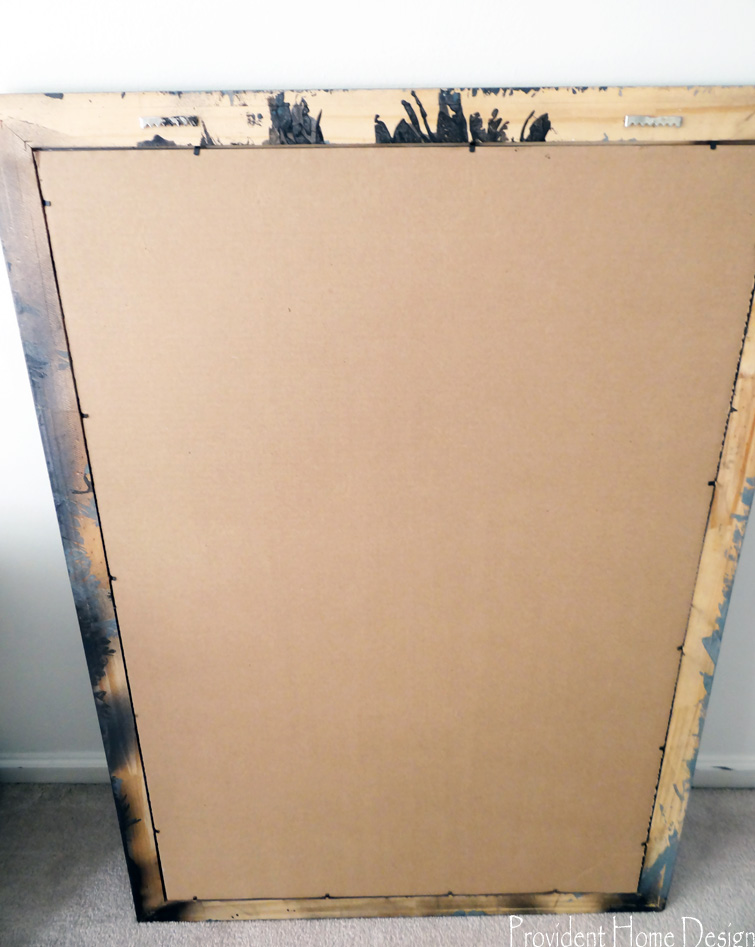
It was previously silver so I spray painted it a rubbed oil bronze finish and as you can see in the photo of the back of the frame below I just used the stiff card board that came with the frame to adhere mirrors.
Another idea that I think is a great option and will most closely resemble the Pottery Barn Brinkley Mirror is to purchase 1/2 inch MDF Board from any home improvement store and cut it (or have them cut it) to the exact size of the mirror.
Then adhere the mirrors with Liquid Nails to the MDF so that only the side boarder of the MDF is showing (like in the Pottery Barn version below).
And don’t forget to paint the sides of the MDF before you adhere the mirrors! Afterwards would be a pain!
I think painting the sides in a bright emerald green would be gorgeous in the right room. Or deep navy or gold. The color you choose to paint the sides in limitless!! 🙂 And it would be a beautiful mirror hung horizontally as well.
A big thank you to Darrin and Donna for inspiring this great knockoff and for allowing me to share it with others through my blog!! Gotta love great neighbors!! 🙂
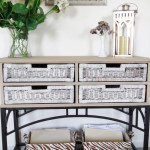
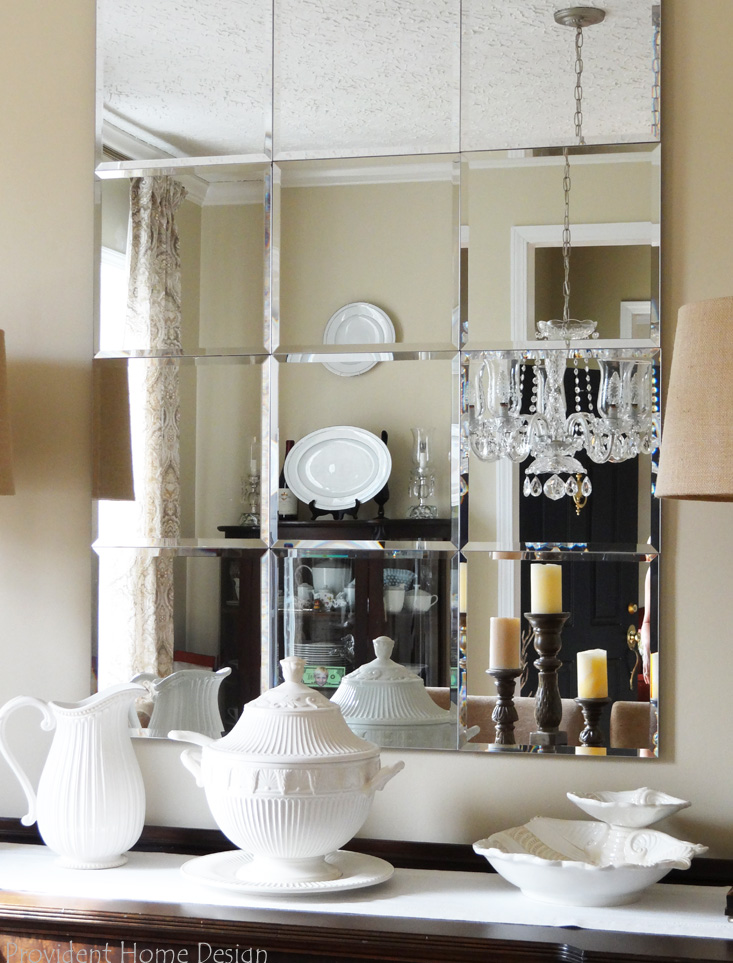
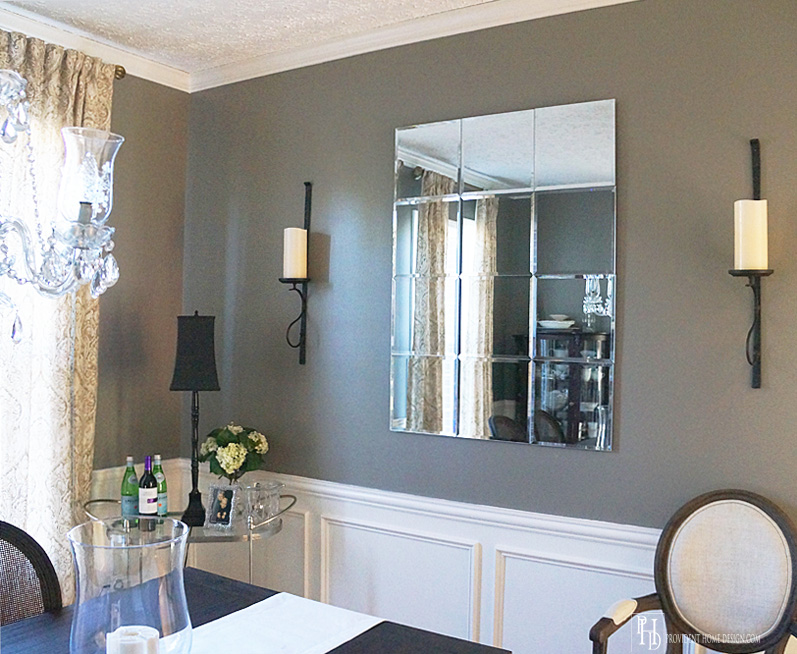
UPDATE: Darrin and Donna recently redid their dining room–doesn’t it look gorgeous (especially that mirror)?!:-)
Do you see a version of the Brinkley Mirror Knockoff in your future?

[jetpack_subscription_form]