Last Summer when we were expecting the arrival of our 4th child we were in need of a room shuffle. We have 4 bedrooms, our guest room would become our baby’s room and our 2 1/2 year old would move from the crib to the full size bed we had had in the guest bedroom.
We had never gotten around to getting a headboard for the full size bed in the guest bedroom but now that I was creating a whole new room for my daughter I wanted to achieve a certain look and was on the search for a headboard like the one from Pottery Barn Kids below.

Pottery Barn Kids-$749.99
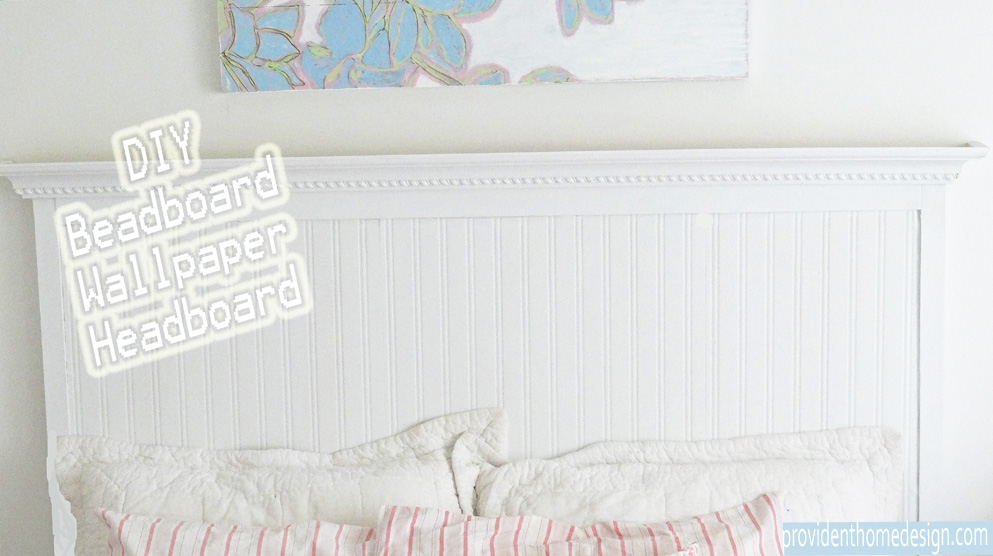
I really liked the simple lines of this headboard and the beadboard paneled detail. I searched religiously on Craigslist for a headboard around the price range of $50 and that fit the style above. I was even willing in my 3rd trimester pregnant state to paint a headboard if it wasn’t already white but had the right shape and lines.
After 3 weeks of futile searching I decided to look into building it myself. I couldn’t find any plans on the web that mirrored what I had in mind so I created my own.
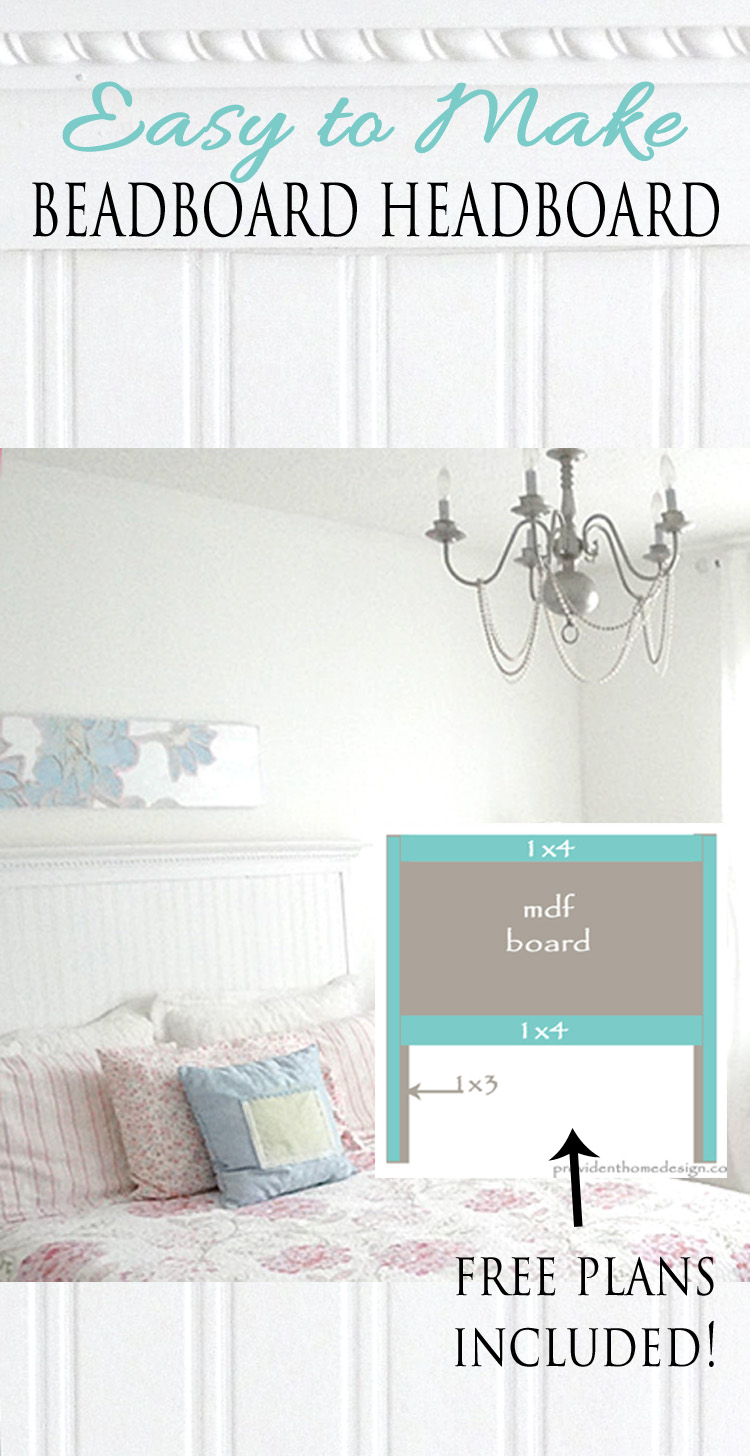
Here are the results:
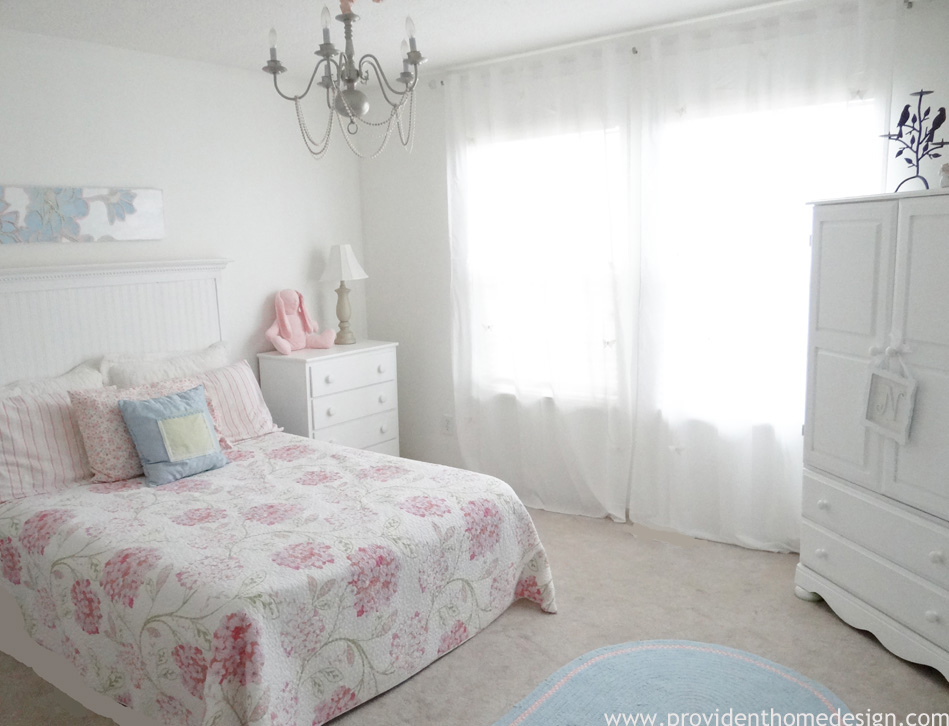
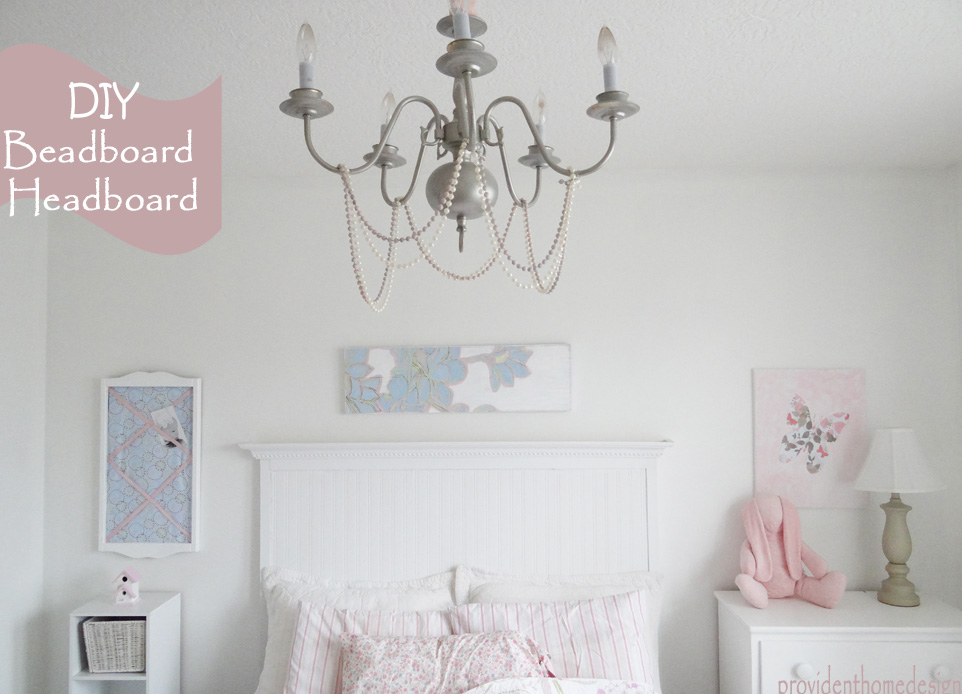
I’ve been really happy with it! And the best part is that it’s not hard to build at all! This is a great project for first timers. You can even have the workers at the home improvements store cut all your wood for you.
Before you go get the supplies you will need to determine the measurements you want your headboard to be. I wanted my headboard to be fairly tall so I did mine at 54 inches tall with a 2 inch crown moulding trim which made it a total of 56 inches tall. For the width you will need to measure the distance between the outside corners of the bed’s frame because you will need the bedframe to fit nicely into the area of the headboard shown below.
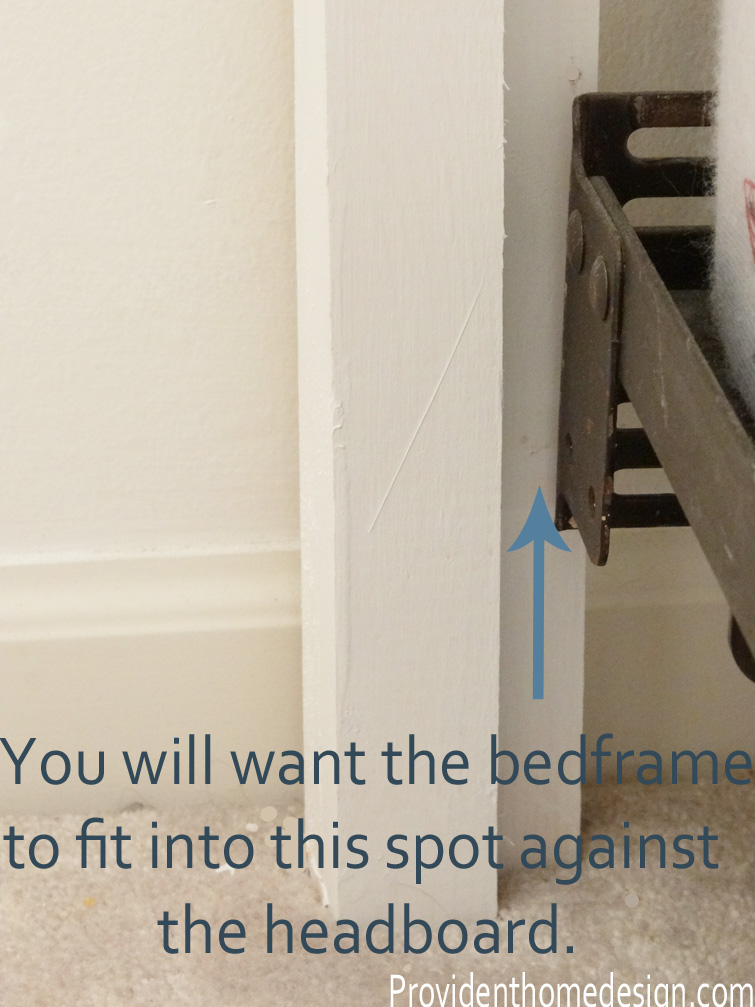
You can see in the picture that I made my headboard just a bit too wide. It would be a better fit if the bed frame touched where the arrow is pointing. If you get a good fit in there then you can even screw the metal frame to the headboard.
So back to measurements for your desired width. Measure the distance between the outer corner of your bedframe and then add 3 inches that will be the total width of the headboard.
Supply List
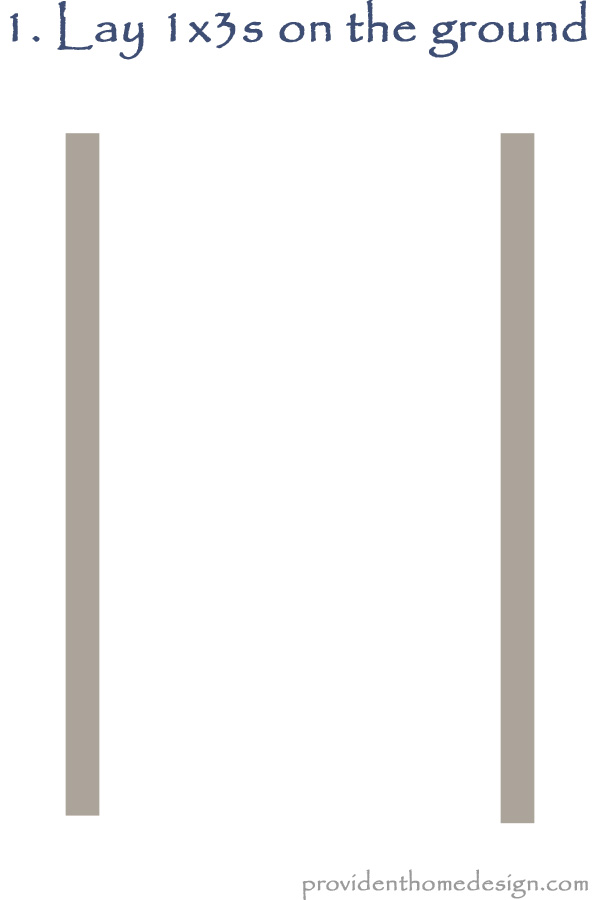
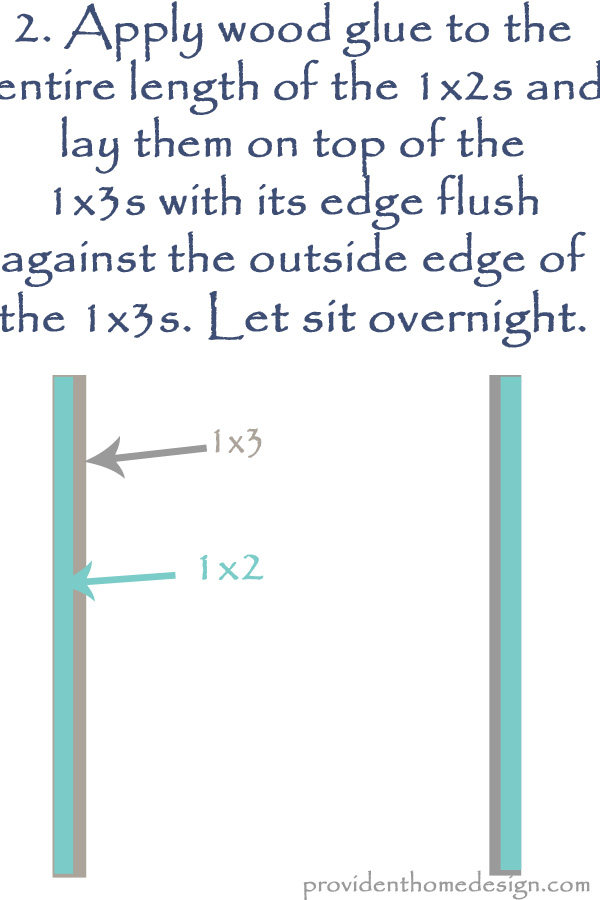
2- 1 x 2’s (Cut to the total height you want your headboard to be minus 2 inches) (54 inches for mine)
2- 1 x 3’s (Cut to the total height you want your headboard to be minus 2 inches) (54 inches for mine)
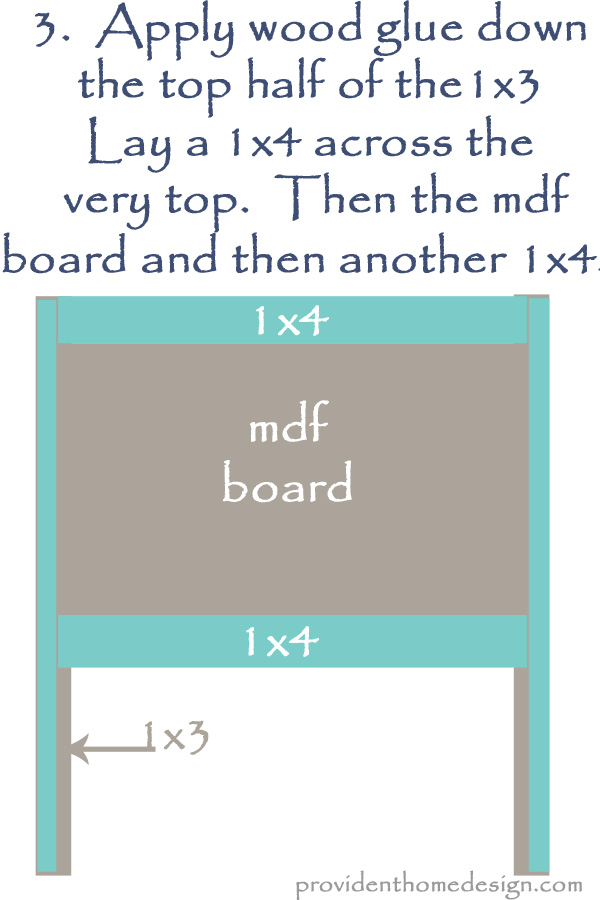
2- 1 x 4’s (Cut to the total width you want your headboard to be minus 3 inches) (53 3/4 inches for mine)
1 piece of crown moulding OR 1- 2 x 3 (Cut to the total width you want your headboard to be plus 1 inch)
1 -Sheet of MDF Board (1/2 inch thick)
(The cut for the height of the MDF should be your total desired height of the headboard minus 26 inches) Mine was 30 inches (56-26)
(The cut for the width of the MDF should be the same as what you cut your 1 x 4’s)
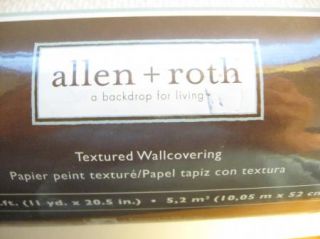
1 Roll of Beadboard Wall paper (Found Here)
Wood Glue
1-1/4 inch nails
***Note- I used Pine wood because it was less expensive just make sure to hold up the wood pieces to ensure they are straight and unwarped.
Instructions
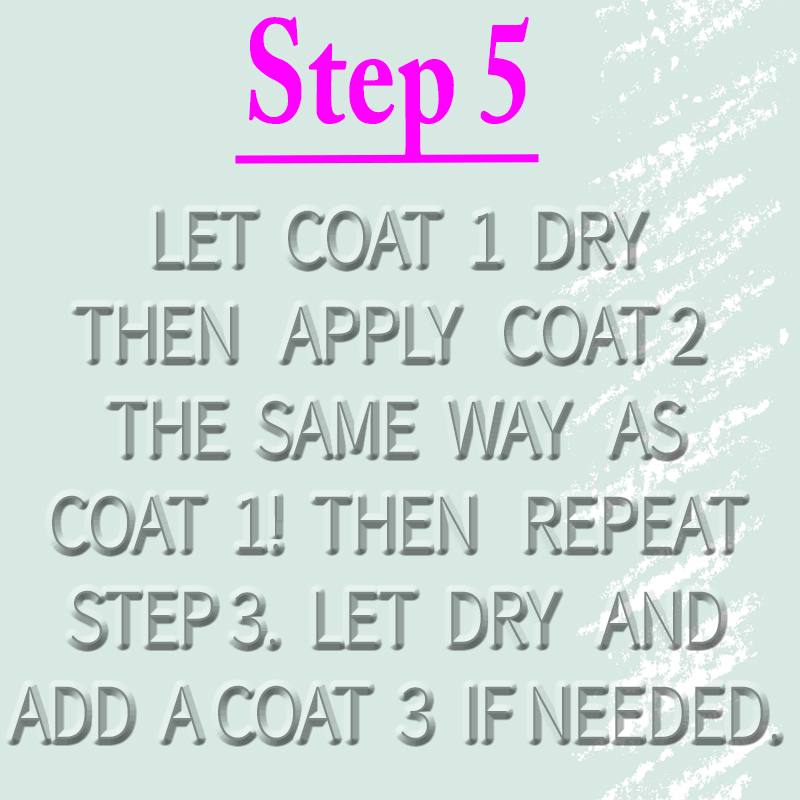
4. Let glue dry for a couple of hours then come back and secure with nails.
5. Take out Beadboard Wallpaper and cut to the length of the mdf board (30 inches for mine). Follow instructions in package in getting it wet then lay it down on the mdf so that the top left corner of the beadboard wallpaper meets up with the left corner of the mdf. Smooth wallpaper out and make sure it is straight.
6. Assuming you will need another panel of wallpaper to fill up all of the mdf board, hold another piece of beadboard wallpaper up next to where the first panel left off. If there is too much mark where it needs to be cut and then adhere the beadboard panel onto the mdf the same way as in the step above.
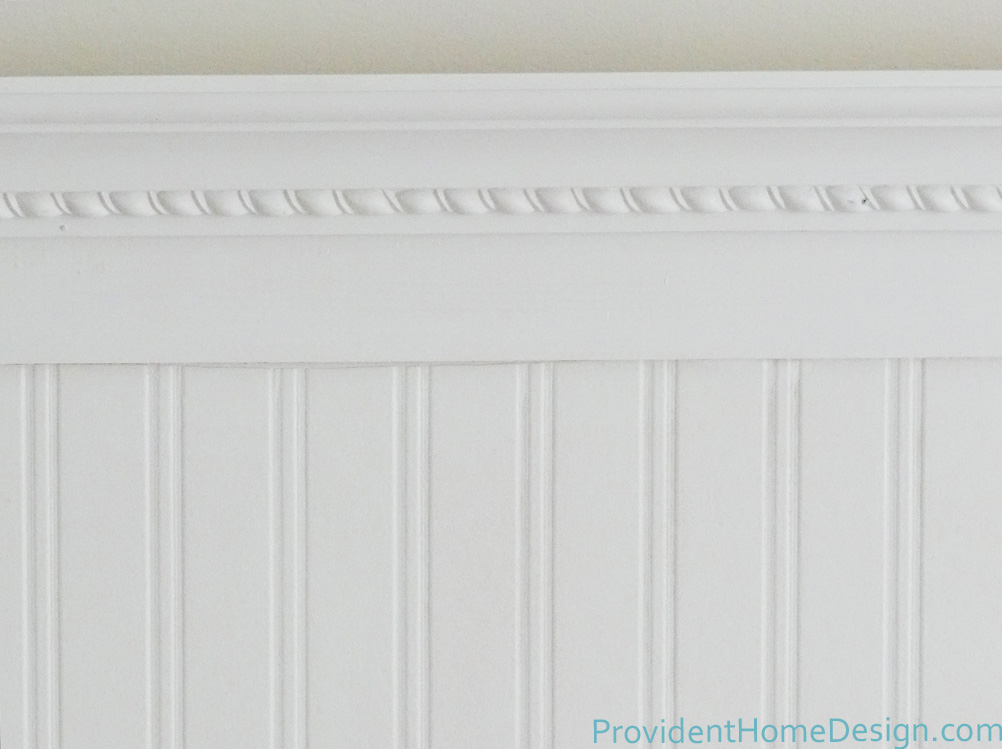
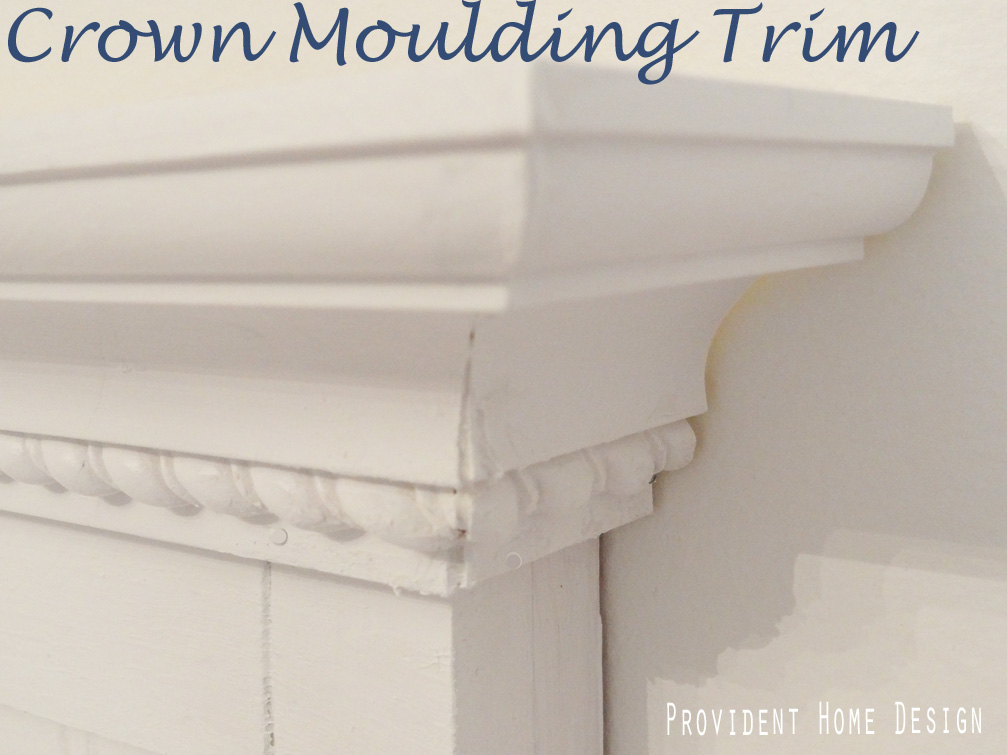
7. After letting your beadboard wallpaper dry you will need to stand your headboard up against a wall. You can then either install your piece of crown moulding on top or you can apply glue to your 2 x 3 board and place it on the very top of your headboard so that there is a half an inch overhang on each side of the headboard.
8. Caulk any nail holes or imperfections.
9. Awesome job, you did it! Now all you have to do is paint it your color of choice!
I had all of the supplies leftover from other projects except the 1X2’s, 1 x 3’s, and 1 x 4. My total came to around $15. If you don’t have any of the supplies yet my guess is that the headboard would cost $50-$75.
As always, if you have any questions please don’t hesitate to ask! If you get stuck on the measurements try sketching the headboard out, it really helps! This project may sound hard but you will see it is really very easy! 🙂