I’m so excited to do this tutorial! I will be breaking this tutorial into two parts to ensure easy digestion and because there is a natural break in the steps where you have to wait 24 hours. I think tiling can be such an intimidating subject. I used to think I would never be able to put up a backsplash but a friend (thanks, Ashley!) assured me that it wasn’t that hard. I watched her help a mutual friend with her kitchen backsplash and she was right, it wasn’t that hard!
Unfortunately, I didn’t know I would have a blog someday so I didn’t take pictures when I did my kitchen subway tile backsplash. However, I did capture step-by-step photos when I recently installed an accent tile piece around my main floor bathroom.
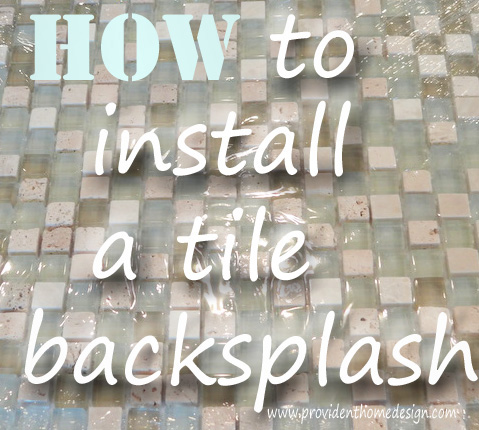
This Is How You Do It
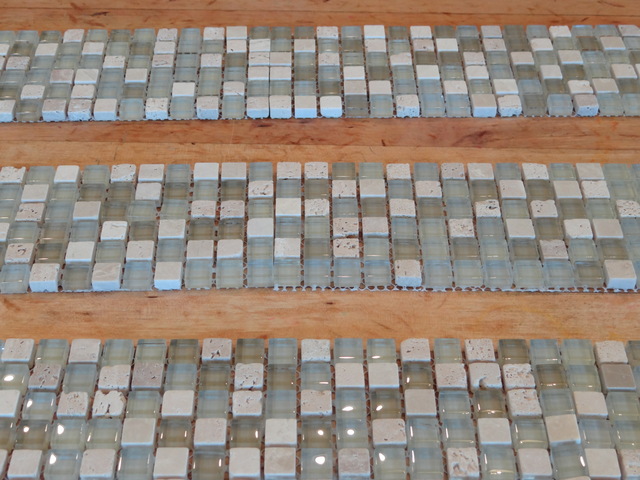
First, get your tiles out and ready. Since I was doing a 4 inch tile trim, I cut the 12×12 tiles into 4×12 strips with scissors.
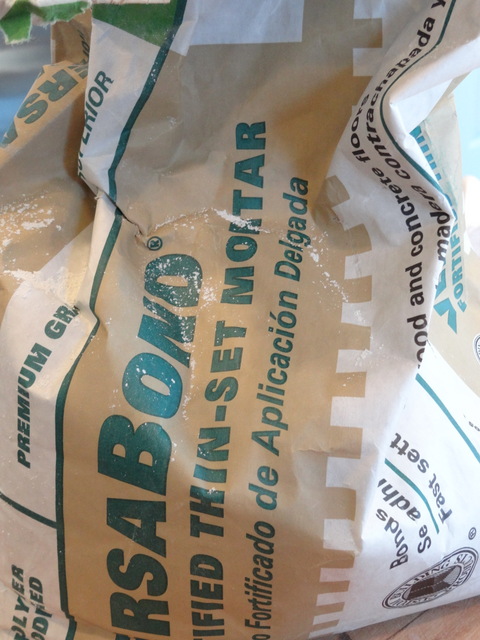
Next is the adhesive. This is what initially sticks the tile to the wall. There are two ways you can do it (I’ve done both ways). You can buy pre-mixed mastic (more convenient because you can skip the next few steps) or a cheaper option is to buy this thin-set mortar. The mortar is a powdery substance.
If you go the mortar route then get 2 cups of cold water ready.
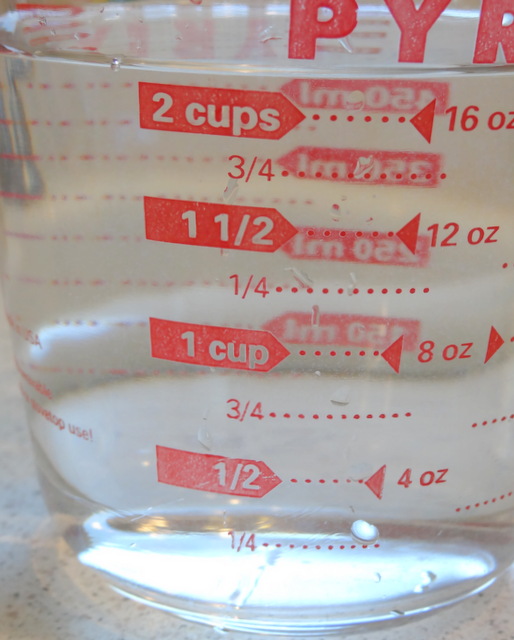
Pour the powder-like mortar into a big sturdy bucket. Slowly add the cold water into the mixture while stirring vigoroously. Once the mixture gets to a cake batter like consistency do not pour in anymore water. You may use more or less than the 2 cups of water it just depends on how much powder you begin with.
(mmm, looks yummy like cake batter–resist the urge to taste it) 🙂
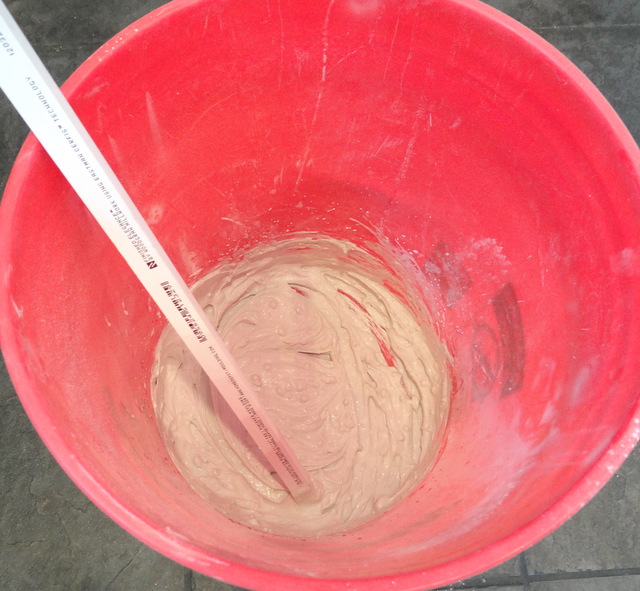
Let the mixture sit untouched for 5 minutes.
Now give the mixture another stir and begin to apply on the wall. There are different methods of getting the mortar or mastic on the wall. When working in a big space you can use the trowel to get it on the wall. Since I was working with a smaller area of tile I used a spatula (for more control) to put the thin layer of adhesive on the wall (it doesn’t have to be a red spatula but if it would make you feel more empowered then by all means)!:-)
Once there is a thin (but not too thin, like on the right side the trowel) layer of adhesive, tilt your trowel on angle (as shown below) to make lines in the adhesive. You can choose to do horizontal lines or vertical lines it doesn’t matter. What matters is there are lines (as pictured on the left side of the trowel) for the tile to adhere to. Once you’ve done this to a 12×24 space or so go ahead and put the tiles on for that space. If you wait to long the adhesive will be too dried up for the tile to stick to it.
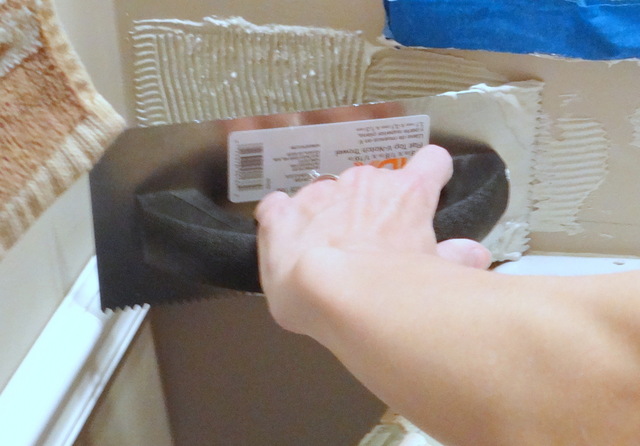
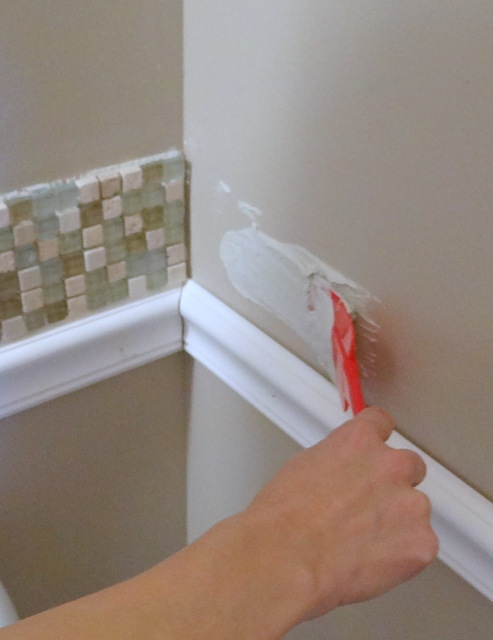
Carefully align the tile and gently but firmly press it into the adhesive.
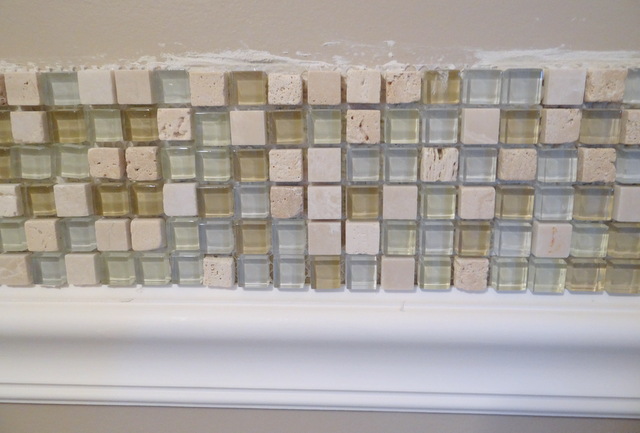
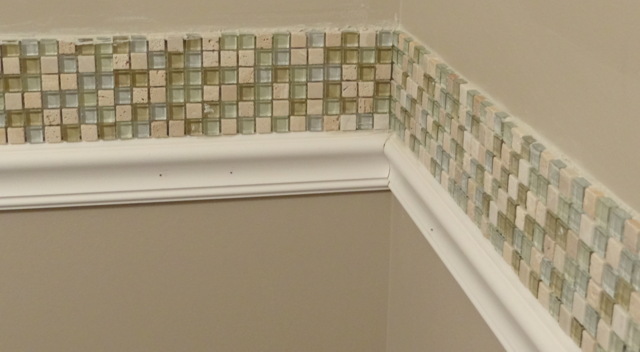
When you get to corners, obstacles (like an outlet), or the end of your planned area you will most likely need to make cuts to your tiles. I was very lucky on this projects because with the tiles being so small the only cuts I had to make could be done with scissors in between the tiles. I didn’t actually have to cut any tiles of this DIY project!
When I did my kitchen subway tile backsplash I had to make lots of cuts to the tiles. I loved this part! It was like putting a puzzle together. I used a friend’s wet saw (it’s electric) to make the cuts but you can also use a tile cutter (not electric). I’ve used both and both are great options.
To determine what amount of the tile needs to be cut hold the tile up the area and with a pen make a mark on the back of the tile where it needs to be cut in order to fit. Now, it’s time to make your cuts, click here to watch an excellent demonstration of marking the tile and using a wet saw to cut tiles. If you want to see it being done with a tile cutter, click here. If you are at all weary of using a wet saw or tile cutter then please watch these videos and you will see how easy it is to cut tile!
After all the tiles are up wait 24 hours before applying the grout! In How to Install a Tile Backsplash Pt. 2 I will show you how to mix grout, apply it to the surface and finishing it up. This is really the quickest and most fun part of the project!
Related Posts From the Blog:
 DIY Topiary Tutorial –Easy & Inexpensive!
 New Build- Girl’s Bedroom and Bathroom Reveal
 How to Remove Mildew and Mold from Patio Pavers and Other Concrete Surfaces
 Stair Runner Reveal and Tutorial
 Interview with Organizing Guru, Jane Stoller!
 New Build Update- Cabinets are in!
 Kids and Guest Bathroom Reveal
 Ready, Set, Go Garage Sale-ing