Back for more fun? If you haven’t read How to Tile a Backsplash Pt. 1 yet, Click here. Part 2 is the last part and is all about grouting. So roll up your sleeves and lets get this party started!:-)
First fill a bucket up with cool water and make sure you have the sponge pictured below. It is a special grouting sponge found in the tiling section of your home improvement store.

Fill up your measuring apparatus with 2 cups of cool water (no nerdy water allowed at this party)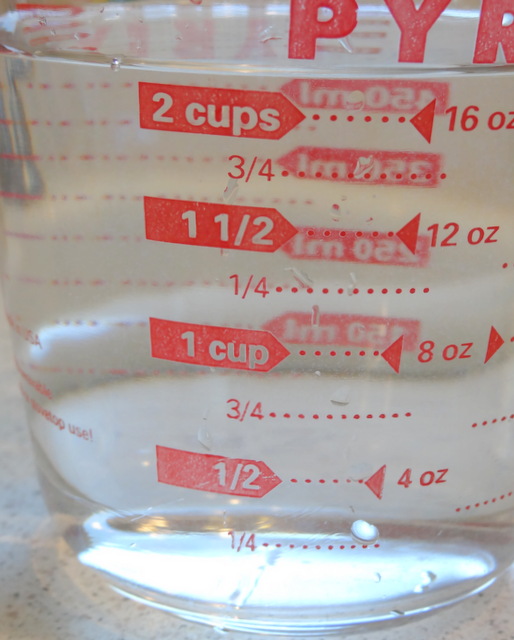
I used the non-sanded grout below. They say that if the space between your tiles are more then 1/8 inch that you should use sanded grout. My guess is that most backsplash tiles will be placed 1/8 inch or less apart and hence will need non-sanded grout.

The next step should be familiar from How to Install a Tile Backsplash Pt. 1. You simply pour the powdered grout into a large sturdy bucket and while stirring vigorously, slowly pour in the water until the grout becomes like thick cake batter or like creamy peanut butter. Below you can see the progression.


I ended up having to use make more later. Notice the disposable gloves. You WILL need them for the next step.

So this is where your experience of playing with mud as a child comes in. If you no longer think it is fun to play in mud then buy a grout floater (it’s in the tiling section).

I’m a hands on kind of gal so I just get on my gloves and go to town scooping up the grout and spreading it all over the tiles. Make sure it gets into all of the spaces between the tiles. If you do it with your hands just be sure to keep your fingers together and hands straight like I’m doing below.

Let the grout sit for about 10 minutes before cleaning it off. Don’t wait much longer or it can become too difficult or impossible to get the grout off. For this reason when you are cleaning off the tiles also make sure you clean any grout that may have splattered into other areas (you can see below how a lot ended up on the chair rail). So put your sponge into your bucket of water and squeeze the excess water back into the bucket. Now quickly and meticulously clean off the tiles. As the sponge gets dirty with grout just dip it in the bucket of water and squeeze out the excess water. Keep going until you have cleaned off the area you have grouted.

With a dry cloth towel (or I just used a paper towel) go through and wipe off the tiles again. This should get off any remaining grout residue. I did not do this step with my kitchen backsplash and I wish I had because in some areas I can see just a bit of residue still on the tiles. Please learn from my mistake!

Okay, so if you were not done grouting your entire backsplash when 10 minutes hit then go back repeat the steps until your entire backsplash is completed. And now your grouting party is over. Kind of sad, huh??? Cuz admit it, that was kind of fun, wasn’t it?:-) Enjoy your new tile backsplash and feel free to email me with any questions!

Related Posts From the Blog:
 One Room Challenge- The Master and Girls’ Bedroom Makeover Week 1
 Favorite Paint Brand-I’ll Share Mine If you Share Yours
 Why We Might Build a New Home This Year
 Making a Case for Window Casings
 New Build Update- Cabinets are in!
 How to Add Woodwork Above the Mantle/Fireplace
 Rustoleum Cabinet Transformations Review
 Coastal Inspired DIY