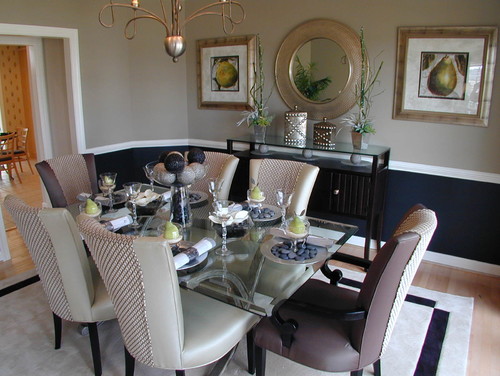
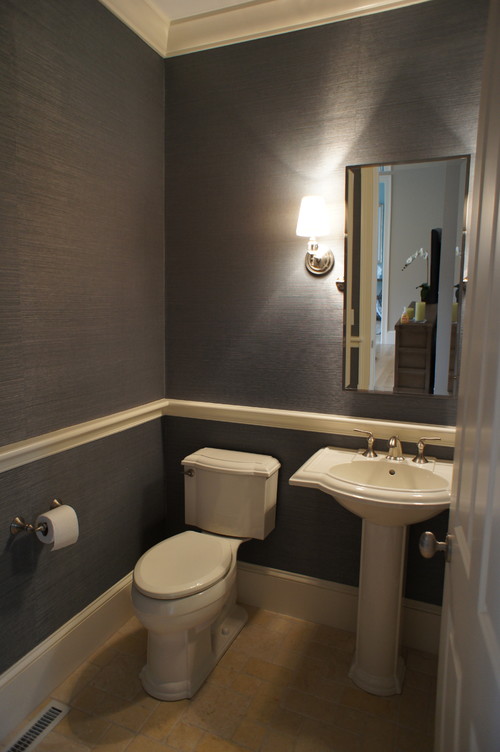
Right now I am in the middle of a bathroom makeover. I am super excited for the end result (granted it turns out how I am envisioning)! The first step to this bathroom makeover is to install a chair rail. A chair rail can add an air of sophistication and refinement to any room (even a bathroom-the least refined room in the house).:-)

This is about one of the easiest woodworking details you can do. Not so sure? Check out my tutorial below!
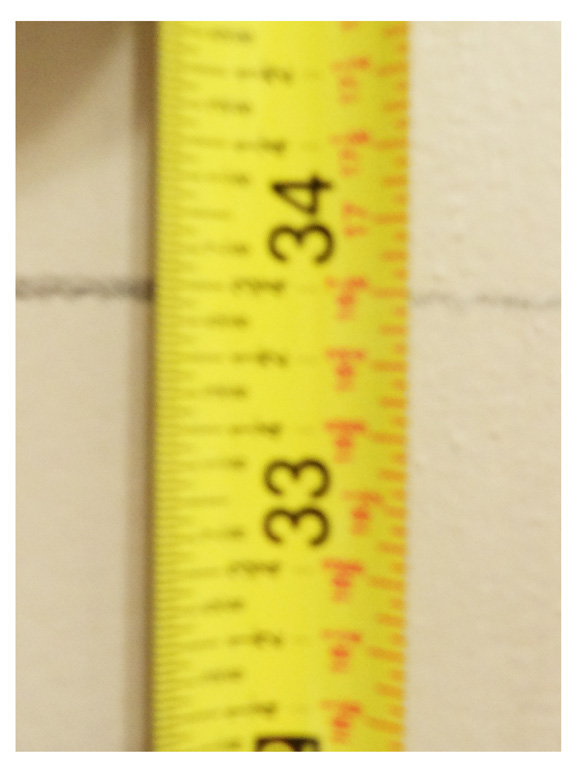
Decide what height you want your chair rail to be (usually ranges between 32″ and 40″). Measure from the floor to your desired height and make a pencil mark where it hits that height. Do this every foot or so around the room (sorry about the blurry picture).
With a long straight ruler connect the marks you made on the wall, so that there will be a straight line that goes all around the room.

Now with a tape measurer, measure the total length of each wall (please excuse my nappy hair day):-)

Starting with one of the walls, measure your chair rail and mark with a pencil where it hits the wall’s length.

Now you will make your cuts! Corner cuts are done on a 45 degree angle. You can use a miter saw or a miter box and hand saw. The latter is just $8 at any home improvement store.

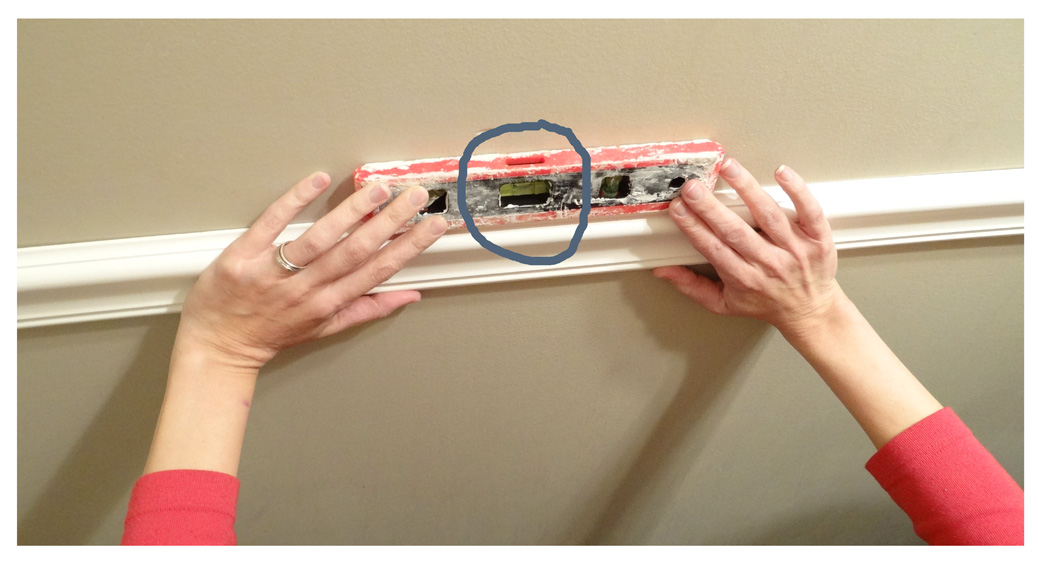
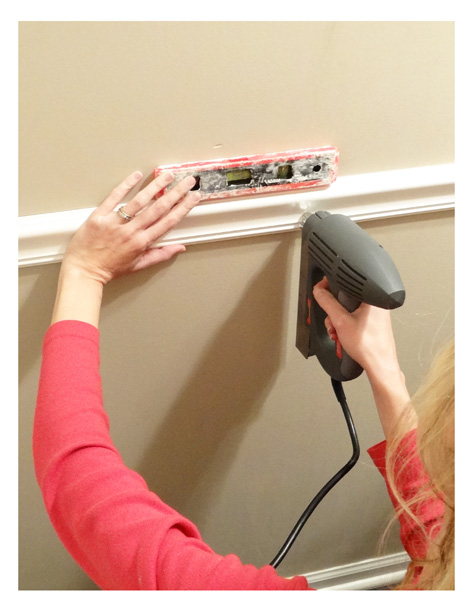
Once your cuts are made, start with one wall and hold the coordinating chair rail piece up against the wall. Be sure to match it up with the line you made. Once the chair rail is matched up with the line use a leveler to confirm the chair rail is ‘perfectly’ straight. Adjust the chair rail (if needed) until chair rail is level. My poor leveler has had better days!:-)
Now secure the chair rail to the wall with nails. I used my electric nail gun but if you don’t have a nail gun then make a small hole with a drill and then hammer in a finishing nail.
Do this to all walls in the room. 
Don’t worry about the corner not meeting up perfectly; it is a common occurrence and is easily masked by applying caulk to the area.

After you are all done caulking and patching your nail holes sit back and admire your work! You can totally do this! And I’m here to answer any questions you may have along the way!:-)
Thanks for being here!
Update: And if you would like to see the makeovers reveals here they are: Reveal #1 and Reveal #2
Which do you like better?

Related Posts From the Blog:
 DIY Painted Couch- A One Year Update!
 DIY Plantation Shutters
 Interview with Organizing Guru, Jane Stoller!
 4th of July Home Decor Deals
 Come and Knock on My Door
 The Exterior Drawing of the House we are Building
 My Friday 5- Design Inspiration from the Week
 Why I Chose Marble Countertops & What I’ve Learned