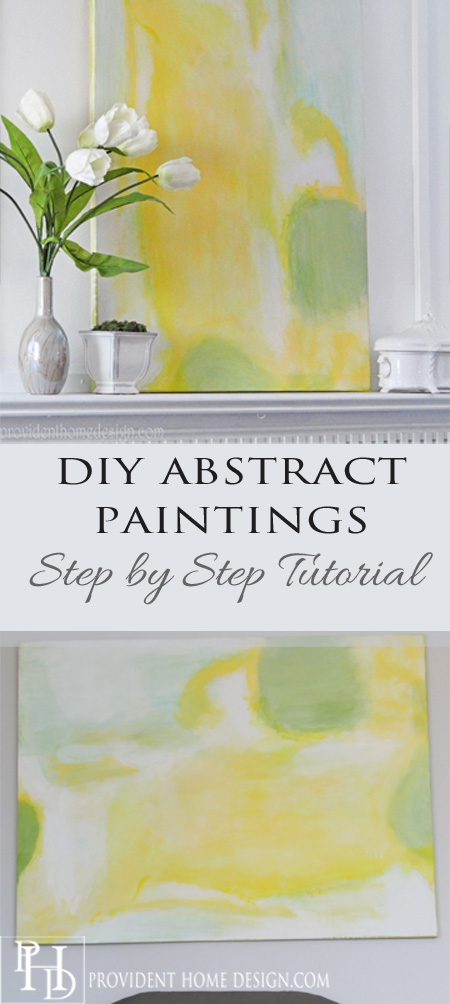
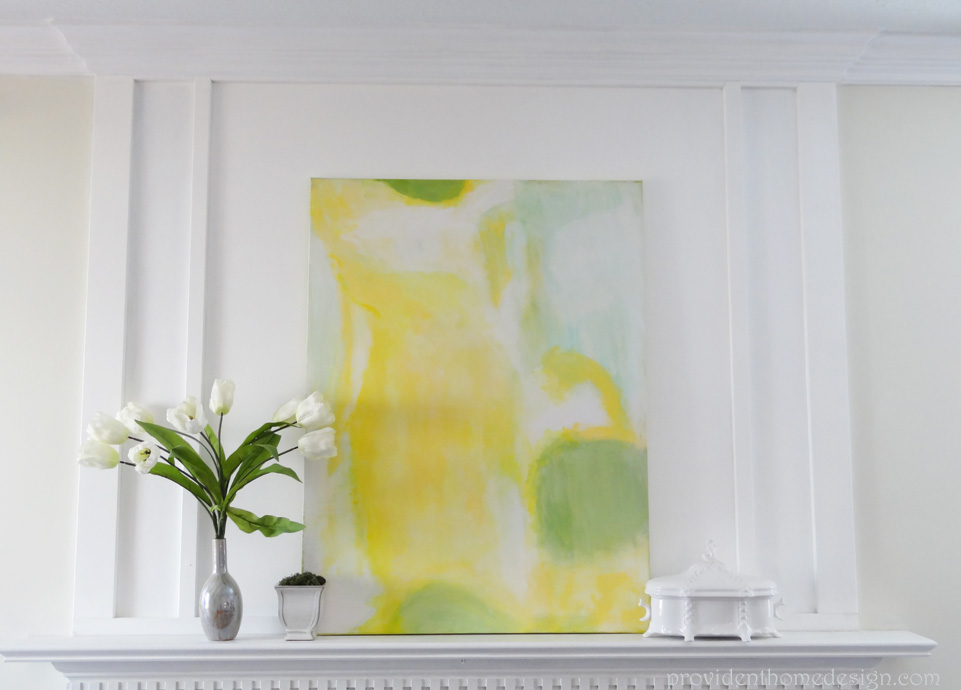
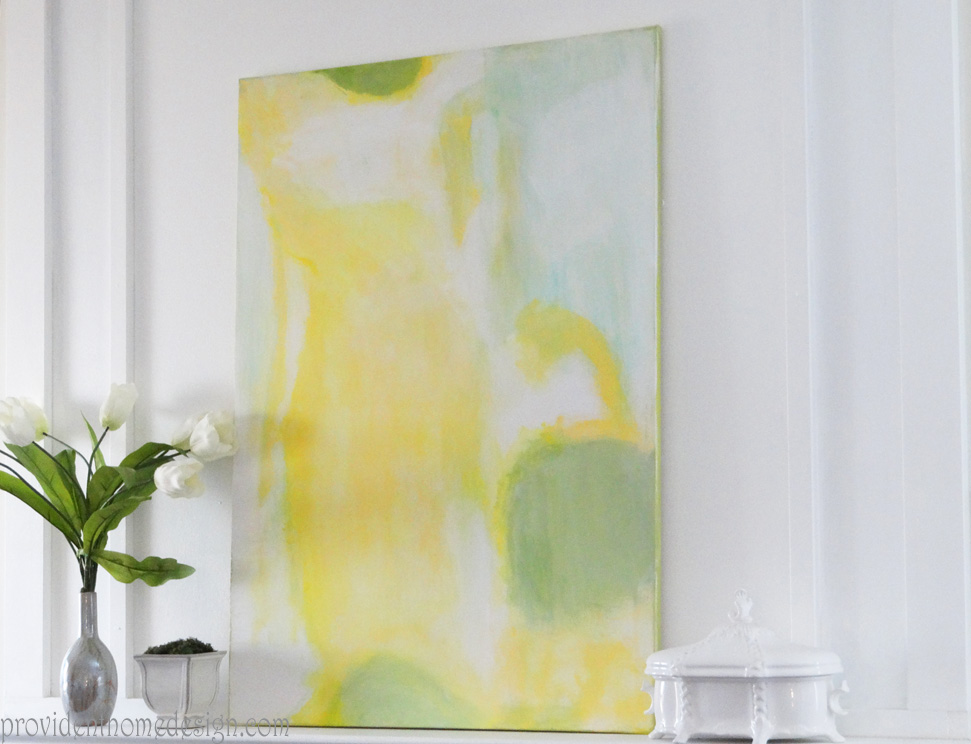
The temperatures are rising outside and it’s finally starting to feel like Spring might actually come this year after all!!:-) A month ago I spotted this abstract canvas painting online at the popular but pricey, Wisteria. It immediately caught my eye! I love the spring-y colors and it’s cheerful, airy ambience. It is on sale for $339.15 if anyone wants to buy it!:-) Or, you could take a stab at painting it yourself for $20

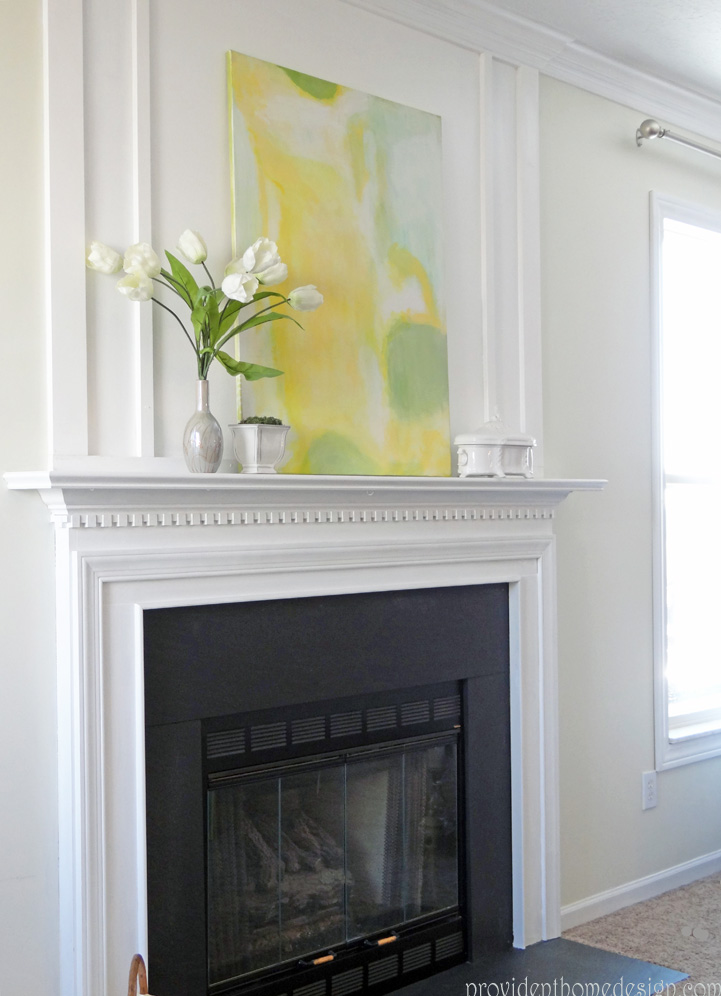
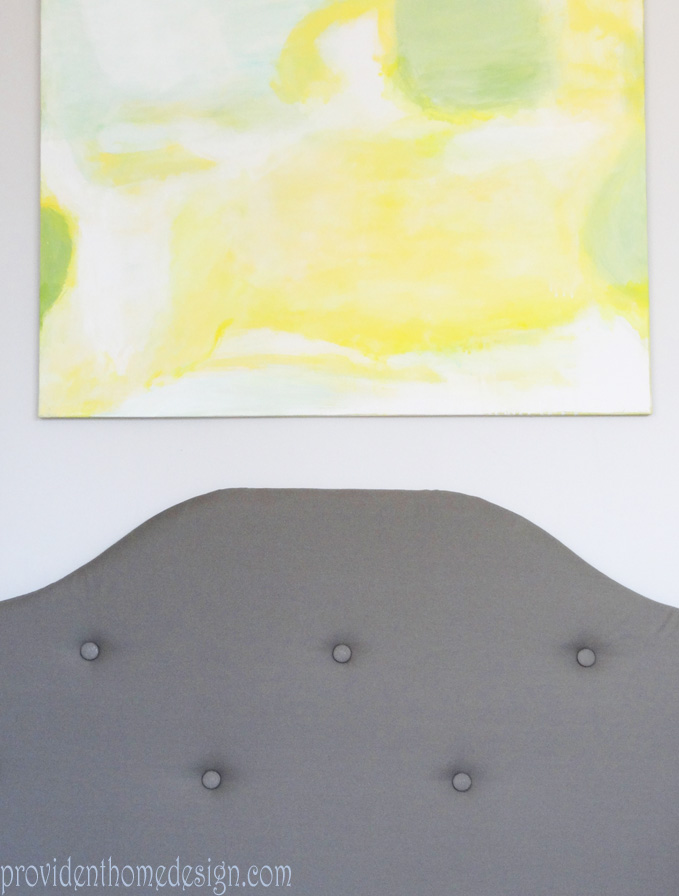
As I don’t have $339 to throw down on a piece of artwork I chose to test my luck and make my own DIY knockoff version (If you do by all means purchase it–I’m all about supporting artists). It was a fun experiment and I am excited to say that it turned out reasonably well. I would not describe myself as a painter so I learned a lot along the way. I will be sharing these ‘learned tips’ with you today but first let me introduce you to my new Spring abstract canvas wall art!
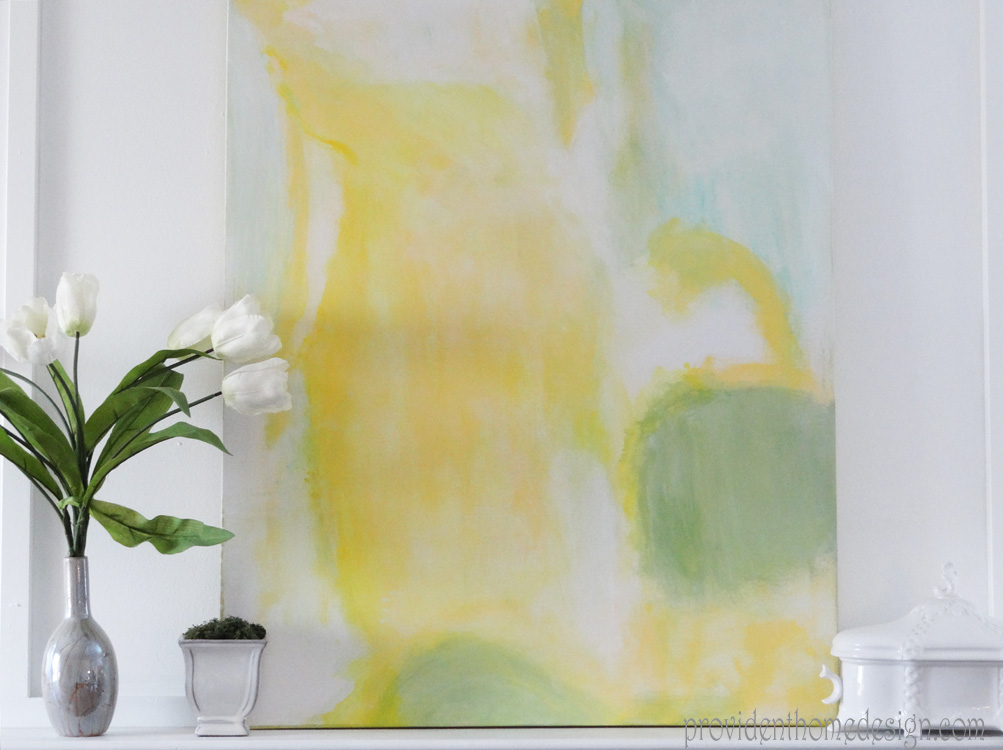
Remember how I had said I tend to think I can recreate abstract art when I see it (If not, read here)? Well, I learned that I can come close but I was seriously humbled by the length and effort it took to get to the finished product. Going into it I thought I would be able to whip this out in an hour. It took me 3 hours!!! You can totally do this project too, just know it is going to take some time and some determination!
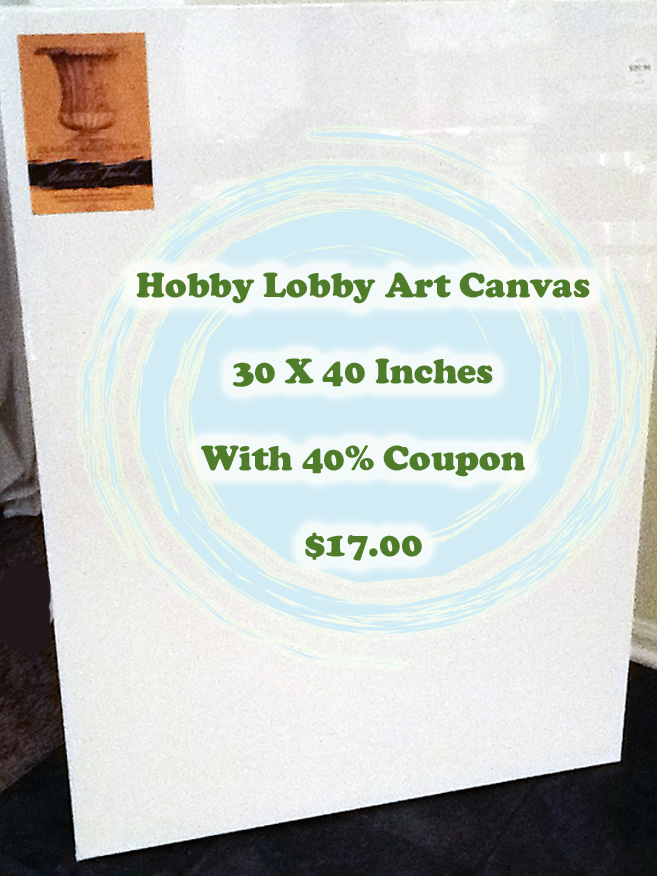
Supplies needed:
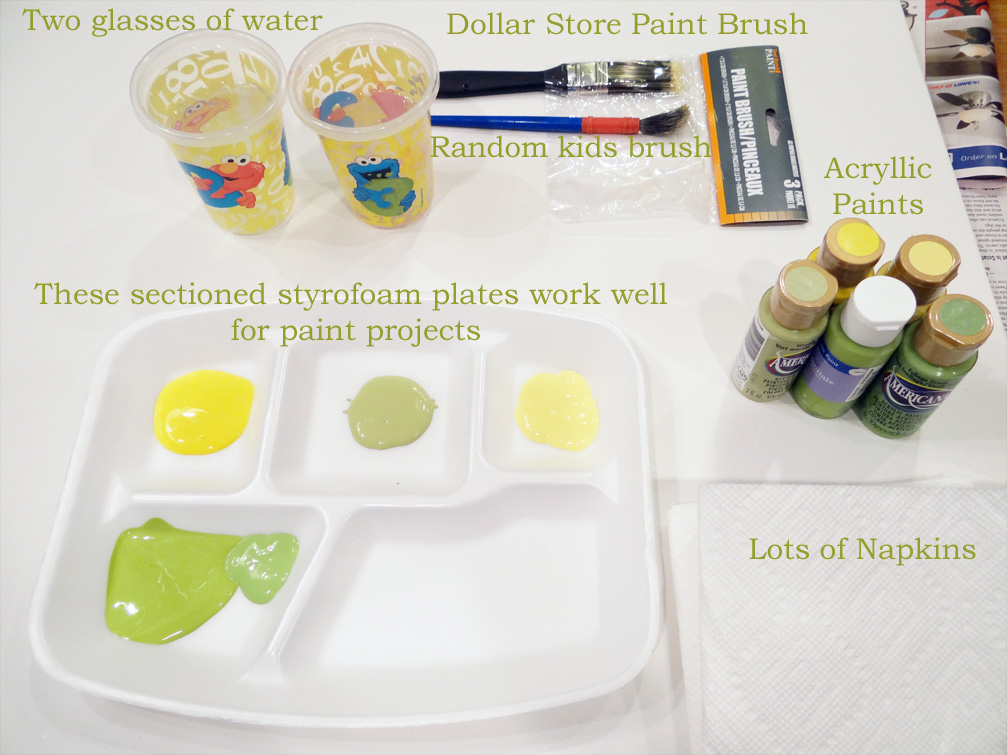
I bought the acrylic paints at Hobby Lobby but I know other craft stores carry them too. They are only $1 a pop. I purchased the Americana brand in the colors Yellow Light, Banana Cream, and Foliage Green. Also get a plain white color! The other green color was a paint I already had but hardly used so don’t worry about getting it. You will also need a tiny bit of a blue-ish turquoise color. I used the turquoise color in my kids cheapo watercolor paint set. I know you are jealous of my sesame street water cups, aren’t you???:-)
The Process:
1. Work in a space where you are able to look at a picture of the Spring Meadows Wisteria wall art.
I had my Ipad set up right next to me the whole time.
2 This step is all about getting the first layer of paint on your canvas. Acrylic paint dries quickly so just get the paint on there– it doesn’t need to be perfect because once it dries you can fix mistakes with more paint. Make sure you have newspaper set up all around your canvas. Start in the bottom left corner of the canvas with the Yellow Light color and with a medium paint brush paint all the areas of the canvas that are bright yellow. Throughout this time be sure to refer to the Wisteria painting often.
3. Once you have finished doing all the Yellow Light areas put a layer of Banana Cream Yellow on the canvas where the areas of the painting contain a light shade of yellow (always be sure to clean your brush off in the glass of water before moving on to a different color).
4. Now move onto the Foilage Green color. Brush it onto the canvas in all the areas that have a green.
5. In the top left corner and bottom left area brush a bit of the turquoise paint onto the canvas and immediately wipe it away with a napkin. Doing this will create the light wispies (made up word) you see in the painting (you may need a tiny bit of water on your brush when you do this step).
6. Great job, you’ve created the first layer of your painting. Now you will do the 2nd step in the process which entails fixing any shape discrepancies between your painting and the Wisteria painting (don’t worry about color discrepancies at this point just work on matching shape).
7. The third step is putting on your finishing layer of the painting–this step works primarily with color replication. At this point your colors are pretty flat and 1 dimensional. Some of the yellow and green parts of the canvas will need softening and dimension to match the Wisteria painting. To do this put your hand up on my hip, when I dip , you dip, we dip dip your paint brush in a little bit of water, then into the white paint and then lightly brush it onto the areas that are too bright and need softening until it matches the variations of color in the painting. This step is a process of tweaking your painting until it resembles the Wisteria painting. It is really what takes the most time and the most determination.
8. Sit back and admire your work! Don’t worry if your painting doesn’t look just like the Wisteria one–chances are it still looks great! The beautiful thing about abstract art is it’s not perfect, nor is it trying to be!
I took footage of my painting process so if your interested in watching it or if you are really really super bored and want some mind numbing entertainment, click on the download button below:-) P.S. I got lazy about holding the camera in the last step so it’s not present in the clip!