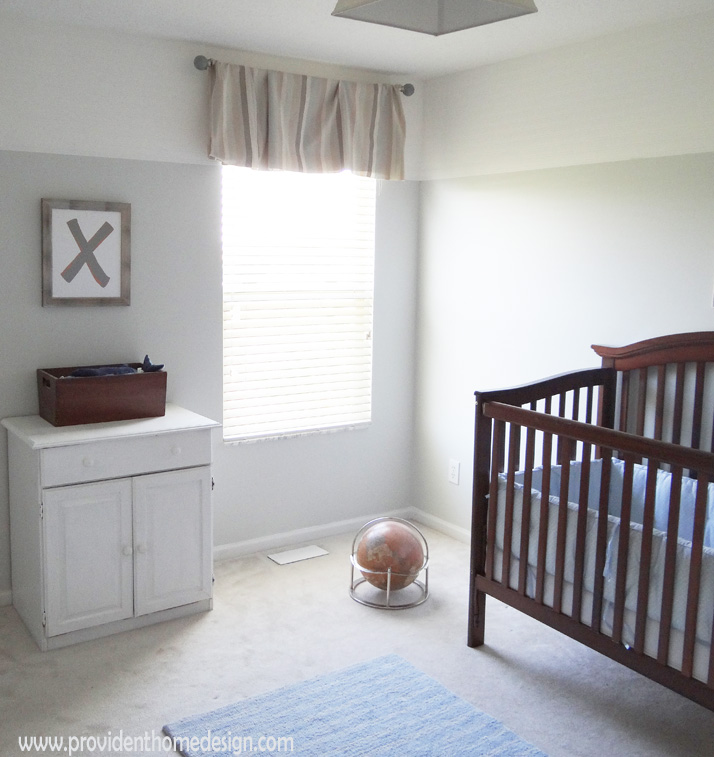
A few months before our baby was born I was putting finishing touches on his room. Unfortunately, however, the wall space above his crib still lay glaringly blank. I am not a big fan of making a room too theme-y but I did have a subtle theme of ocean/exploring going on displayed by a picture of a boat, a globe, and 2 “X” marks the spot framed wall decor. Additionally, the paint color was a blue-gray hue coined “Horizon”.

I decided to jump onto Pinterest and Houzz to search for wall art inspiration for above his crib. After looking through scads of baby boy nursery rooms I came up short. Interestingly, I found that people most often decorate the wall space above the crib with one of 3 things:
The Child’s Name

A Decal Image or Quote
or
A Shelf with Pictures or Trinkets on it

Although these are great décor options for over the crib, I had hoped to find some kind of wall art that would help bring attention to the space but not overpower the crib. I was looking for something that simply stated, “hi we are the focal point of the room look over here and see how well we compliment each other” (Okay, so ignore the fact that I just had inanimate objects talking. Some people have imaginary friends I have imaginary wall art friends. Great!) 🙂 So, later as I was perusing one of my favorite sources of inspiration for kids rooms, (the Pottery Barn Kids Catalog) I found my inspiration!
I turned to this page (below) and fell in love with the whale/shark picture on the right. It was perfect!

Well, except that it was $129–which is not in the budget! I figured out a way to make my own version for $0. Yep, I was able to make this all out of left over supplies from previous projects. If you don’t have any of the supplies it will cost more like $25. Here’s how to do it:
Supplies:
Beadboard 15×15
2 pieces of 8×11 white cardstock
Navy blue spray paint
Wood trim
Gorilla glue
Double-sided tape
Glue stick
Instructions:
1. Print out this whale template. It is divided into two halves–the front of the whale and the back of the whale
Download Whale Front Half Template
Download Whale Back Half Template
2. See picture below.
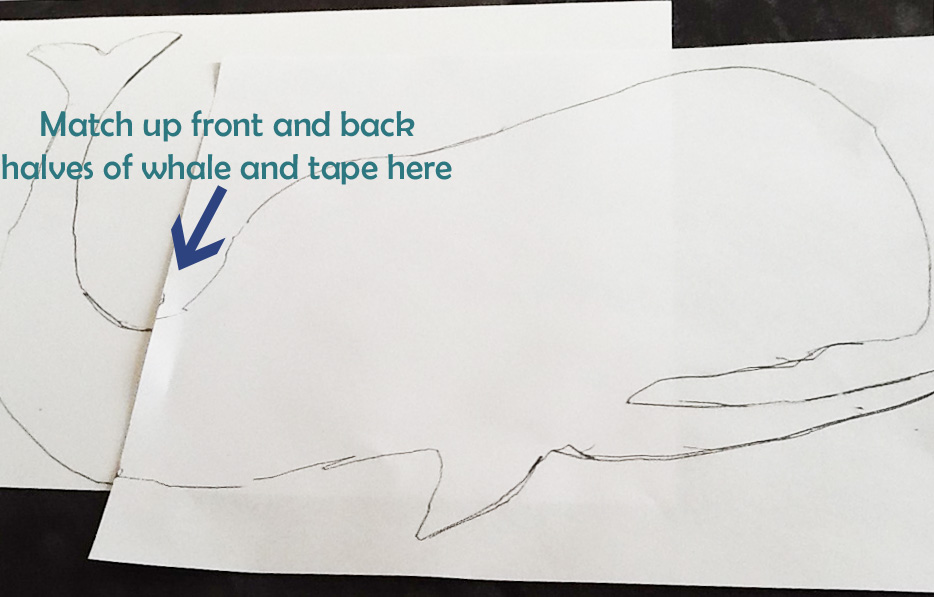
3. With sharp scissors poke a hole in the middle of your whale then cut around the perimeter of your whale being sure to not go outside the lines (you will have to put your first grade skills to test in this step).
4. Put the whale aside and use the negative image as your template/stencil.
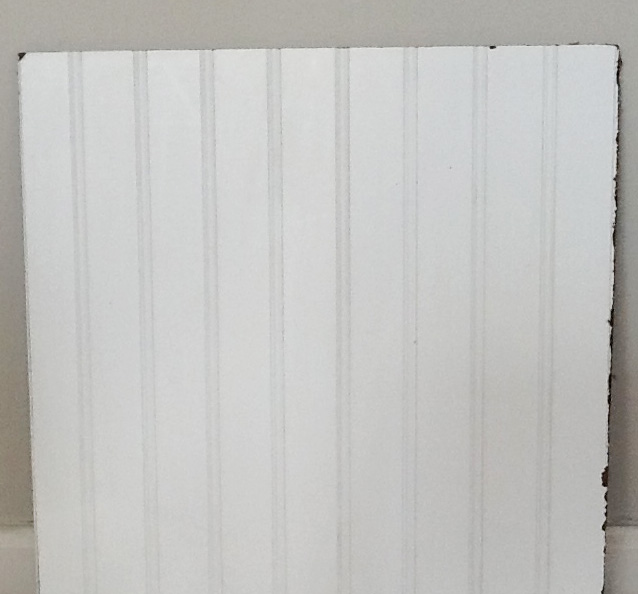
5. Get a scrap piece of beadboard (or you can use a painted piece of beadboard wallpaper adhered to MDF or strong cardboard). I used a 15 x 16 scrap piece of beadboard.
6. Turn the template/stencil over and attach tape.
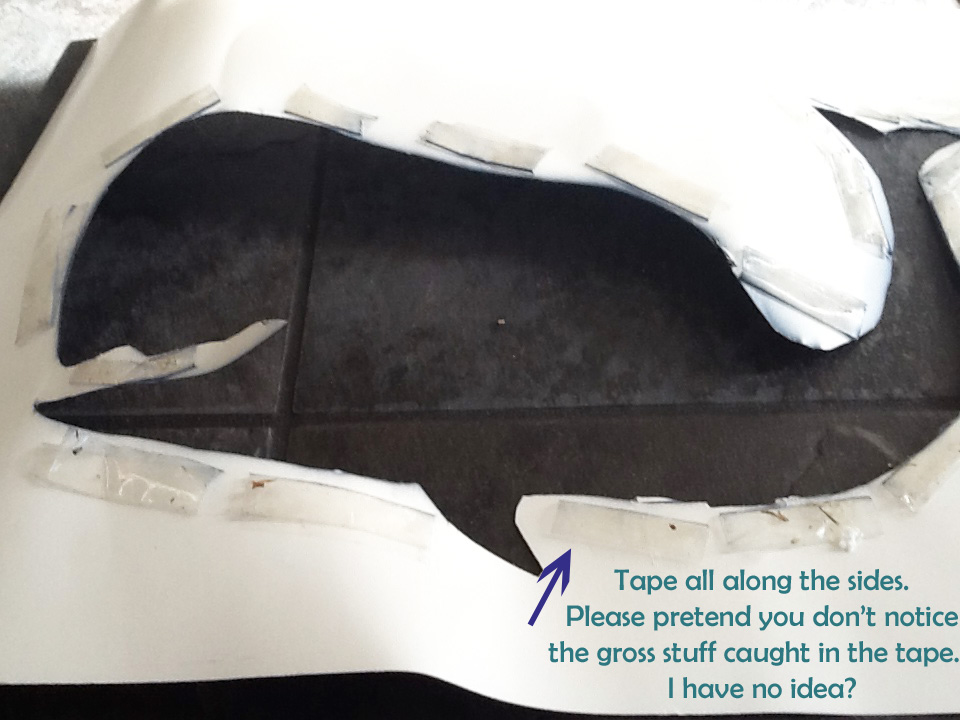
7. Turn template back over and center it onto the beadboard. Press template firmly down.
8. Tape newspaper all around the template so that the only part of the beadboard that get sprayed is the whale.

9. Cut a small circle of paper for the whales eye and lightly glue it down with a glue stick.
10. Now you are ready to spray paint. Spray paint the whale image with the navy blue (or color desired) spray paint.
Be sure to cover the whole image without overspraying (over spraying can cause the paint to puddle and soak onto the covered area).
11. Let it dry for at least a couple of hours.
12. Carefully remove the pieces of paper including the paper for the whale’s eye. With a black pen make a tiny dot in the center of the whales eye.
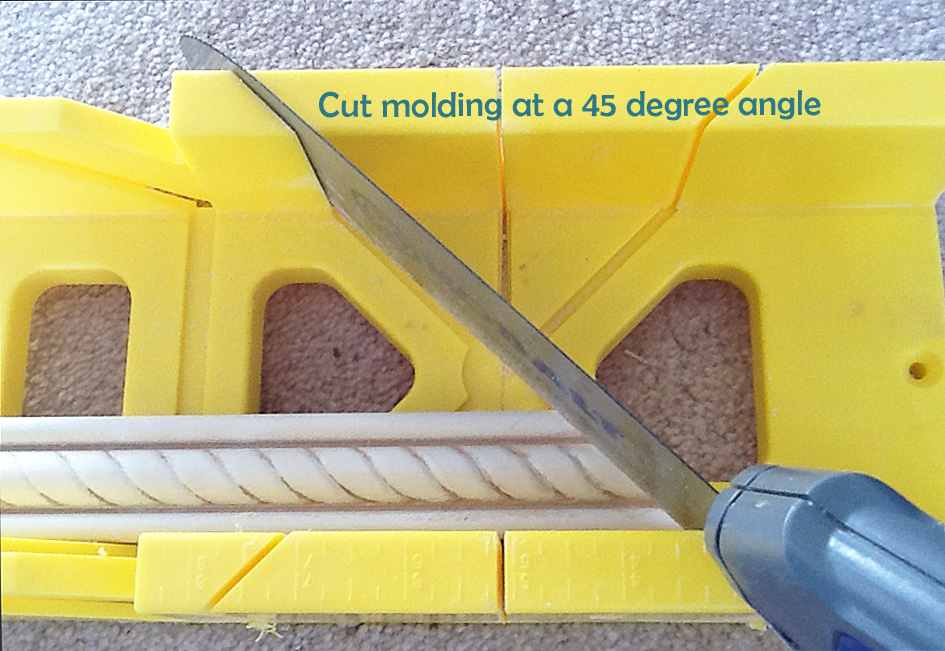
13. Hold your wood trim up to the sides of your beadboard and mark the points and direction from which you will cut. Use a miter saw or miter box($8) to cut your 45 degree angles.
14. Put beads of clear drying gorilla glue on the backs of the trim pieces and carefully place them to frame the beadboard.
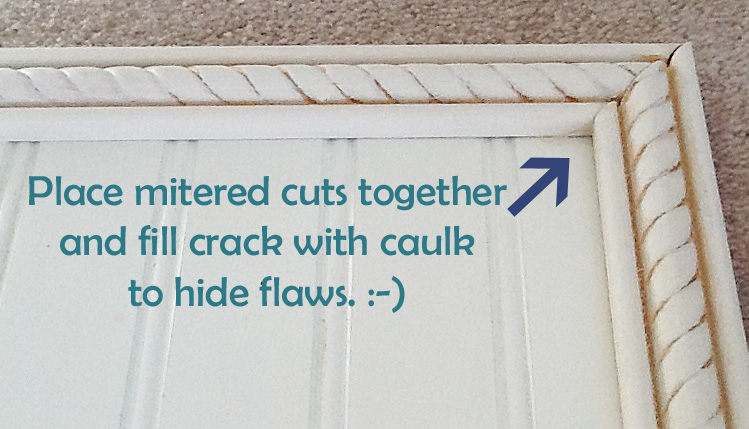
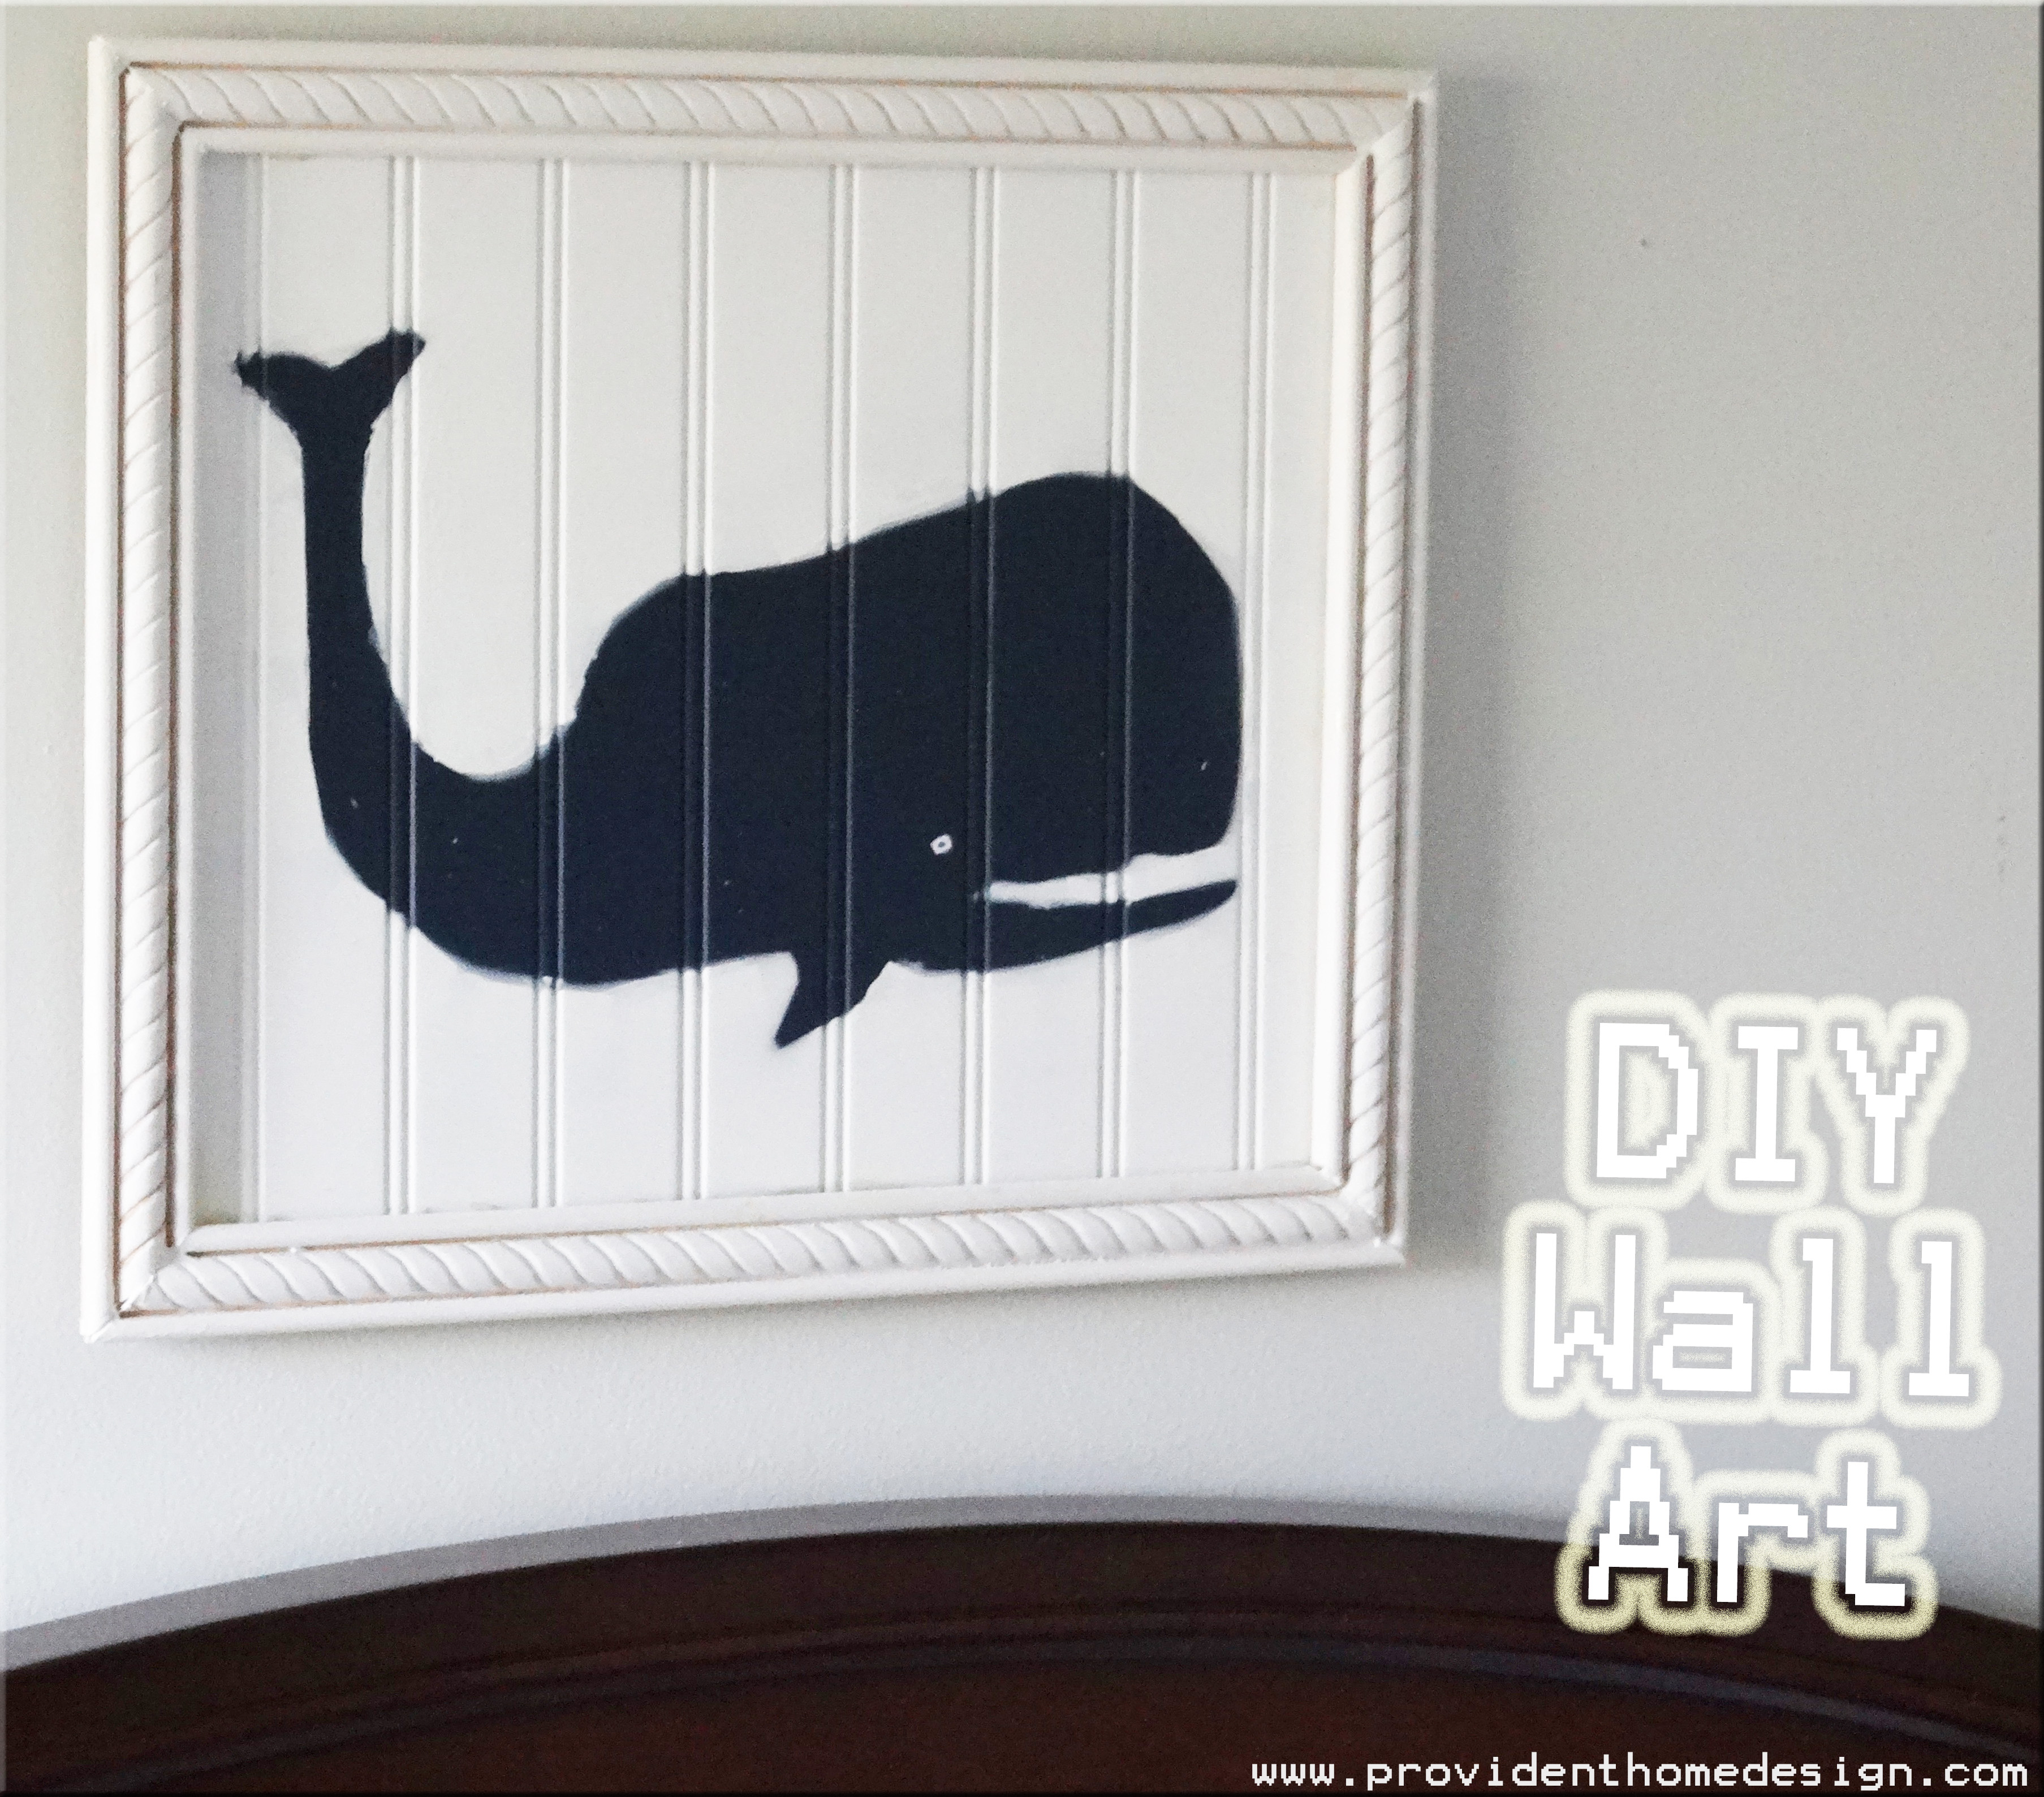
15. Let dry for 24 hours before handling (I hung up my Pottery Barn inspired Whale Art with Command Strips).
Another way you could do this project is using stretched canvas rather than beadboard.

I recently bought the above stretched canvas at Joann Fabrics for $7 (it was 50% off). The 16″ x 20″ size would work perfectly for this DIY knockoff (turned horizontally of course). 🙂
Perhaps, a whale is not what your room is calling for??? No problem, the possibilities of this DIY project are as endless as the depths of the sea!:-) Let me know if you have any questions!!!