Our local Pottery Barn Kids store has a weekly story time for young children. My kids love going and so do I. As they get immersed into the stories my eyes are busy soaking up all the decorating inspiration that’s around me. When I was pregnant last year I was specifically searching for nursery ideas.
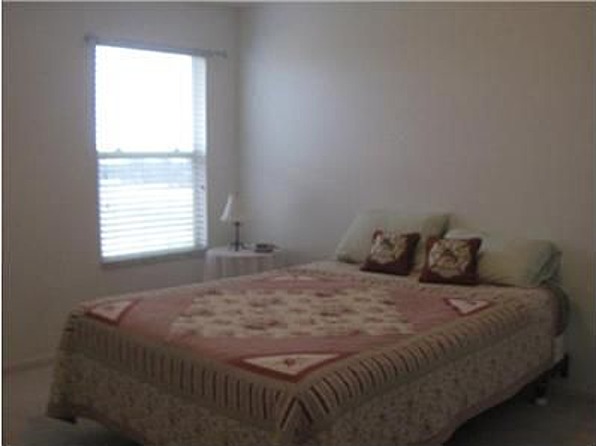
Our guest bedroom would become our baby’s room. It is the smallest bedroom in the house sizing up to barely 10×10. The room was in some serious need of de-boxifying.
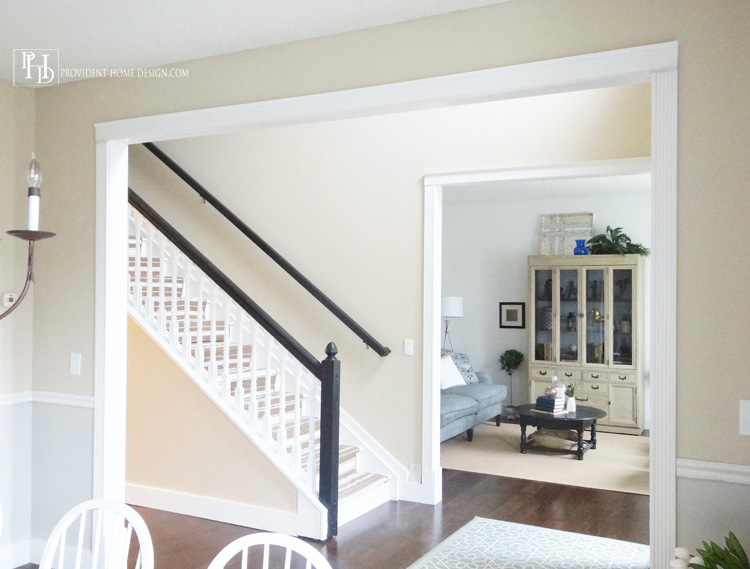
I found just the right something as I studied the walls at Pottery Barn Kids one day. I observed that all their walls had beadboard going horizontally at the top quarter of the wall. I loved how it brought the eye up and around the entire space which was exactly what this small room needed in order to give it a more spacious, inviting look.
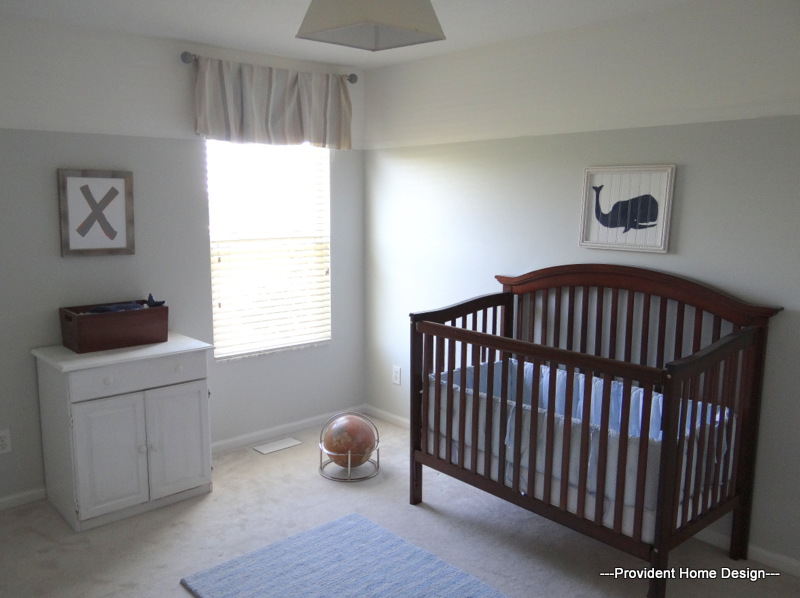
I had heard about beadboard wallpaper from a variety of blogs. I researched it out to see if the width would be about one fourth of the total wall. It was! All I would have to do is hang one row of it horizontally around the top of the room. Sounded easy enough to me–which at 7 months pregnant was mucho desirable!
When shopping around on the web I found the best price and reviews pointed to the Allen & Roth version which can be bought at Lowes. One double roll contained 33 ft. and cost around $20. So I measured the total length of the room and determined that I needed 2 rolls.

I wanted to do a whole length of a wall at a time so that the seams would only meet in the corners and be less visible. My husband helps me with about 3 % of my projects, this was one of the 3% because when working with such long pieces of paper you will need someone else there to help with holding (unless you are one of the few lucky ones with go-go gadget arms).:-) Since there are obstacles in the way at the tops of the wall, such as tops of door frames, window frames, and wall air vents the first step to this DIY is to make the cuts necessary to tastefully go around these obstacles.
Let’s do this:
1. Roll out the beadboard wallpaper on the floor to approximately the length of one wall.
2. Turn over the paper and attach tape (I used packaging tape) to the back of the paper every foot or so.
3. Put a chair at each end of the wall.
4. Have your helper hold the ‘end’ of the roll and you hold the beginning.
5. Now both of you stand up on your chairs (and shake your body like you just don’t care, or don’t):-)
6. Now with the beginning piece of the roll carefully place it up against the top corner of the wall.
7. Push it against the wall and move towards your helper at the other end of the wall making sure the wallpaper is flush with the ceiling (in case you are wondering you will have to move your chair down as you go). Go all the way along the wall until you are pushing the paper against the other end/corner of the wall where your helper is
8. With a pencil have your helper or (switch places with your helper if you think you can do it better):-) and draw a line on the paper where the wall ends.
9. With the paper still up carefully draw lines around the obstacles on wall such as door frames or wall air vents and the like.
10. Take paper down and gently take off tape.
11. With sharp scissors cut off pencilled areas
12. Repeat for all sides of the walls
Installing the beadboard wallpaper:
1. Fill up your closest bathtub with lukewarm water.
2. Lay a line of towels down to catch drips
3. Place a chair at each corner of the wall you choose to start with
4. Get the precut paper for that wall and take it to the ready filled bathtub
5. With the ends of the paper in each hand and the middle hanging down, submerge the paper in the water with the paste side facing down.
6. Let the ends go and very quickly press down on all of the paper to make sure all of the paper has been submerged.
7. Have your helper pick up an end while you pick up the other and gently shake the excess water off over the bathtub. Straighten out the paper as much as possible while letting the towels on the floor catch the drips.
8. Walk carefully to the chairs already placed at either corner of the wall.
9. Make sure the paper is in the right alignment (not upside down) for the wall.
10. If so, mount your chairs using both skills of balance and muscle control (Remember you will be judged on the gracefulness of your mount).:-)
11. Now starting in one corner press the paper making sure it is aligned properly with the edge of the wall and the edge of the ceiling.
12. Slowly move toward your helper while with your hand or a wallpaper smoother, smoothing out the paper and excess water as you go.
13. As you move towards your helper look back often to make sure the paper is completely smooth and flush with ceiling. If not go back and adjust it.
14. Once wall is completed take dry rags or hand towels and wipe away water dripping down from the wallpaper. Do this until their are no more drips.
15. Repeat for others walls
16. After at least 24 hours you may paint it.
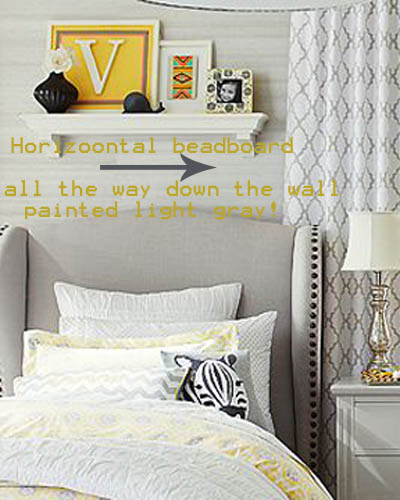
If you are having SO much fun doing this, why not keep going?.:-) You could get a super cute look going all the way down the wall like the picture below.
This project is really quite easy and adds texture, interest, and the illusion of spaciousness to an otherwise ho hum room. If you are interested in reading other bloggers experience with beadboard wallpaper or want tips on how to hang it vertically here are some links.
http://www.centsationalgirl.com/2012/01/installing-beadboard-wallpaper/
http://www.houseforfive.com/2013/07/diy-beadboard-wallpaper-tutorial.html
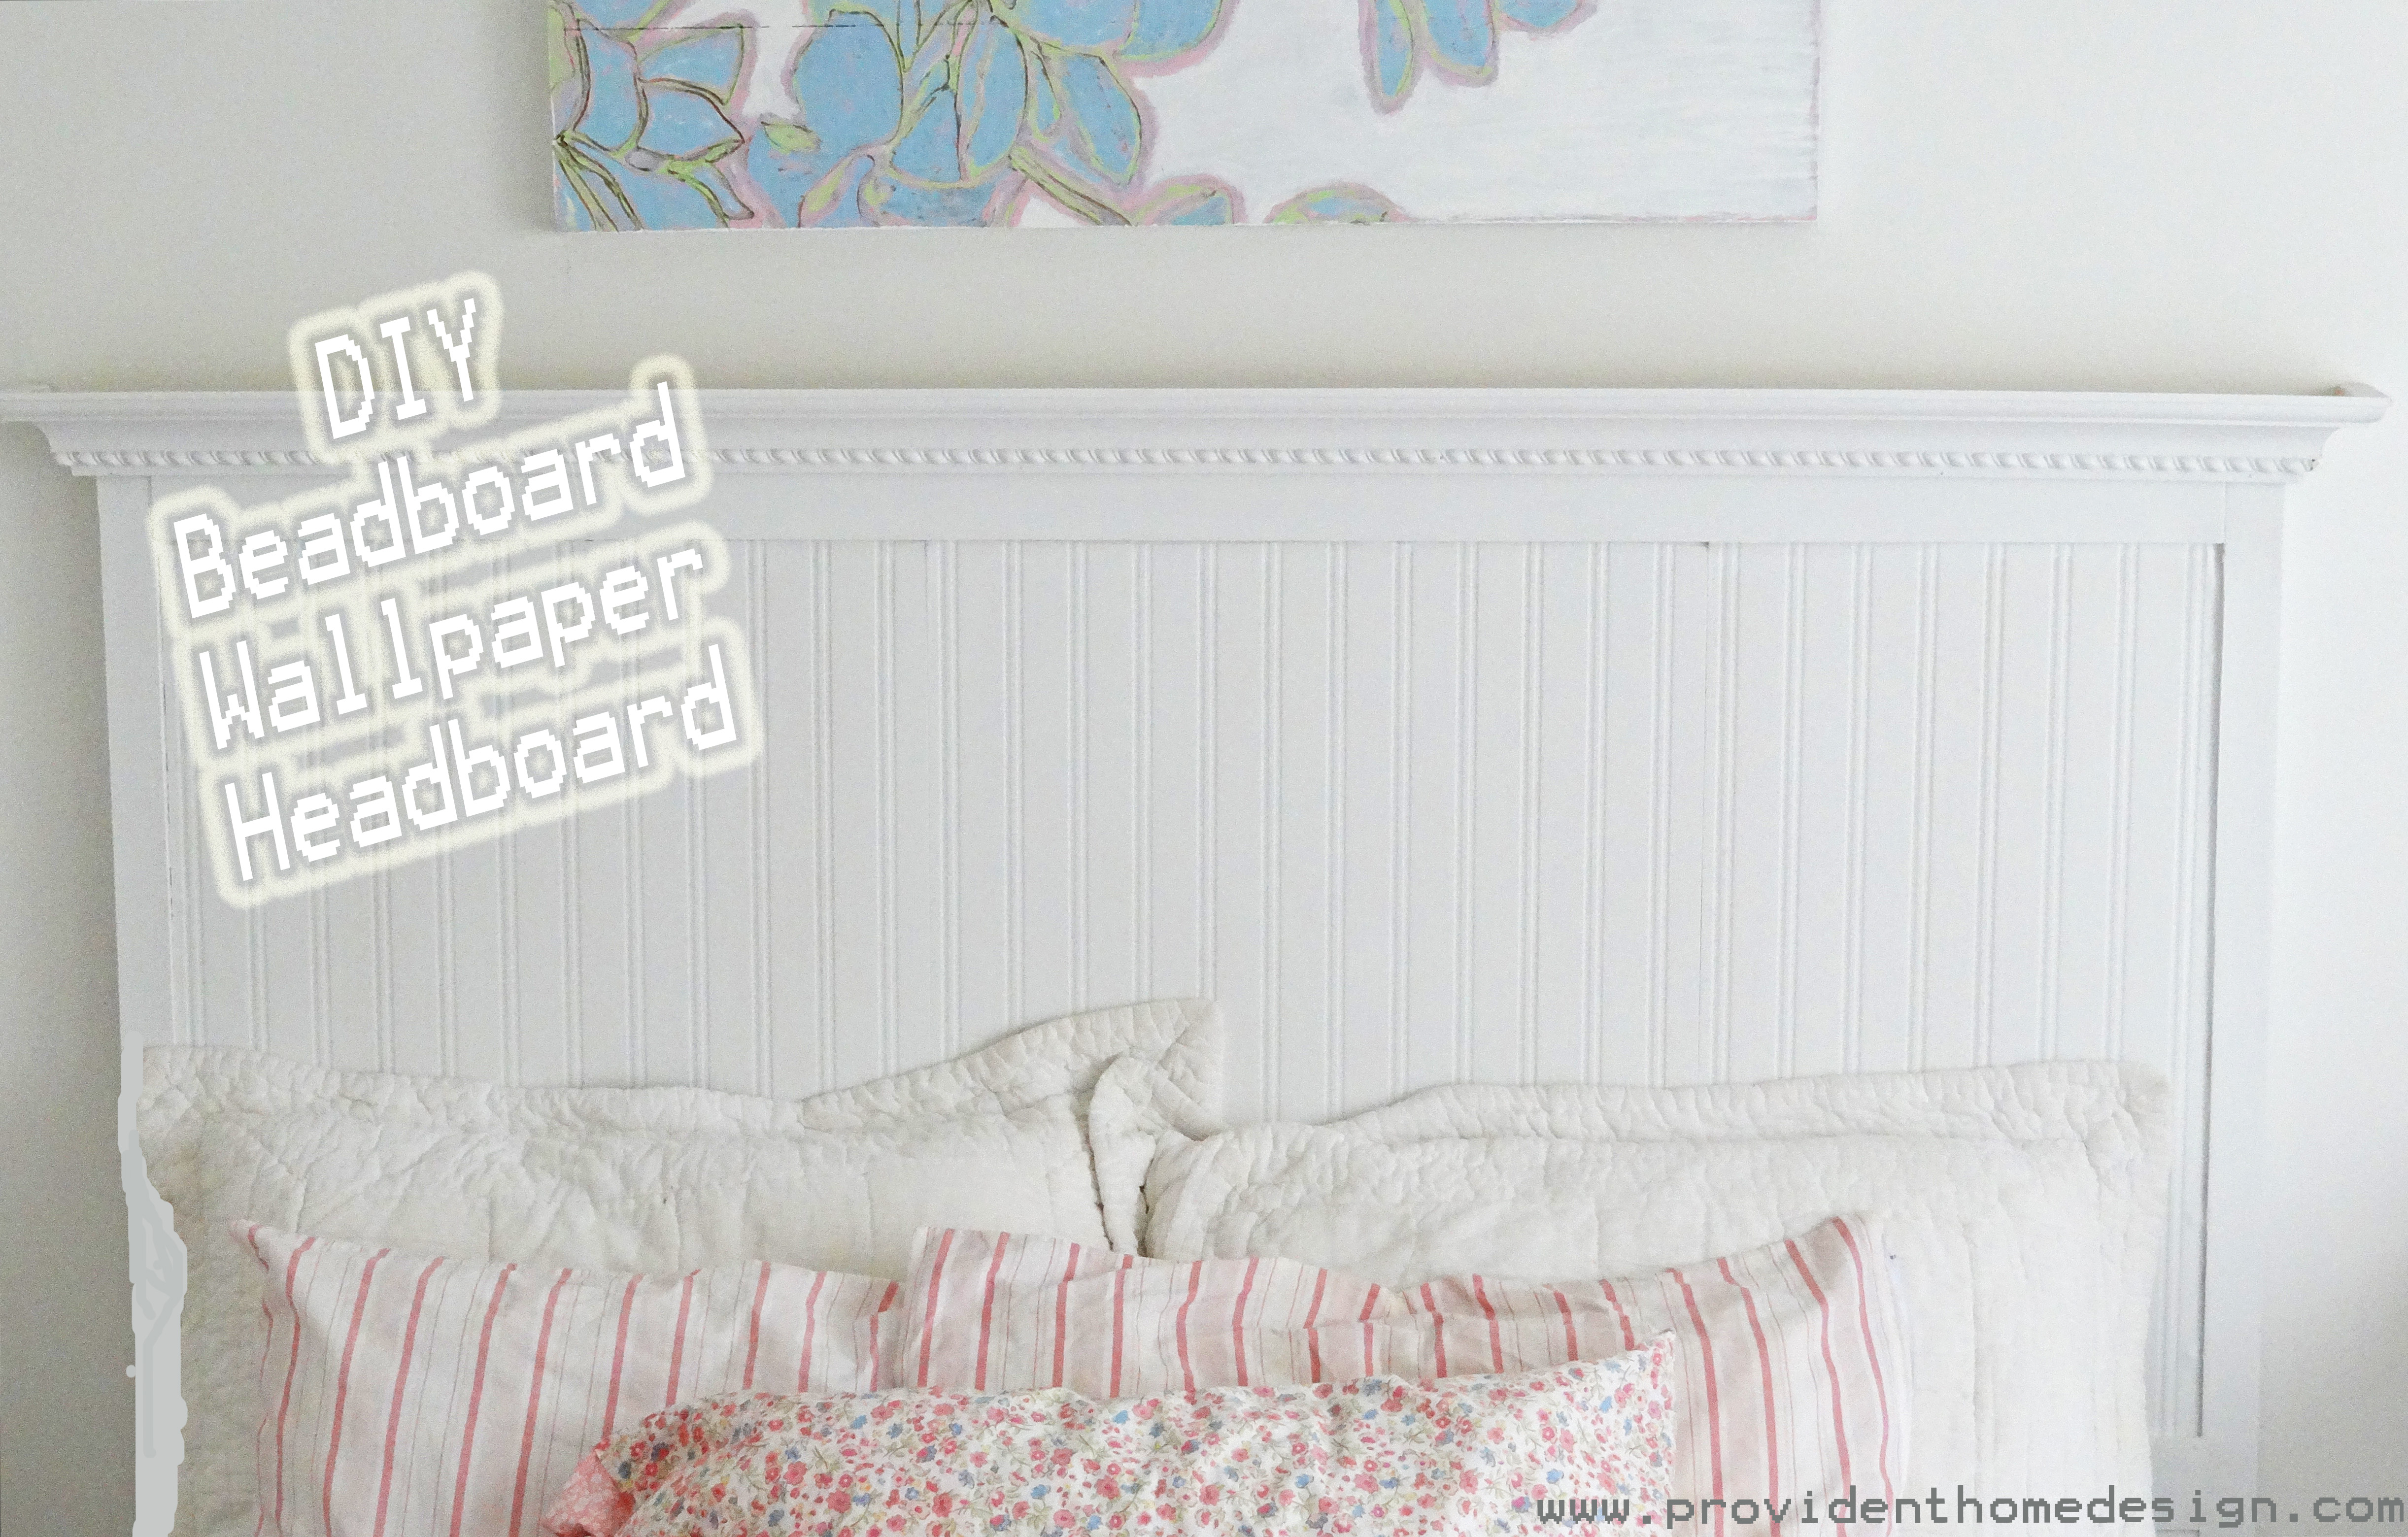
One of the great thing about this DIY project is that you are likely to have some leftover wallpaper for more DIY fun!
For example, you can could use it to make this easy, inexpensive headboard, Here.
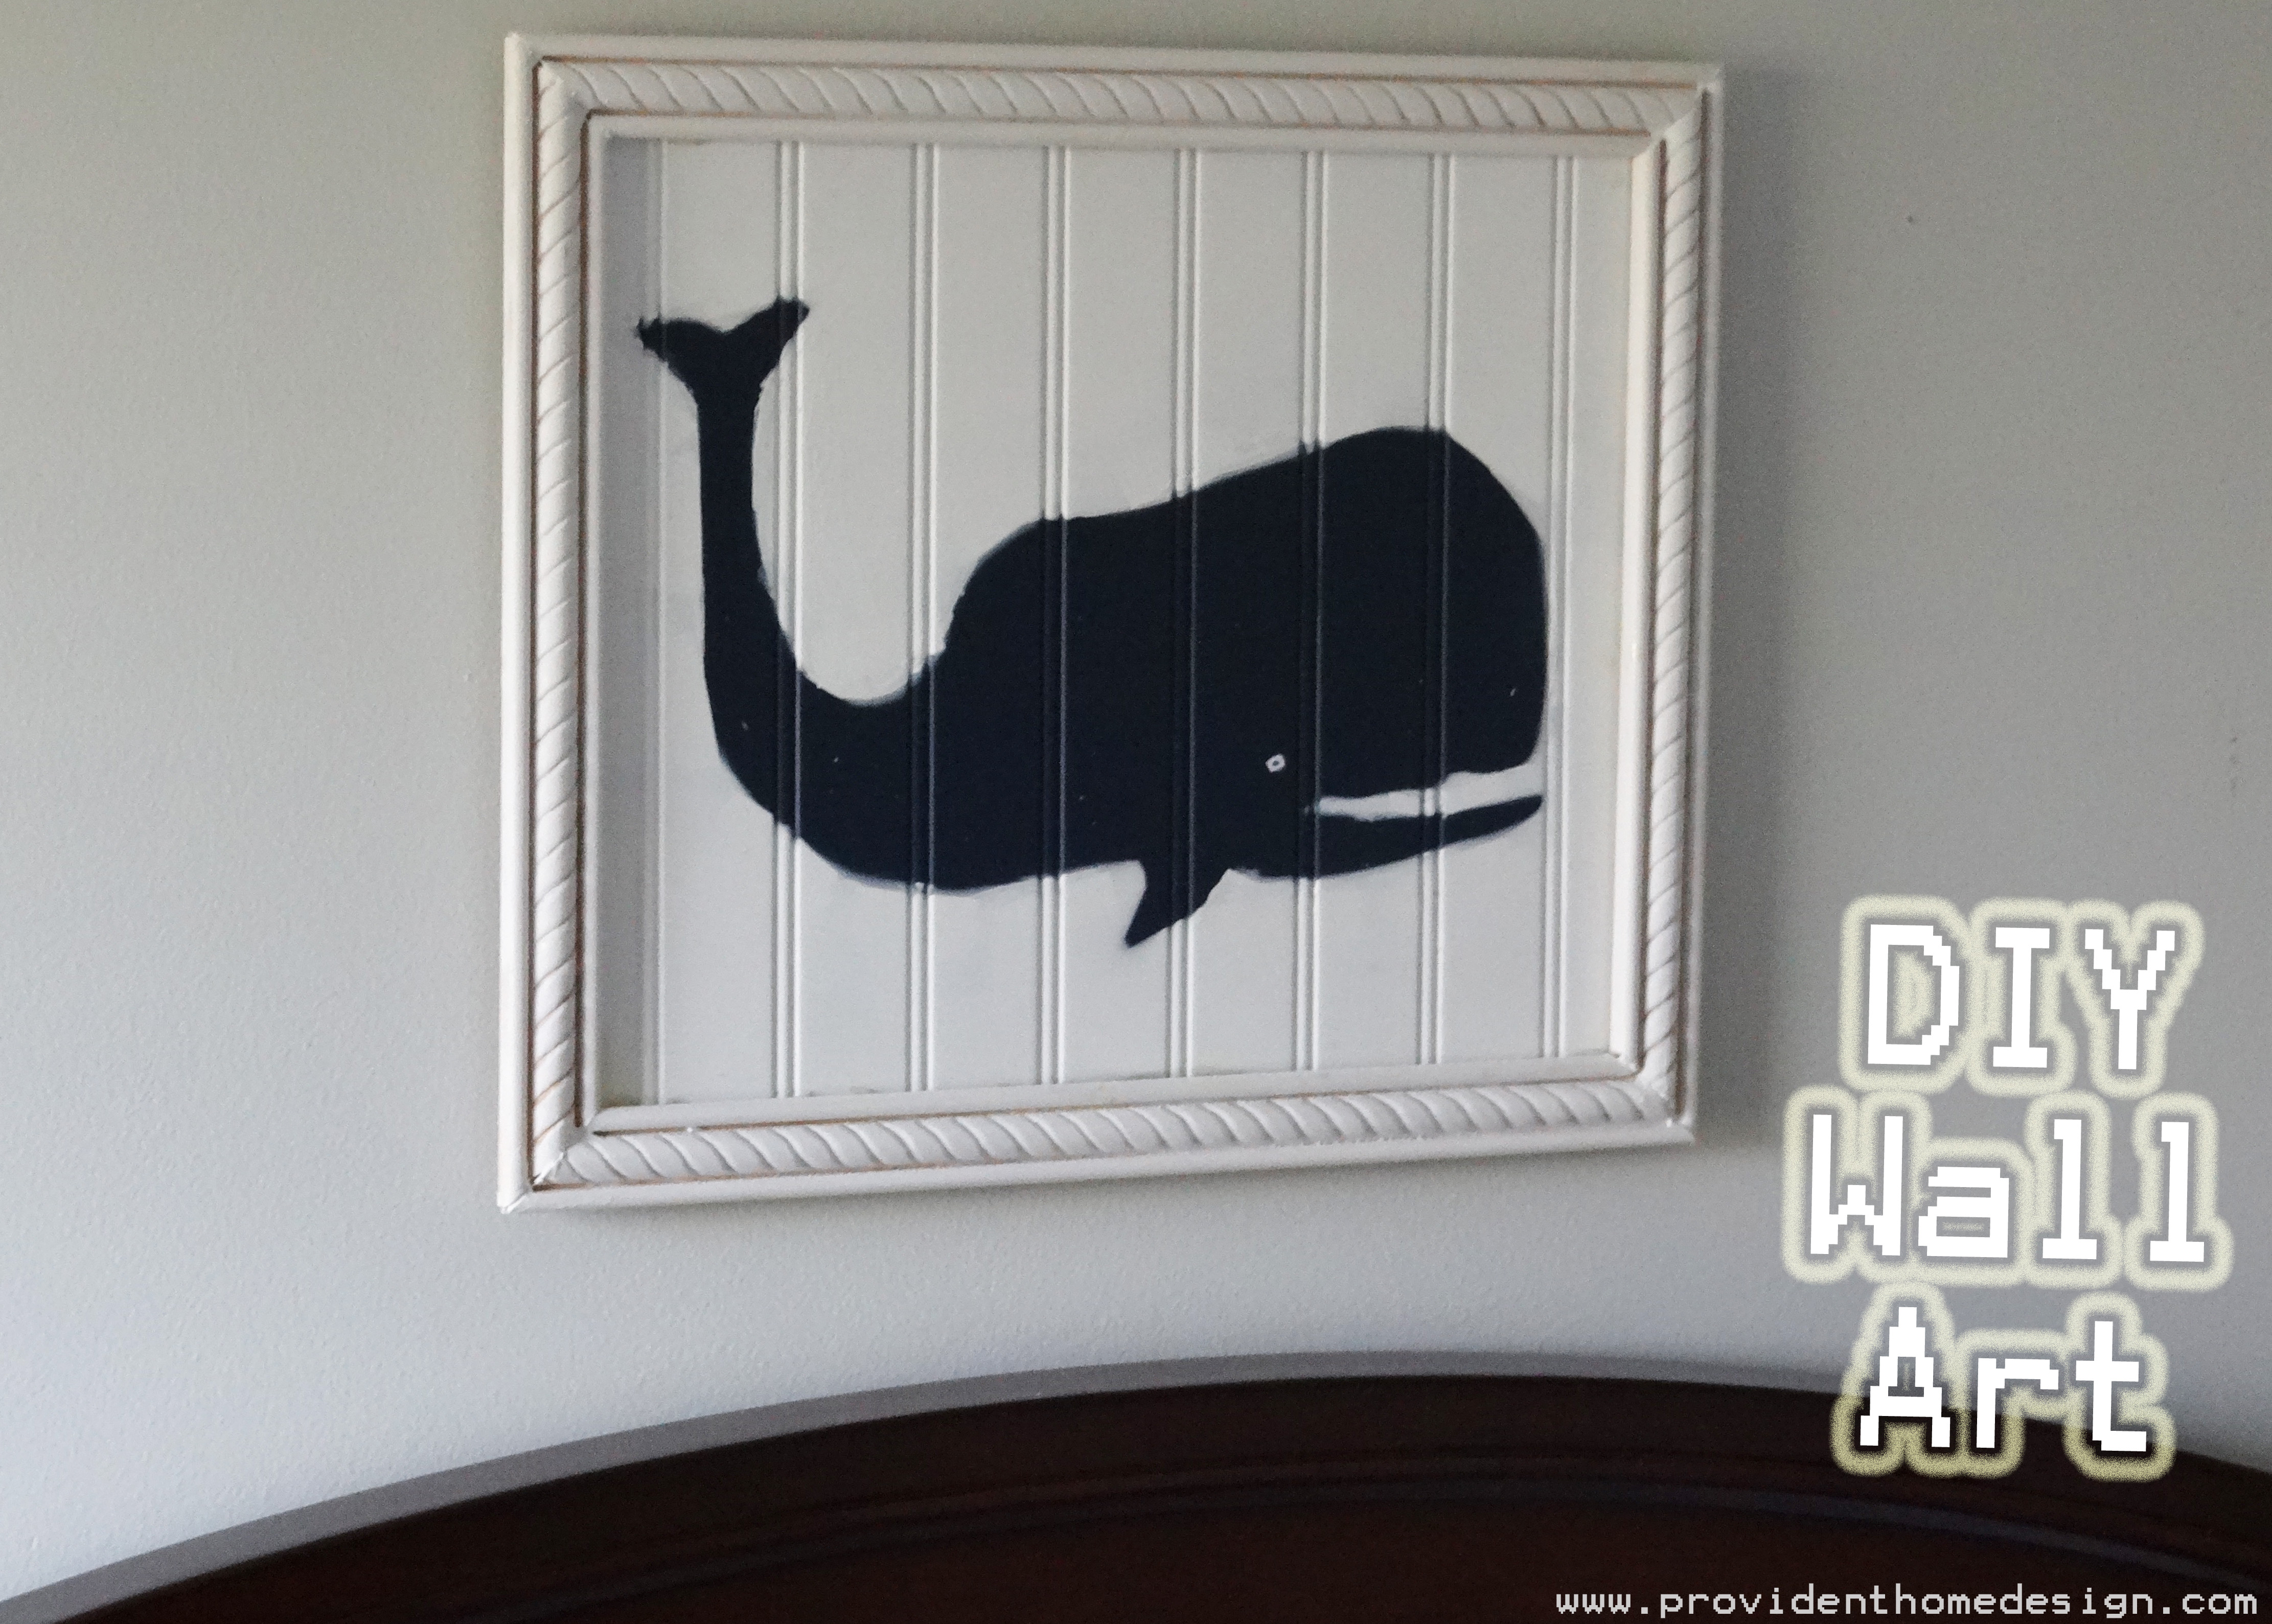
And this Pottery Barn inspired wall art, Here.
Do you see beadboard wallpaper in your future?? Thanks for being here and let me know if you have any questions!

Related Posts From the Blog:
 15 Chic Light Fixtures for Less!
 Happy Imperfect Mother’s Day!:-)
 Affordable Solutions for Organizing your Home
 New Build- Kitchen Reveal
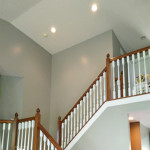 The Secret to Painting Tall Walls
 Painting Cabinets with Chalk Paint
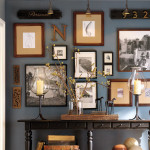 Favorite Paint Brand-I’ll Share Mine If you Share Yours
 New Build- Girl’s Bedroom and Bathroom Reveal