UPDATE: It’s now been over 2 years since I’ve painted my cherry cabinets white and I don’t regret my decision at all! I’m SO glad I did it!! I have been happy overall with how the painted cabinets have held up.
I’ve never had any problem cleaning them, they clean right up for me (which is good because I have 4 young kids).
My only complaint it that recently there has been some wear around the knobs as shown below.
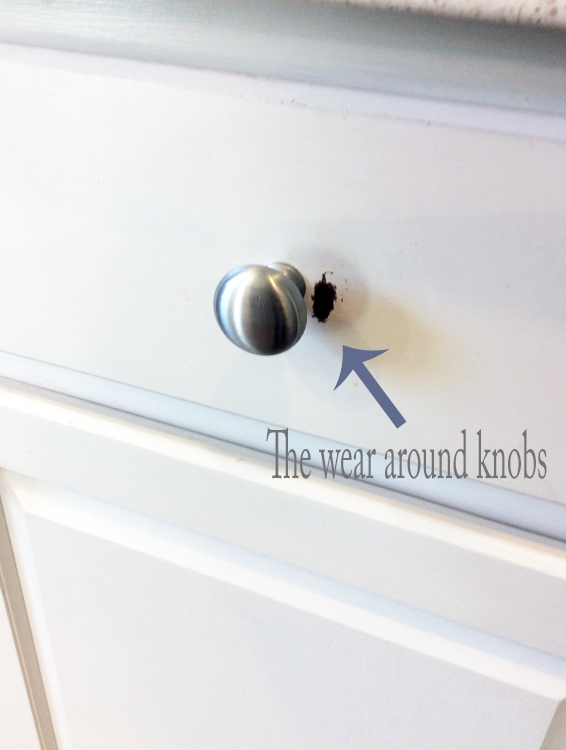
About 5 knobs out of the 29 have a little bit of wear around them (the picture above is the worst one…it’s our silverware drawer).
The good thing about it is that I still have the paint on hand and can easily touch up these spots. My friend who spent lots of money to have her cabinets professionally painted white has seen some wear over the years but doesn’t have the paint or acquired skills to touch hers up!
So if you go the Rustoleum Cabinet Transformations method (or any method for that matter) just remember to put an extra protective coat or two (or 3) around all of the knobs. I plan doing that after I do my touch ups! I still recommend this product for painting cabinets white.
More on my experience with Rustoleum Cabinet Transformations below.
***********************
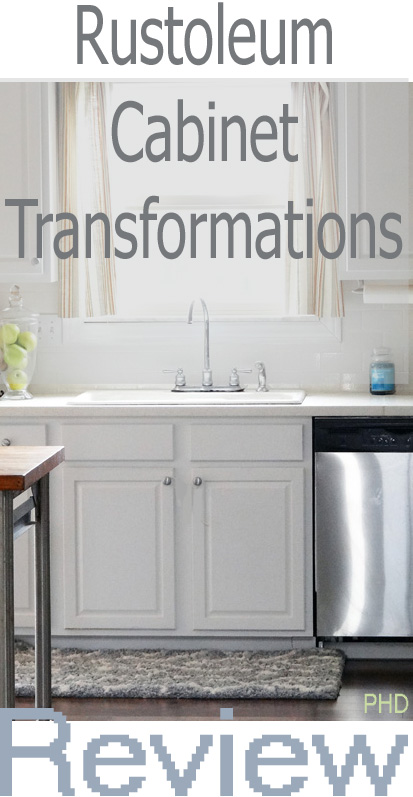
I mentioned in my previous post that I used Rustoleum’s Kitchen Cabinet Transformations kit to paint my kitchen cabinets in our current home. I would like to provide you with a review today as there are many methods for painting cabinets and this is just one option.
Before I tried it I looked up available reviews and what sold me on it was that there is a 100% satisfaction guarantee. I knew from the start that if I wasn’t satisfied with any part of the process that I could most likely get my money back (not my time and effort though) so I was willing to try it.
I watched the DVD and thought it was helpful in explaining how to paint the cabinets and highly recommend that if you use this product that you watch the DVD first. When purchasing the product you need to decide if you are going light or dark with your cabinets as there are two different boxes depending if you are going light or dark. This is because the bond coat is already tinted light or dark.
When purchasing the kit you must take it to the paint counter and tell them what color want your bond coat to be. Both light and dark kits have several specific color options to choose from. I chose Linen White.
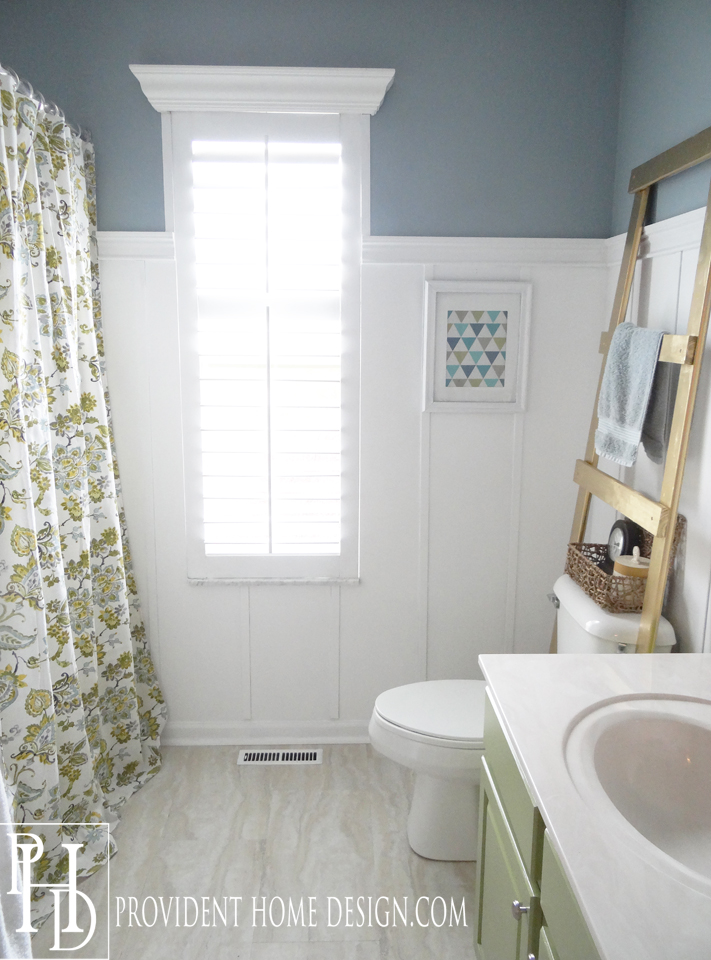
I am very satisfied with the Linen White color. It is the exact shade of white that I was hoping for. I was hoping for a definite white (no cream or other obvious undertones) but also a white that didn’t look too cold or hospital like. I basically wanted a warm, friendly true white and that is what Linen White turned out to be for me.:-)
-
Other than buying brushes and perhaps a tray everything you need is in the kit
- There is an informative DVD to watch that shows you how to do everything
- No smelly paint—a lot of other processes include using oil-based paints which really stink
- Paint dries in about 2-4 hours so you don’t have to wait too long to apply additional coats
- Great protective top coat, it’s almost been 1 year and I have had absolutely no chipping or wear
- No additional costs in renting or buying a paint sprayer and no sanding
- 100% satisfaction or money back guarantee
Things I didn’t like about this product:
-
The DVD stated that it would only take two coats of the bond coat, it took four coats for me (but I was painting cherry cabinets)
- Because they strongly encourage solely using a brush (no roller or sprayer) the painting part takes longer
- Unless you are a professional the glaze does not turn out like the picture on the box
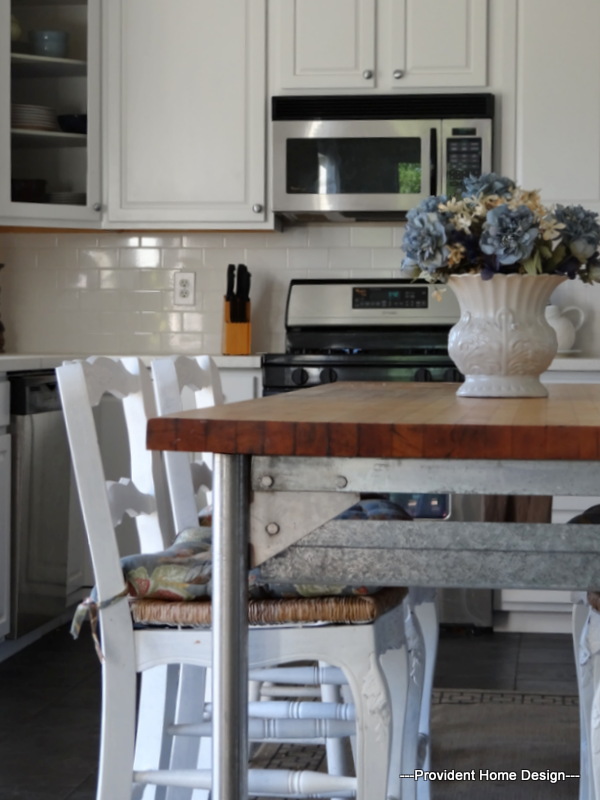
Originally, I was really worried that all white kitchen cabinets would be too cold of a contrast with my dark gray tile floors. So I had decided that I would go two tone and try to do a glaze look like on the island in the photo below on the bottom of my cabinets and white on the top.

BIA Parade of Homes
The glaze that came in my kit appeared (from the picture on the box) to be able to create this look. First step was to put on two bond coats and then put the glaze over it and then wipe it away to create this look. I spent a good 6 hours painting and then trying to glaze the cabinets. The DVD glaze part was not helpful (the rest of the dvd is) so I look on youtube to try and get some help. I really tried to get the look but this was the best I came up with.

I know it doesn’t look too bad in the picture. But in real life I could tell it had been faux painted and I wanted it to look like real driftwood. So after a whole day of painting and glazing the base cabinets I cried and gave up. I have to laugh looking back (it wasn’t funny then) because it was my birthday and for my birthday present my husband watched the kids so I could paint my cabinets. That’s what I had wanted and it had all been a waste!
I was 6 months pregnant at the time and lets just say I cried a pathetic, ugly cry. As I was finishing up this ugly cry I opened a birthday card I had received in the mail from my parents that said something to the affect that they admired my ability to take chances and most importantly to get up and keep going when I fell. Wow, this is exactly what I needed to hear at the time! How they knew I would need to hear those words I don’t know? But parents are pretty cool that way even when you are an adult:-) And I may or may not have started to cry the ugly cry again after I read their sweet card (this is an easy guess, just remember, I was 6 months pregnant);-)
So what happened next??? I took a two week break and scratched my idea of the two tone and went for all white. In the meantime, I contacted rustoleum customer service and let them know I was unhappy with their glaze and that I needed 4 coats of white not 2 to cover my cabinets which meant that I was going to have to purchase another kit so I would have enough paint to finish the kitchen cabinets. I took and sent photos to them of my receipt and cabinets and within a week I received a check to cover the cost of the second kit.
So in summary, I can whole heartedly recommend using the Rustoleum Kitchen Cabinets Transformation kit to paint your cabinets Linen White. I can’t attest to the other colors because I have not used them. I don’t recommend using the glaze unless you are a professional or if you don’t care it looks DIYed. Be sure to use the top protective coat. It doesn’t look nice until that finishing coat is on. Only then does it have a nice, subtle sheen that makes them look like real, unpainted cabinets. Got any questions??? 🙂 Let me know!:-)

[jetpack_subscription_form]
Follow me on Pinterest and Instagram for more decorating ideas and inspiration!